RailCore CURA JSON Profile
thingiverse
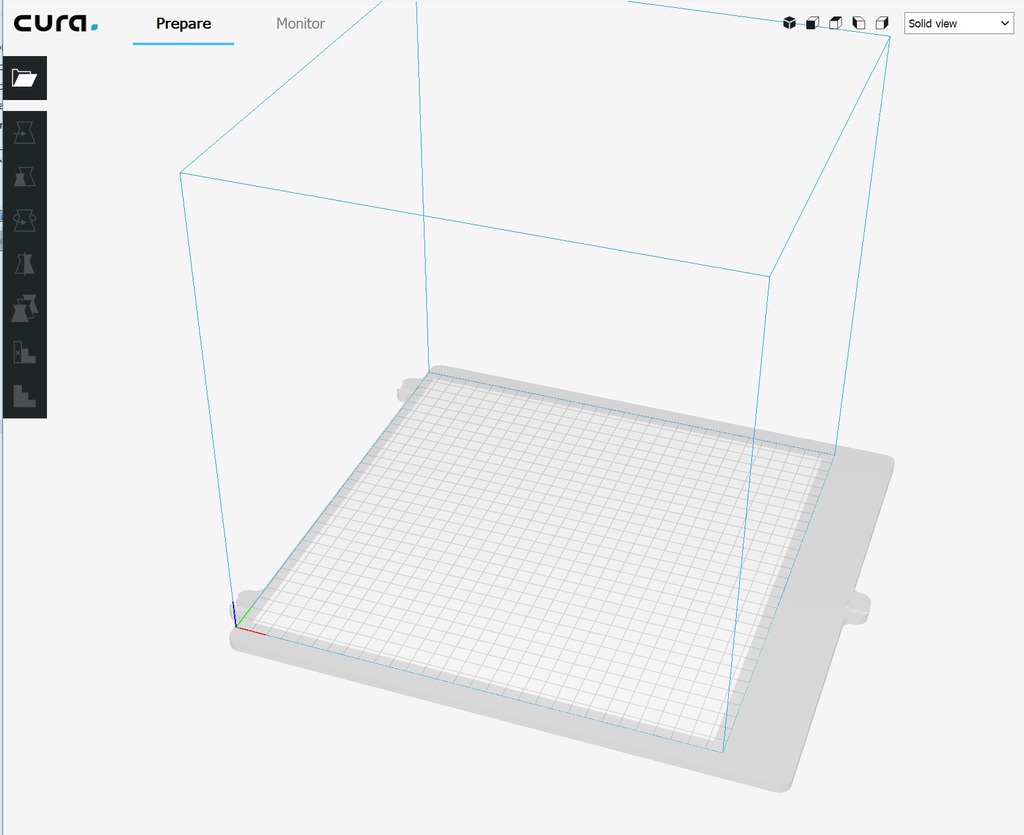
Directions and files needed to set up a RailCore II in CURA and display the build plate are outlined below. These instructions apply to Windows 10 and Cura 3.6, but can be easily adapted to other platforms. Step 1: Copy "railcore300zl.def.json" to "C:\Program Files\Ultimaker Cura 3.6\resources\definitions" Copy "railcorezl_extruder_0.def.json" to "C:\Program Files\Ultimaker Cura 3.6\resources\extruders" Copy "railcorebedcentered.stl" to "C:\Program Files\Ultimaker Cura 3.6\resources\meshes" Step 2: Open CURA and go to Add Printer. Select "Custom" and then RailCoreII ZL Step 3: Edit your Start and End G-Code (Examples Below) Start G-Code: G28 ; Home All G21 ; metric values G90 ; absolute positioning M82 ; set extruder to absolute mode M107 ; start with the fan off G92 E0 ; zero the extruded length End G-Code: G92 E1 ; Retract Filament G1 E-1 F300 ; Retract Filament G91 ; Relative Coordinates G1 Z10 F6000 ; Move Z out of the way M104 S0 ; Turn off Heat bed and extruder M140 S0 ; Turn off Heat bed and extruder G1 X290 Y290 F9000 ; move print head to back left corner M84 ; turn off Steppers Step 4: Adjust printer X, Y, Z to what you have set in the Duet config.g Step 5: Once that is all working, use Notepad++ to edit "railcore300zl.def.json" file "platform_offset" coordinates to get an exact line up of the build plate under the CURA build area. The format is X, Z, Y. If your build area is 300x300 and X lines up with the left side of the built plate you can use "platform_offset": [19.5, 0, 0], Step 6: There is a second Bed STL that contains a logo if you would like to use it, copy it to the meshes directory, change the "platform" file name in the json
With this file you will be able to print RailCore CURA JSON Profile with your 3D printer. Click on the button and save the file on your computer to work, edit or customize your design. You can also find more 3D designs for printers on RailCore CURA JSON Profile.