Rainbow Light Show Enclosure
prusaprinters
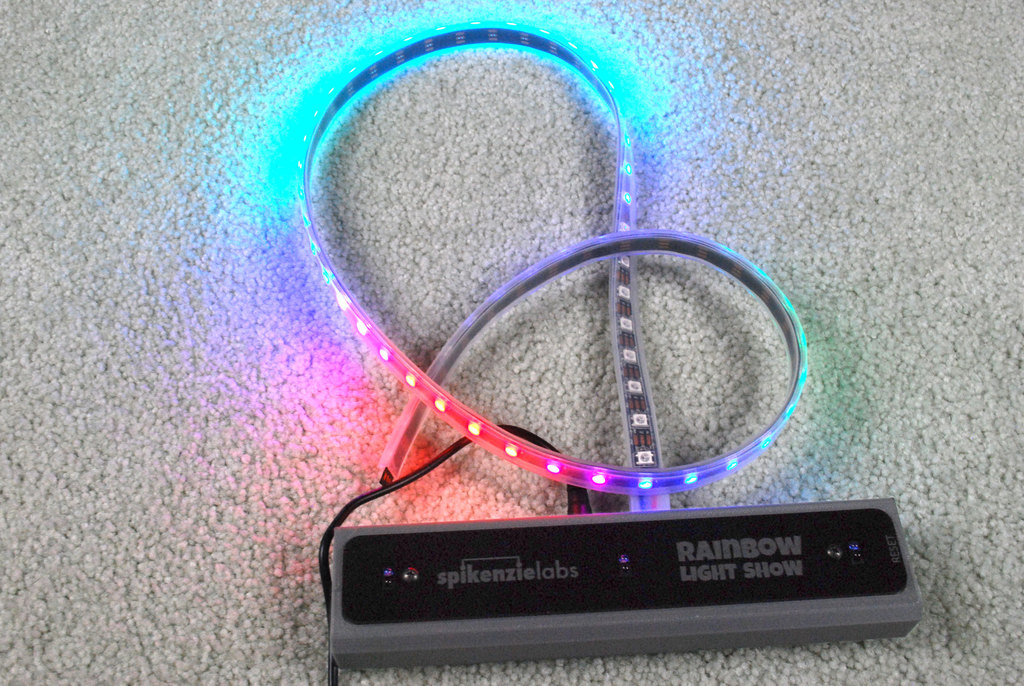
<p>I saw this Rainbow Light Show kit on the Adafruit web site ( <a href="https://www.adafruit.com/products/2602">https://www.adafruit.com/products/2602</a> ) and thought it looked really cool. The lights shift down the strip marquee style, and you control the color and brightness by moving your hands over IR sensors. It's kinetic art and lots of fun.</p> <p>After I built it I knew my 4 year old niece would love playing with it. But the base, although nicely designed, was not going to be robust enough for a 4 year old. So I modeled a sturdier one.</p> <p>I also traded out the 16 LED strip it came with for a 60 LED strip, also from Adafruit ( <a href="https://www.adafruit.com/products/1461">https://www.adafruit.com/products/1461</a> ). Simply remove the original strip and connect the longer one. No configuration needed.</p> <p>The static pictures don't do the LED's justice; they are extremely intense even in a bright room. I shot a short video of the Rainbow in action - <a href="https://youtu.be/KHkgz6m1gns">https://youtu.be/KHkgz6m1gns</a></p> <h3>Print Settings</h3> <p><strong>Printer Brand:</strong></p> <p>Printrbot</p> <p class="detail-setting printer"><strong>Printer: </strong> <div><p>Printrbot Plus</p></div> <p><strong>Rafts:</strong></p> <p>No</p> <p class="detail-setting supports"><strong>Supports: </strong> <div><p>No</p></div> <p><strong>Resolution:</strong></p> <p>.3mm</p> <p class="detail-setting infill"><strong>Infill: </strong> <div><p>20%</p></div> <p><strong>Notes:</strong></p> <p>I used Printrbot Gray PLA @ 195C. It contrasted nicely with the black bezel provided in the kit, and matched the laser cut graphics on top.</p> <h3>Post-Printing</h3> <p><strong>Assembly</strong></p> <div><p>The button fits loosely in the hole in the side of the enclosure. Insert it just before you screw the circuit board in place and it should rest against the reset switch. You should hear a click when you press and release the switch</p> The holes in the screw columns are sized to use the 2 screws that came in the kit. Carefully cut threads in them by running the screws slowly down into the holes before you actually assemble the unit. <p>One mod you might consider is adding a 3.5mm stereo headphone jack beside the power plug. Then connect the LED strip to a corresponding plug to enable you to remove the LED strip from the controller.</p> <h3>How I Designed This</h3> <p><strong>123D Design</strong></p> <p>I modeled this using Autodesk's 123 design. I went through 9 iterations before I got it to where I thought it was ready for prime time.</p> </div></p></p></p> Category: Electronics
With this file you will be able to print Rainbow Light Show Enclosure with your 3D printer. Click on the button and save the file on your computer to work, edit or customize your design. You can also find more 3D designs for printers on Rainbow Light Show Enclosure.