RAINBOW SIX SIEGE (GRANADA DE HUMO - SMOKE GRANADE)
pinshape
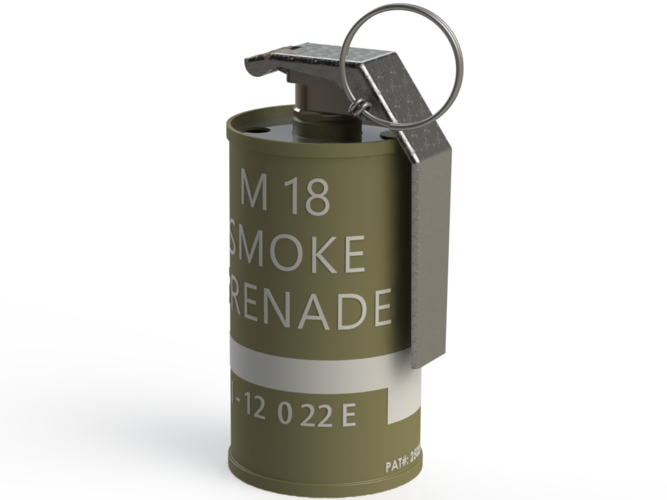
Español: Hola a todos, les traigo un modelo de la granada de humo que usan los atacantes en el juego Rainbow Six Siege. El cuerpo de la granada esta dividido en 2 partes (Pieza1-1.stl y Pieza1-2.stl) para que se haga más fácil la impresión. La Pieza2 es la correspondiente al seguro de la granada. La Pieza3-1r es la que corresponde al gancho de la granada. La Pieza4 se imprimirá 2 veces para que sean las patitas donde se enganchará el gancho de la granada. Se deben de imprimir las 5 piezas, luego se pegará las piezas Pieza1-1.STL y Pieza 1-2.STL para formar el cuerpo de la granada. Luego pueden unir el resto de piezas como se ven en las imágenes adjuntas y al final pintar todo, aunque yo recomiendo primero pintar y luego unir todo. Para el soporte de las patitas (Pieza4.STL) que se unirán con la pieza Pieza3-1r.STL se deberá usar una pequeña varilla de 2.5mm de diámetro. Para el seguro se debe de cortar un alambre de 2.5mm de diámetro y 80mm de largo, el cual se doblara en un extremo como se ve en las fotos. Para la argolla, se puede usar una de algún llavero o del mismo alambre anteriormente mencionado, cortar un pedazo de unos 240mm de largo para doblarla como se ve en las imágenes adjuntas. Para que el seguro (Pieza3-1r.STL) salte como una granada real, se debe de conseguir un resorte de 8mm de diámetro x 22mm de largo y un pequeño tornillo para sujetar el resorte. Les dejo el link del video del armado en Youtube: https://www.youtube.com/watch?v=_bpI6D2UgEk Espero lo disfruten. Saludos English: Hello everyone, I bring you a model of the smoke grenade that attackers use in the Rainbow Six Siege game. The body of the grenade is divided into 2 parts (Pieza1-1.stl and Pieza1-2.stl) to make printing easier. Pieza2 is the one corresponding to the grenade insurance. Pieza3-1r is the one that corresponds to the hook of the grenade. Pieza4 will be printed 2 times to be the legs where the grenade hook will be hooked. The 5 pieces must be printed, then the pieces Pieza1-1.STL and Pieza1-2.STL will be glued to form the body of the grenade. Then they can join the rest of the pieces as seen in the attached images and at the end paint everything, although I recommend painting first and then joining everything. To support the legs (Pieza4.STL) that will be joined with Pieza3-1r.STL, a small rod with a diameter of 2.5mm should be used. For the insurance, you must cut a wire of 2.5mm diameter and 80mm long, which will be bent in an extreme as seen in the photos. For the ring, you can use one from a keychain or the same wire mentioned above, cut a piece of about 240mm long to bend it as seen in the attached images. For the safety (Pieza3-1r.STL) to pop like a real grenade, you must get a spring of 8mm diameter x 22mm long and a small screw to hold the spring. I leave my YouTube channel where I show the assembly https://www.youtube.com/watch?v=_bpI6D2UgEk I hope you enjoy it. Greetings PARAMETROS DE IMPRESION: Español: Se puede imprimir en PLA, PETG, o ABS, usando boquilla de 0.4mm y altura de capa 0.2mm. Todas las piezas necesitan soportes, menos la Pieza4.STL. English: It can be printed in PLA, PETG or ABS, using 0.4mm nozzle and 0.2mm layer height. All parts need supports except Pieza4.STL.
With this file you will be able to print RAINBOW SIX SIEGE (GRANADA DE HUMO - SMOKE GRANADE) with your 3D printer. Click on the button and save the file on your computer to work, edit or customize your design. You can also find more 3D designs for printers on RAINBOW SIX SIEGE (GRANADA DE HUMO - SMOKE GRANADE).