Rainbow Trout
thingiverse
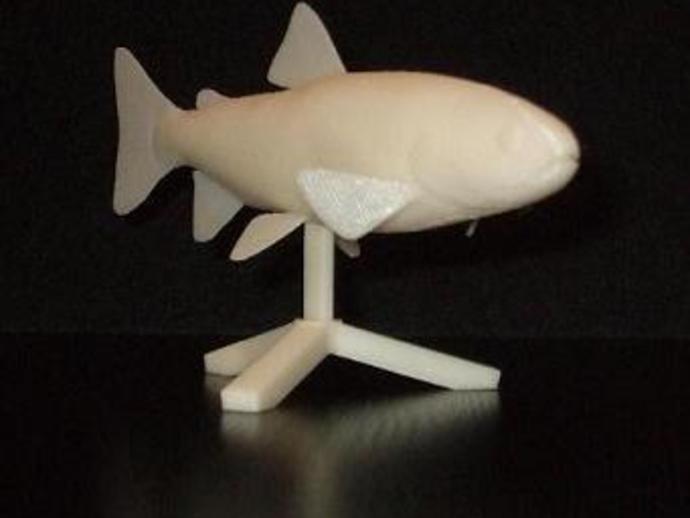
Fixing Bad Geometry for Printable STL Files with Netfabb Studio & Blender Tutorial The Toucan Museum offers some nice fish models, but they need fixing due to geometry holes and thin fins. To produce a viable physical object, follow these steps: 1. Import the 3D model in Blender and join all geometry parts as a single polygon group. 2. Delete unnecessary elements like eyes and excess geometry. 3. Extrude the fins slightly to increase thickness for better printability. 4. Align vertical fins if needed using Grab (G) function. 5. Combine fish body and fins into a single mesh using Boolean Union operation. 6. Optional: Scale up the model for desired size. Remove duplicate vertices. 7. Export STL file. 8. Open Netfabb Studio, import the STL, and repair any holes using Automatic Repair. 9. Export fixed STL. For an extra step, use Blender to fit the fish on a display stand by punching a hole in it using another Boolean operation with the base. Export the final STL file for printing.
With this file you will be able to print Rainbow Trout with your 3D printer. Click on the button and save the file on your computer to work, edit or customize your design. You can also find more 3D designs for printers on Rainbow Trout.