Raise3D N1 Glass Bed Corner Clips
prusaprinters
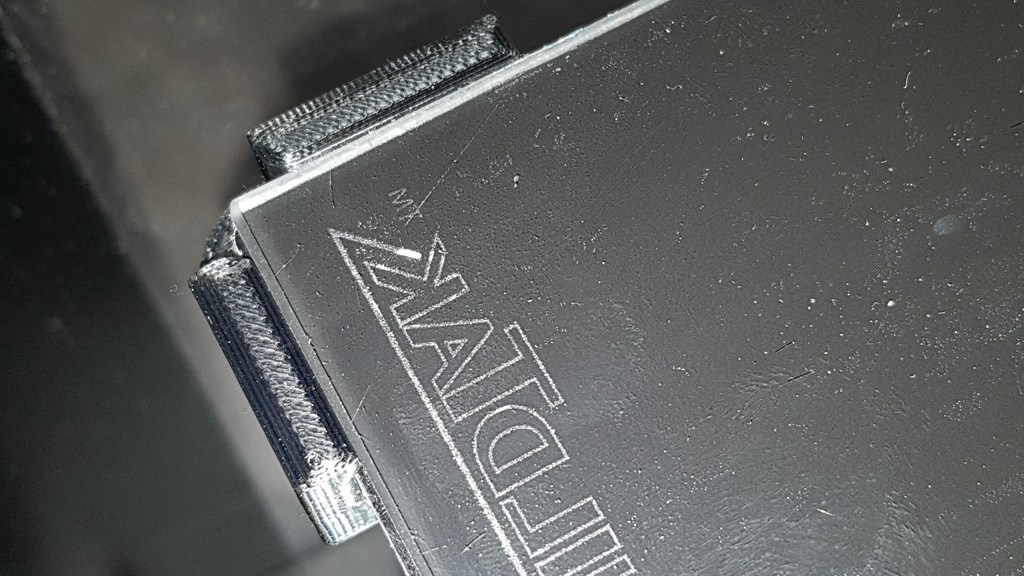
<p>For too long I have detested using spring clips on the front of the glass bed on my N1. So I thought it time to create some corner brackets, as I've done for many other machines.</p> <p>These are the result. There are 2 brackets, one for the left front and one for the right front corners. Each bracket is marked with LF and RF accordingly. Simply remove the glass bed, unscrew the 2 bolts on each corner holding the bed post in place. Remove the post and spring, pass the bolt through the corresponding clip, replace the spring and reattach. Ensure the 2 threaded holes in the bed post are positioned at the 12 o'clock and 6 o'clock positions).</p> <p>Now you can simply position the glass bed under the rear spring clips and then press down into the brackets, the glass will click into place, be held securely and will not interfere with the nozzle. The clips have been designed for 3mm thick glass, as per the original Raise3D bed. You can use with the existing glass with the Buildtak surface on top or underneath, so, if you prefer to print on plain glass, then simply turn your existing bed over and the added thickness of the Builtak, now on the underneath, means that the glass will just sit slightly proud of the clips so no need to relevel your bed and no more hitting binder clips etc.</p> <h3>Print Settings</h3> <p><strong>Rafts:</strong></p> <p>Doesn't Matter</p> <p class="detail-setting supports"><strong>Supports: </strong> <div><p>No</p></div> <p><strong>Notes:</strong></p> <p>Print in a high temp material such as ABS, PC or Z-Ultrat.</p> </p> Category: 3D Printer Accessories
With this file you will be able to print Raise3D N1 Glass Bed Corner Clips with your 3D printer. Click on the button and save the file on your computer to work, edit or customize your design. You can also find more 3D designs for printers on Raise3D N1 Glass Bed Corner Clips.