Raise3d n2+, n2, n1 full buildplate test
thingiverse
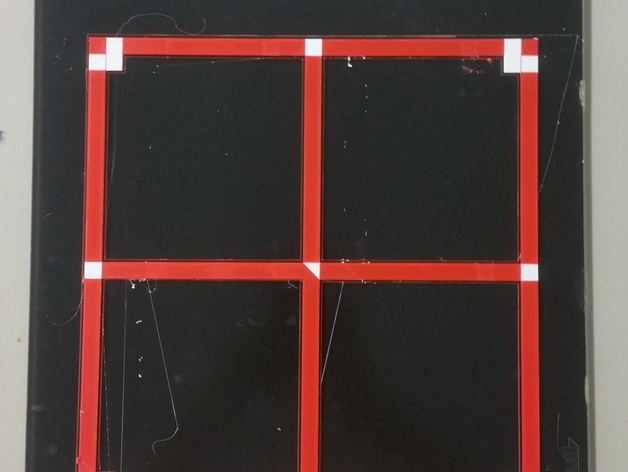
Difficult test object to determine your offset and max print size on the Raise3d N2+ machine. Utilize the same objects for N2 and for N1 by employing the left head object. Bed levelness is crucial; it must be within 100 micrometers or the setup will not function properly. Similarly, if adhesion is poor, the test object will not print correctly. Print Settings: Printer: Raise3d N2+ Rafts: No Supports: No Resolution: 200 micrometers Infill: 100% Notes: Bed offset is set to (2,-10) despite the origin point being precisely at the left front corner. This adjustment must be made in Advanced Settings/Other for every slicer profile within Ideamaker. Logically, this parameter belongs under Printer Settings; hopefully, an upgrade will address this issue. The test object pictured measures 270 by 280 millimeters in width and depth. Printing larger objects is not feasible due to firmware travel limitations. This test object was created using Onshape, a free online CAD program designed for tinkerers.
With this file you will be able to print Raise3d n2+, n2, n1 full buildplate test with your 3D printer. Click on the button and save the file on your computer to work, edit or customize your design. You can also find more 3D designs for printers on Raise3d n2+, n2, n1 full buildplate test.