Raise3D Pro2 Bed Leveling Assistant
thingiverse
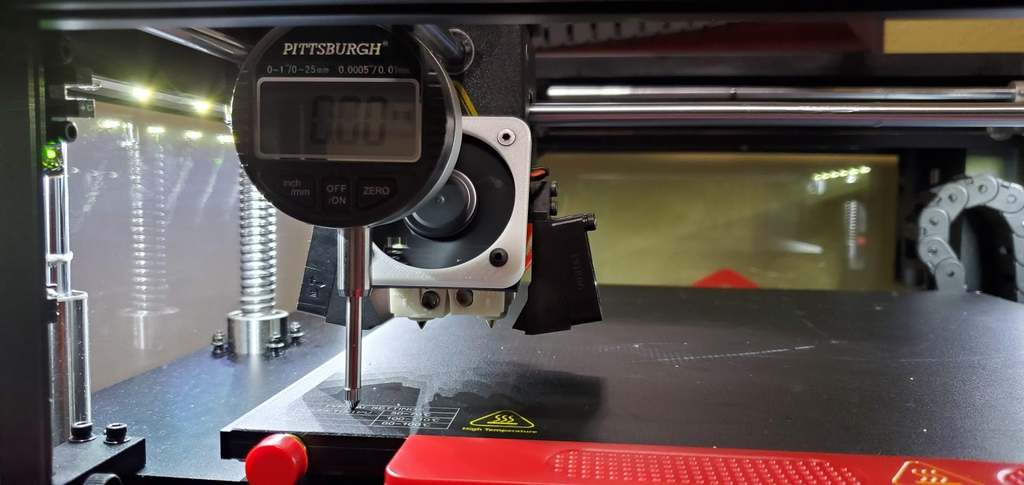
This print will allow you to mount a Harbor Freight Digital Indicator to the front extruder fan while still allowing it to work. It's up to you whether you want to take it off or leave it after leveling. I tend to just remove the indicator. With the indicator mounted and motors off, start moving it around and level till you cry cause you find out how warped the bed is. Harbor Freight Digital Indicator: https://www.harborfreight.com/saemetric-digital-indicator-63613.html I separated all the model bodies to avoid wasting plastic on support creation. After printing, lay flat glue the pins to the base, then once dry, glue the base to the Indicator mount. Remove the metal fan guard and reuse the four screws. I used a sleeve and a screw to attach the indicator to the mount but you can use anything laying around or pay Home Depot a visit and find the small screw bins. Good luck and hope it helps with your printing needs.
With this file you will be able to print Raise3D Pro2 Bed Leveling Assistant with your 3D printer. Click on the button and save the file on your computer to work, edit or customize your design. You can also find more 3D designs for printers on Raise3D Pro2 Bed Leveling Assistant.