RapMan 3.x Y belt and X rod clamps
thingiverse
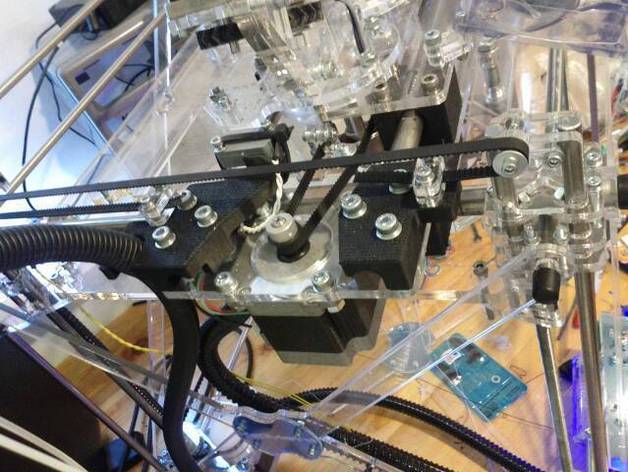
Modified versions of Tony's right-side Y belt holders (part 10030, http://wiki.bitsfrombytes.com/index.php?title=Spare_parts#Part:_10030) for the RapMan. Mine is a RapMan 3.1; install these on earlier versions at your own risk... might work, might not. I've designed and included left Y-belt holder also, parts 10026 and 10036. These have the protrusions to hold the X limit switch and the extruder conduit. Changes to original holders (also included in new parts): Bolt hole edges have been redesigned to help clear the 8mm rod cutout. There should now be less filing needed (previously, skeinforge would on some settings actually build material into the 8mm rod cutout, which would then have to be removed). Slots have been removed and replaced with holes, because they weren't working very well for their intended purpose and just added extra fussiness when tightening the belt.. Nut rebates have been added. They are slightly deeper than standard nut rebates, so the nut will still be captivated when the belt tensioner is loosened. Update 2011-11-21: Y left back clamp tweaked and reuploaded because my belt was looking crooked. Turns out my pulley was out of place and that was most of the problem, but I did move the belt clamp inward (+X) by about a millimeter. Instructions Print with your favorite settings. I recommend in the 60-80% infill range since these actually take a lot of loading and unloading over the course of a print. To install, remove the acrylic pieces and assemble these with original bolts. You still need the little spacer clamp pieces. I recommend tightening those down fully to sink the nuts and then loosening them to stick the belt through. Ignore the zip tie in the photo, I'd messed up the nut recesses when I printed it. I fixed it and I printed a fixed version but haven't installed it yet. The Y belt should now be able to be tightened with two hands, not three -- loosen the belt clamps enough that the belt can slide between them, and then pull the belt tight with one hand while tightening the bolts from the top with the other. No second wrench needed. Enjoy fewer pinched acrylic parts!
With this file you will be able to print RapMan 3.x Y belt and X rod clamps with your 3D printer. Click on the button and save the file on your computer to work, edit or customize your design. You can also find more 3D designs for printers on RapMan 3.x Y belt and X rod clamps.