Rapman Dual Extruder Plate
thingiverse
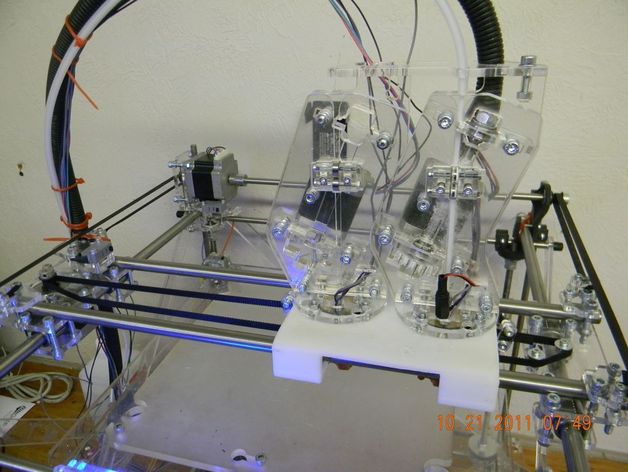
This is a one piece dual extruder plate that includes the linear bearing housings. To get rid of the spacer plate that goes between the extruder carriage and the extruder I countersunk the holes to allow a nut to fit between them. I have redesigned the unit to be printable using PLA and ABS so you can pick your preffered media. I have printed mine in PLA and ran it for a solid 24 hour 260c piece and it didnt not affect it. However it has gotten rid of a major portion of what appears as Z axis wobble, any cylindrical item I print comes out almost completly smooth. Instructions PLacement on the print bed in Axon for those of us that do have dual print heads on our printer we have to shift the part out of the center of the bed. A red box will present it self to show your are out of the printable area please disregard this box as it is thinking we are printing with both heads. We are only using a single print head for this print. Whichever extruder has PLA in it move your print more to that side using the top view.I have included examples Figure 1 Is if extruder 1 is loaded with PLA. Figure 2 is if extruder 2 is loaded with PLA Axon Settings for PLA Raft Tempature= 195c First layer Temp= 210c Part Tempature= 210c Fan= On Fill pattern Sqaures=30% Print Speed=2.0 (Disclaimer)These are the setting I used on my printer as all printer very slightly by the builder please use caution and your best judgement while configuring for your print It should take about 7 hours to print Once printing is completed follow normal procedures to remove the raft. and clean any holes DO NOT TRY AND SNAP THE CARRIAGE OVER THE RODS (BAD THINGS CAN HAPPEN)trust me!! Undo the left side of the upper Y axis assembly and remove the linear bearings Now the linear bearing will be a verry tight fit. this is normal DO NOT DRILL UNLESS ABSOLUTLY NECCESSARY. (I used the backside of a small screrwdriver to press them in.) now the nuts and screws for mounting the extruder to the carriage. The easiest way to get the nuts in, is to get the bolt started through the hole then using a pair of pliers hold the nut until it begins to get pulled flush into the countersink this will allow for a firm solid mount of our extruder. after you have all the bearings and screws in we then need to put in the bolts for our X axis simply screw them through and press them down till they are flush and that is done. we are done with the extruder carriage assembly. now slide the X axis rods throught the linear bearing making sure the small end of the plate is facing towards the back of the printer. Then reassemble the X axis retainers on the Y-Axis carrier. attach the extruders to the carriage as per the original instructions. We also must lift up the X-Axis stop swith as the new carriage is alittle thicker so simply undo the bolts for the stop switch and add 5-7 thin washers till it is aligned properly. after we are sure all is well with alignments proceed to align the print nozzles as per the instructions and set the proper Z-height and carry on as usuall with a better extruder carriage and no more raining screws
With this file you will be able to print Rapman Dual Extruder Plate with your 3D printer. Click on the button and save the file on your computer to work, edit or customize your design. You can also find more 3D designs for printers on Rapman Dual Extruder Plate.