Rapman Extruder Carriage
thingiverse
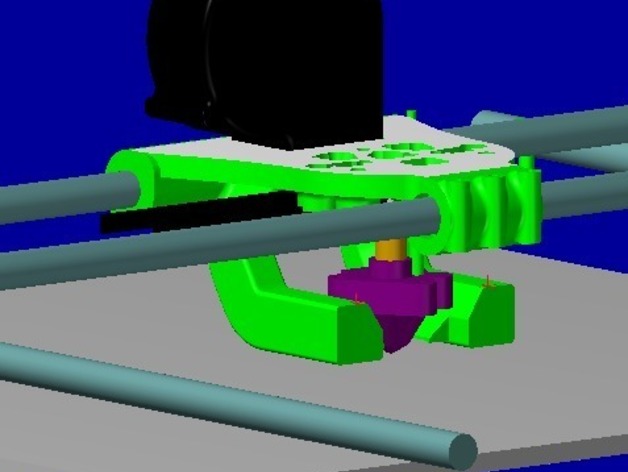
Extruder Carriage with Integrated Cooling, Lights and Reduced Part Count Instructions This started out with a ducted carriage inspired by Chylld's (http://www.thingiverse.com/thing:15044). Before I knew it this had taken on a life of it's own. The current iteration of this design has: 1) Eliminated 4 components from the original Rapman carriage assembly. This has lowered the extruder assembly ~5/8" and raised the extruder nozzle the same. This brings everything in closer to the center of rotation (axis rods) as the machine whips about doing it's duty. There is also the use of Plaster of Paris to arrest heat conduction to the plastic carriage from the extruder. Accommodations for this can be best seen in the top view. 2) Widened the carriage in both directions. ~7/8" from the front view and ~1 1/2" from the side view). This gives the carriage a wider stance and therefor greater stability. 3) Conversion to plain bearings instead of recirculating ball. While gathering dimensions for the design I discovered glaring errors. The parallel of the axis rods was off. Using precision gage blocks I found the X Axis to be .038" out of parallel. Using a vernier caliper (I don't have gage block that big) the Y Axis was out by .068"!! When I corrected the problem I was amazed as how sloppy the carriage had become. I cannot imagine anyone with this machine not having a similar situation. This theory is somewhat validated by comments posted on blogs. Some saying they have grooves worn in the rods while others comment on the development of back grit. Obvious signs of wear from over-loaded bearings. The source of the over-loading being misalignment. The design of the machine really has no datum origin and as such is it impossible to create a square and parallel condition, no matter how good the corner supports are. 4) Lights; I toyed with using acrylic light guides for light, but that was too expensive and complicated. Now the design will have a series of LED's illuminating the nozzle, not shown to give a view of the nozzle. 5) Integrated cooling ductwork with fan. The ducting has pillars inside to support the square shape. I have printed a test and it went well for this design. Based on conversations with fellow 3D printer enthusiasts it sounds like a trimmer pot for the fan is in order. This will allow a more precise control of the airflow. A PWM fan output would be nice, but would require advanced knowledge of the cooling. Of course that would be gained just like the other settings. Not shown is a top plate that will screw to the carriage as a target for the limit switches. I originally was going to us outriggers to stiffen the carriage and still use the recirculating bearings, but ultimately plain bearings won and the outrigger idea was abandoned. So please comment and question liberally...Thanks!
With this file you will be able to print Rapman Extruder Carriage with your 3D printer. Click on the button and save the file on your computer to work, edit or customize your design. You can also find more 3D designs for printers on Rapman Extruder Carriage.