Rapman-Mendel Conversion
thingiverse
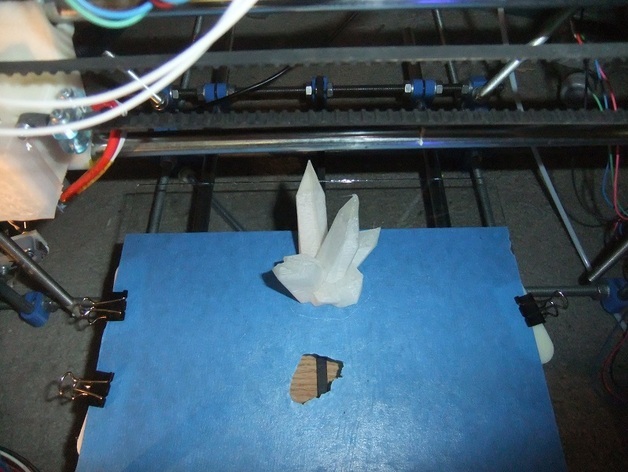
At the dawn of 3d printing, I was inspired by Adrian Bowyers' ideas, so I -- and a host of others -- purchased a Rapman kit from bitsfrombytes to join the revolution. (That, of course, was the precise instant everything went wrong.) Now, years later, I am attempting to convert that useless cube into a franken-Mendel, posting whatever custom prints I make to do so. A work-in-progress, obviously. I am testing all parts before I post them however. [edit] Gearing up for 1.0 soon! Instructions As always, I post the SCAD files on bld34: http://www.bld3r.com/obj/5899501847969792 Frame: Completely made from Rapman 8mm threaded rods, and tricolor-Mendel vertex corners. Some time was spent with a hacksaw to shorten 2. Z-axis Motor Mounts: Designed a NEMA-23 motor holder instead of the Mendel's NEMA-17. The motor had to be rotated slightly to fit. (Yes, I know the motors need to point down. The ones pictured are double-ended.) zholder-nema23.stl Y-axis motor mount: 2 x ymount-23.stl Y-axis rods: Bigger frame clamps were needed to attach the Rapman's 12mm Y-axis rods. frameclip-12mm.stl Linear bearing clips: Larger-bore clips for the Rapman's 12mm-inner-diameter linear bearings. Updated for a looser fit and more rational measurements (30mm everythings!) y-bearing-clip-2.stl Horizontal shaft drive: Three bevel gears with setscrew One bevel gear without setscrew, to sit on stepper 2 x shaft-holder.stl to attach to excess threaded rod bearing-nema23.stl, to go where the motor used to be and hold a skateboard bearing bearing-top.stl to attach to bearing-nema23.stl with spacers and another bearing springs, washers, nuts, threaded rods X and Y axis limit switches: They are different due to the X needing to fit on 8mm rods, the Y needing to fit on 12, and both needing to fit the big beefy switches the Rapman used. 8mm-limit.stl 12mm-limit.stl Z axis mounts: Three big pieces to fit the left side, right side and motor, and the slide and bearings. xz-carrier.stl : Carries the X axis motor z-slider.stl: Other side of the X axis, to hold rods and bearings x-slide4-e3d.stl: Slides on the 12mm rod with rapman linear bearings. It has little arms to hold something like an E3D extruder. It has been redesigned to be sturdier, smaller, and include a 40mm fan on the back, ducted over the heatsink. Use the plus8 one if you have an x-brand e3d that's extra tall. proboscis.stl : A little square that fits on the front of the x-slide to aim cooling air downwards after it passes through the heatsink, for permanently-wired bed cooling. Z-axis belt: Uses the 5mm belt from the rapman. Not quite ideal but whatever works. T5-8-pulley.stl: Sticks formly onto a stepper motor shaft with flat. tension-arm.stl: Pivots on the bolts holding the X-axis stepper motor, to press on the X belt and give it tension. One 608 bearing fits inside. tension-arm-cap.stl: Something to glue onto the tension arm so it holds the bearing and the belt securely. Other things: Will be posted when I get to them.
With this file you will be able to print Rapman-Mendel Conversion with your 3D printer. Click on the button and save the file on your computer to work, edit or customize your design. You can also find more 3D designs for printers on Rapman-Mendel Conversion.