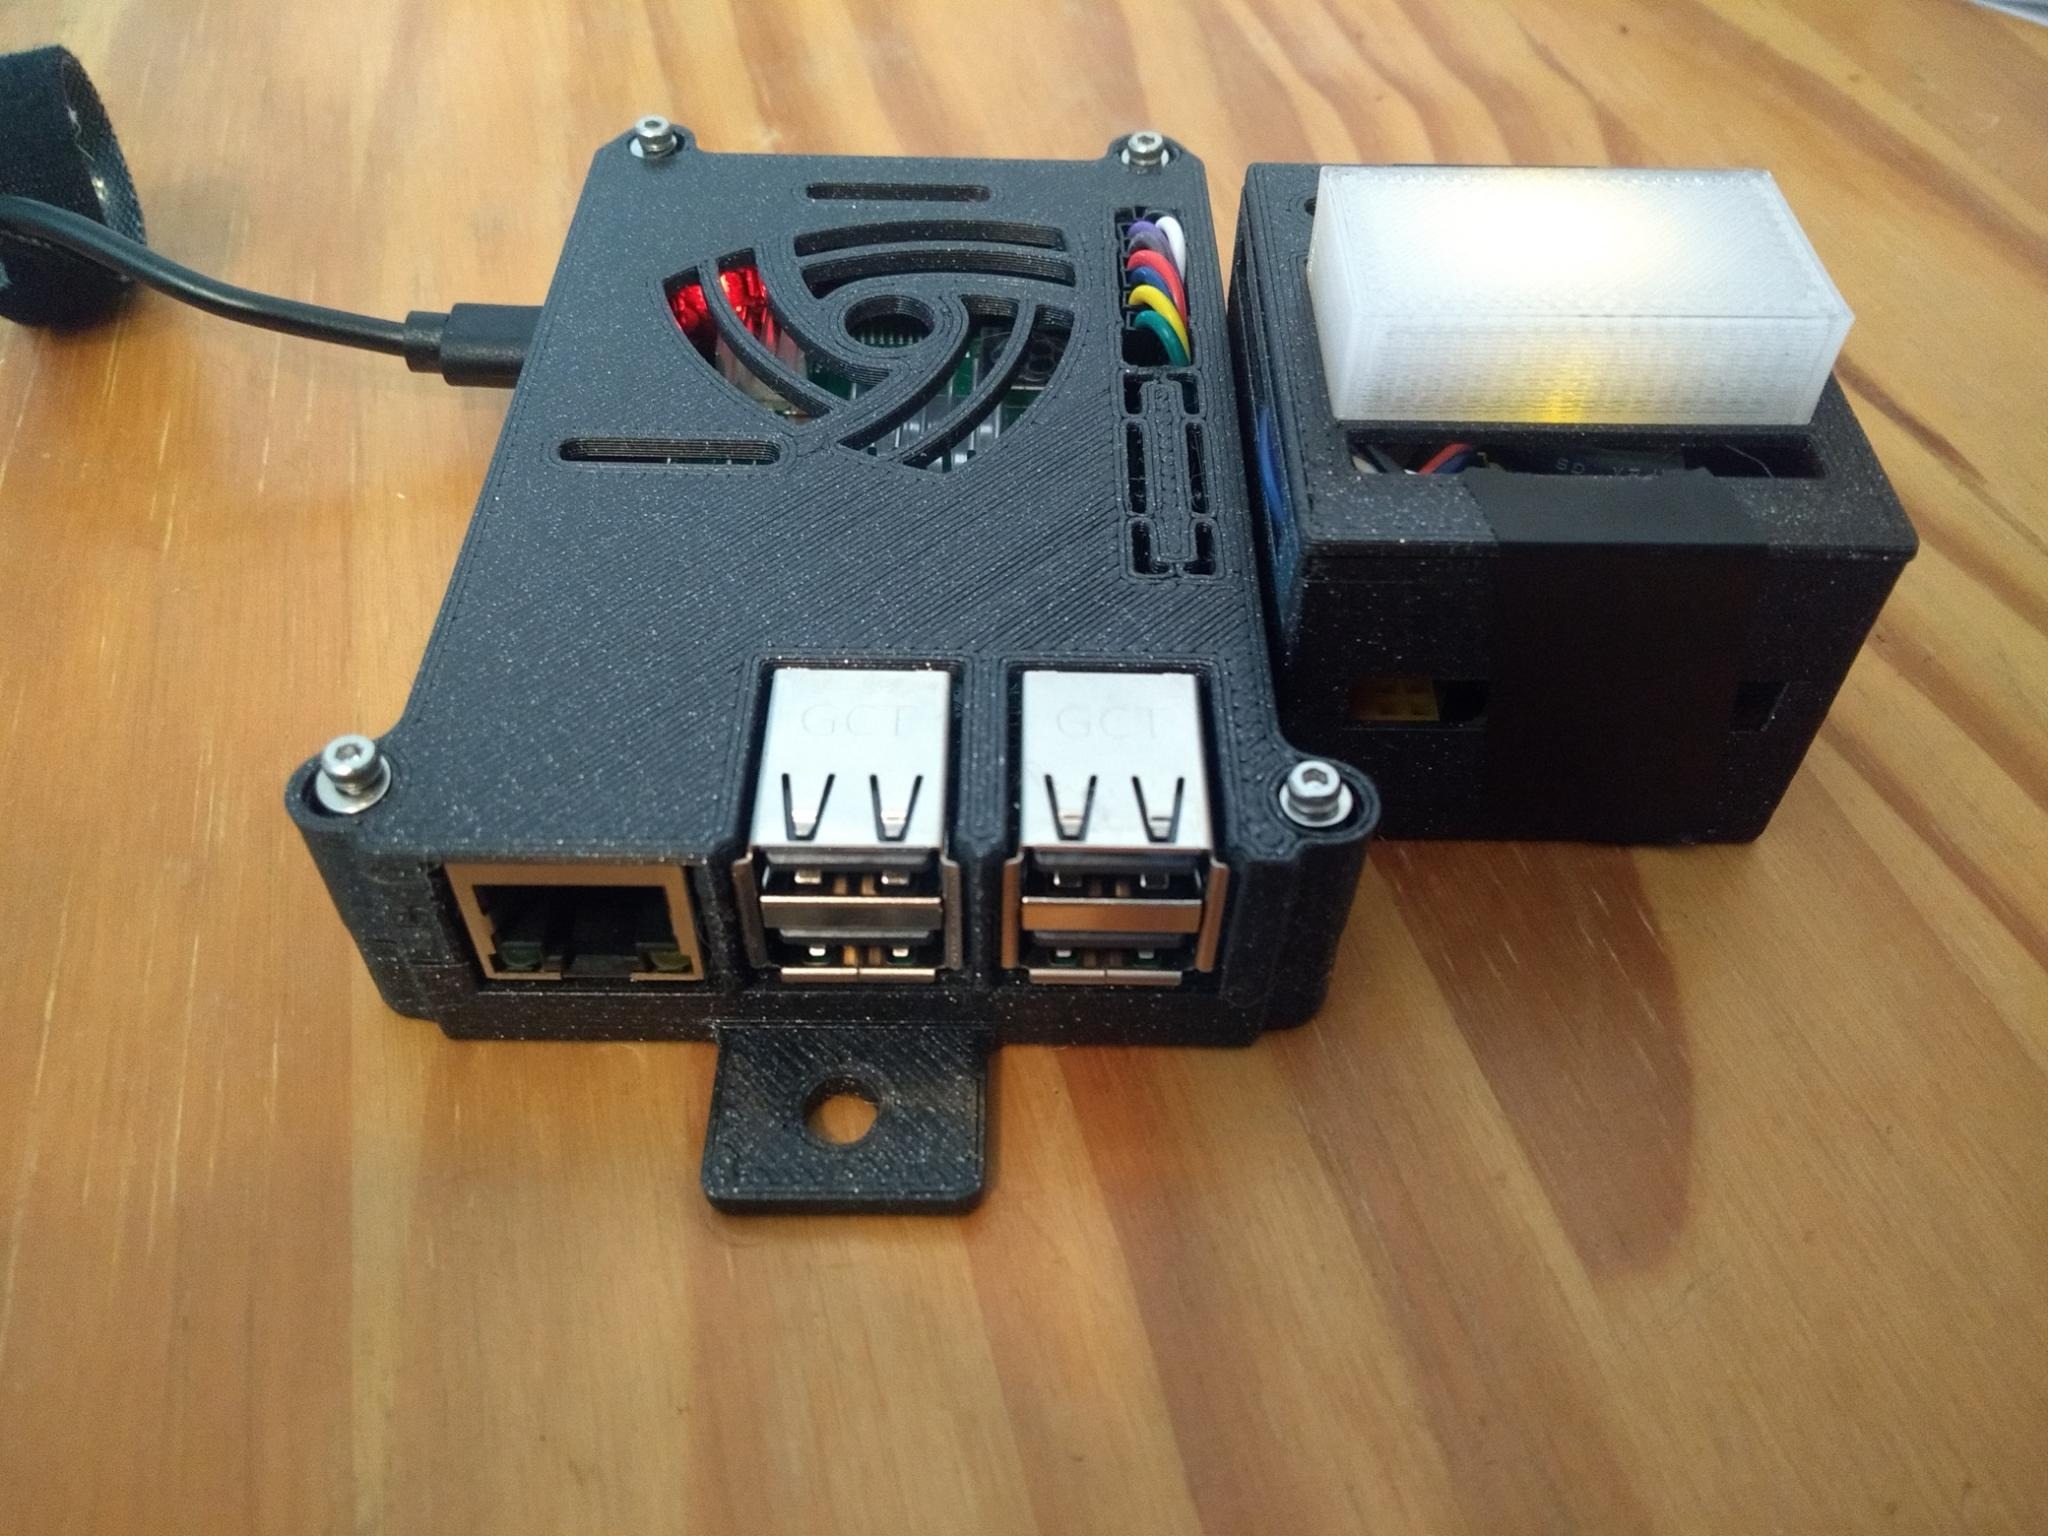
Raspberry pi 3 (B/B+) vesa case + connected mini breadboard box
prusaprinters
<p>This raspberry pi case solves the problem of multiple parts (raspi and mini breadboard) and dangling cables. Here everything is combined into one device, which makes it easy to move.</p><p>The presented case is a remix of Frieder Gätjen's <a href="https://www.thingiverse.com/thing:4071941">Raspberry Pi 3 + 1ch. Relay case</a>, which is itself a remix of the famous <a href="https://www.thingiverse.com/thing:922740">Raspberry Pi 3 (B/B+), Pi 2 B, and Pi 1 B+ case with VESA mounts</a> from thingiverse.</p><h3>Print settings</h3><p>Print the pi_bot_and_box, pi_top and box_top with PLA with .3mm layer height and default settings. Everything should fit on a mini in one go.</p><p>I had only transparent PETG, so i printed the led_diffusor in PETG with .3mm layer height, 90% infill (to scatter the light, maybe higher or lower infills might work better, but 90% works quite well) and otherwise default settings.</p><h3>Project example - air quality monitor (CO2 sensor)</h3><p>In the additional box, a CO2 sensor (Sensirion SCD30) and three indicator LEDs (green, yellow, red) are mounted on the mini breadboard. The pi runs the free and open source <a href="https://github.com/kizniche/Mycodo">Mycodo software</a>, which is configured to show green light below 800 ppm CO2, yellow in the range of 800 to 1400 ppm and red for higher concentrations. You should do some ventilation in your room if you see a red indicator light. </p><figure class="image image_resized image-style-align-right" style="width:48.61%;"><img src="https://media.printables.com/media/prints/296096/rich_content/77185b2d-0d43-4500-ad53-fb3085b8d5fd/pi_box_4.png#%7B%22uuid%22%3A%22e63d91f5-4591-4238-9da9-bc4237cc0065%22%2C%22w%22%3A1351%2C%22h%22%3A837%7D"></figure><h4>Monitoring software - Mycodo</h4><p>Mycodo also runs a web service, that you can address via your pi's IP. There you can configure a dashboard, as shown in the right. There's a lot more you can do with this software and loads of devices that are connectable. Most of it is found in the respective <a href="https://kizniche.github.io/Mycodo/">documentation</a>, which i highly recommend. If you want to know the software's capabilities, have a look at some of the <a href="https://github.com/kizniche/Mycodo#uses">featured projects</a>, you'll be amazed ;)</p><h4>Indicator lights - LED diffusor</h4><p>The LED diffusor was inspired by the <a href="https://www.printables.com/model/16294-ultimate-led-cube-accent-night-light/comments">ultimate LED cubes</a> by Makers Mashup. The diffusor was simply matched the cut out and sized reasonably, so that it can be pressed into the box top. The supplied STL of the diffusor does not contain any holes, you need to add a negative volume in PrusaSlicer with a diameter matching your LEDs. I added my design as .3mf, which fits three different 3mm LEDs (depending on your printer you might need to open the holes with a drill).</p><h4>Additional information</h4><p>In order to get an overview of all the different components and do some modifications i also included a .blend file for usage with <a href="https://www.blender.org/">blender</a>.</p><p>In order to hold the pi and to fix the pi top, you might want to melt in some solder inserts (M2 or M3).</p>
With this file you will be able to print Raspberry pi 3 (B/B+) vesa case + connected mini breadboard box with your 3D printer. Click on the button and save the file on your computer to work, edit or customize your design. You can also find more 3D designs for printers on Raspberry pi 3 (B/B+) vesa case + connected mini breadboard box.