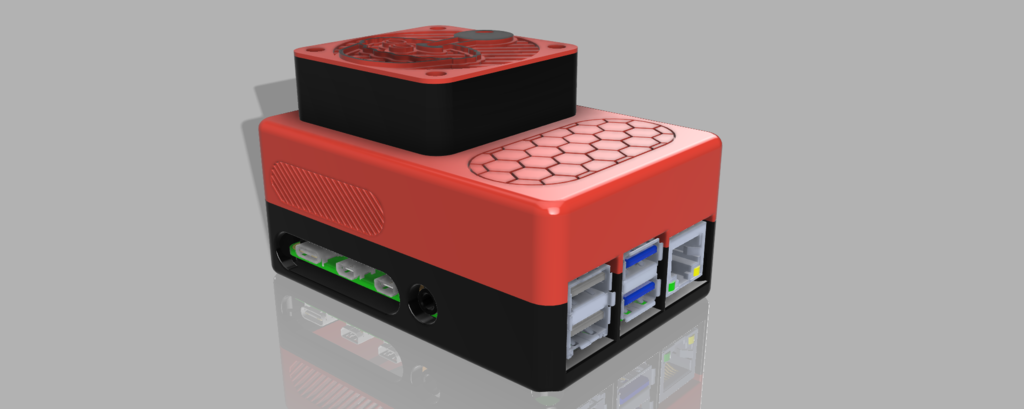
Raspberry Pi 4 Case w/ 50mm fan mount + RetroPie Fan Cover
thingiverse
*This is designed to work with a heatsink* You should print the pieces in the orientation that they already are in. You need 8x M3 screws (4 works with less stability). Screws of similar size will also work because they cut their own threads. *DIRECTIONS* 1. Put the 4 or 2 screws into their places in the bottom part. Then place the Pi 4 into the bottom part. You will have to put it in at an angle so be careful not to break anything. 2. Wire the fan through its hole and connect it to the labeled pins: 5V (Power), GND (Ground), and GPIO 14 (allows you to control fan speeds using software) https://community-assets.home-assistant.io/original/3X/8/4/84c2e73f6b548306ed80184ec9a33703b98a25ee.jpeg 3. Plug the Pi 4 in to make sure the fan is working. 4. Screw the fan into the holes. If you have the right screws it will be pretty hard because they are cutting their own threads. 5. Screw the top and bottom pieces together. They will also be hard. (the renders of the model are up to date but not the pictures)
With this file you will be able to print Raspberry Pi 4 Case w/ 50mm fan mount + RetroPie Fan Cover with your 3D printer. Click on the button and save the file on your computer to work, edit or customize your design. You can also find more 3D designs for printers on Raspberry Pi 4 Case w/ 50mm fan mount + RetroPie Fan Cover.