Raspberry Pi 4 Mini Desktop Case - Ice Tower Cooler + Secondary PCB Cooling Fan
thingiverse
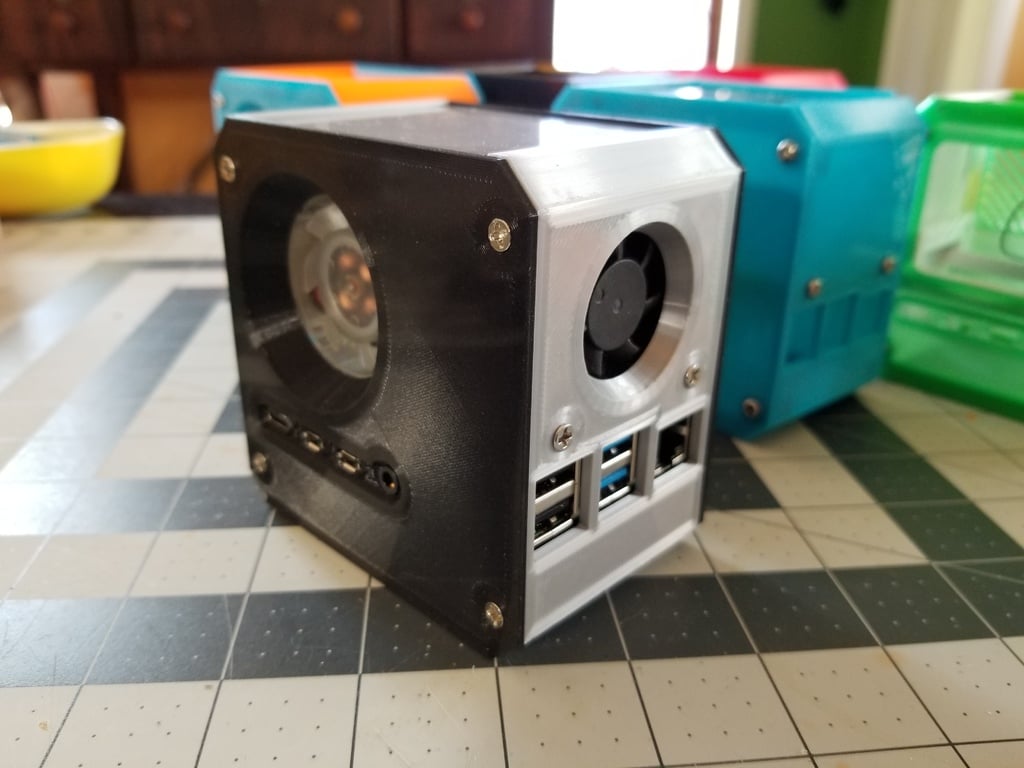
This is a 3D printing project for a custom case for the Raspberry Pi 4, specifically designed to improve cooling performance. The design includes several features: 1. Secondary fan support: A side panel cutout allows for installation of a 40mm x 20mm fan on the Ice Tower heatsink. 2. Printable top and bottom panels: These panels can be printed in vase mode to minimize material usage, and they have slots that are approximately 4mm wide, allowing them to hold various materials such as cardboard, foamcore, wood, or acrylic. 3. Reduced support material: The designer aims to avoid using support material wherever possible but acknowledges that some parts will require it. The project includes several printable parts, including: 1. Structure part 2. HDMI side panel cutout 3. Top and bottom panels 4. Fan duct Hardware requirements include 14 m3 x 6mm - 8mm screws for the exterior assembly, as well as screws to hold the fan onto the duct (m2 screws). The designer conducted thermal testing with a secondary fan and found that it reduced the temperature of their Pi 4 overclocked to 2ghz from 40 degrees to 35 degrees. They also experimented with a 40x20 fan on the heatsink and a 30 x 10 fan, achieving an average temp of 33 degrees. The designer has provided links to fans used in the testing and recommends rotating the duct part 30 degrees counterclockwise to minimize support material requirements. A YouTube video provides further details on the project, including thermal testing numbers. Additionally, the designer has added three new files for implementing an option to have the air pass over the PCB take a 180-degree turn after passing out the back of the case, and then travel back across the bottom of the PCB to be exhausted out the front panel below the USB ports.
With this file you will be able to print Raspberry Pi 4 Mini Desktop Case - Ice Tower Cooler + Secondary PCB Cooling Fan with your 3D printer. Click on the button and save the file on your computer to work, edit or customize your design. You can also find more 3D designs for printers on Raspberry Pi 4 Mini Desktop Case - Ice Tower Cooler + Secondary PCB Cooling Fan.