Raspberry Pi 7" Touch Screen Console Stand Case
thingiverse
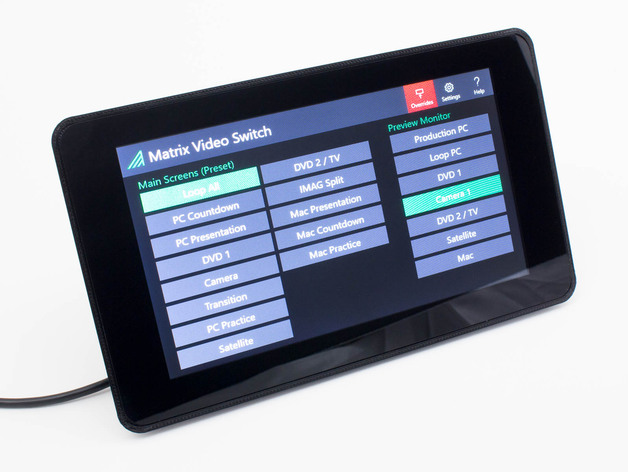
This custom case holds a Raspberry Pi (2 or 3) and the official 7" touch screen display in a convenient desktop-console format. The creator designed it for a video switching system, but it's ideal for any kind of control screen, status display, photo frame, or other small desktop device. The case offers full access to the network and USB ports and allows swapping out the SD card, though tweezers or needle-nose pliers may be necessary to reach it easily. The flex ribbon will block the SD card slot unless a longer flex ribbon is used and folded as shown in the photos. Do not attempt to fold the original ribbon, as it's too delicate. Note that you'll also need a right-angle power cable to supply power to the Raspberry Pi. Power can then be supplied to the touch screen from the Raspberry Pi GPIO pins using the jumpers that came with the display. Here are the components used: Raspberry Pi 3 (CanaKit with power supply): http://amzn.to/293362J Official Raspberry Pi 7" Touch Screen: http://amzn.to/28UAYuL 32GB SanDisk Ultra Micro SD Card: http://amzn.to/28UB9WY Right-angle micro USB power extension: http://amzn.to/28Z98lE To assemble the case, you'll also need: M3x10 flat head screws (4) to attach the stand to the bezel M3x5 button head screws (4) to attach the bezel to the screen Adhesive rubber feet (4) to keep the case from sliding around Do not attempt to use screws longer than 5mm to attach the bezel to the display, or they will penetrate and damage the screen. When you click on these links and make a purchase, it can result in commissions from Amazon that help support my work. Printer Settings MakerFarm Prusa i3v Rafts: Doesn't Matter Supports: Yes Resolution: .2mm Infill: 40% Notes: I recommend PETG for these parts because it stays flatter and will fit the display better. You can also use ABS, but be aware that these are large parts and they may not fit well if they warp during printing. The prints shown in the photos were done with eSun PETG Black: http://amzn.to/28WixL0 Post-Printing Assembly Attach the stand to the bezel using four (4) M3x10 flat-head screws. You may wish to tap the holes in the stand so the screws are easier to install. Orient the stand so that the cutout for the display flex cables is toward the bottom. Mount the Raspberry Pi to the display with the GPIO pins facing out and the display flex connectors on the same end. Mount the assembled case onto the back of the display/Pi assembly using four (4) M3x5 screws. DO NOT USE SCREWS LONGER THAN 5mm. Longer screws will damage the display. If you only have 6mm screws, use a couple of washers to keep them from overpenetrating. Route a 90-degree right-angle micro USB extension cable through the opening in the side of the stand and to the Raspberry Pi. Use a small zip tie to anchor the power cable in the slots provided (see photos). Attach four rubber feet to the bottom in the recesses provided. How I Designed This Editable Models I designed this thing using Fusion 360. Editable project files can be found here: http://a360.co/28VtFEU Alternate Versions Two versions of the stand are provided: One with no additional connector openings One with an opening for a DB9 serial connector. I used this to control an RS-232 device using this level shifter: http://amzn.to/28W8Igf
With this file you will be able to print Raspberry Pi 7" Touch Screen Console Stand Case with your 3D printer. Click on the button and save the file on your computer to work, edit or customize your design. You can also find more 3D designs for printers on Raspberry Pi 7" Touch Screen Console Stand Case.