Raspberry Pi 7" Touchscreen Sleek Wall Mount
thingiverse
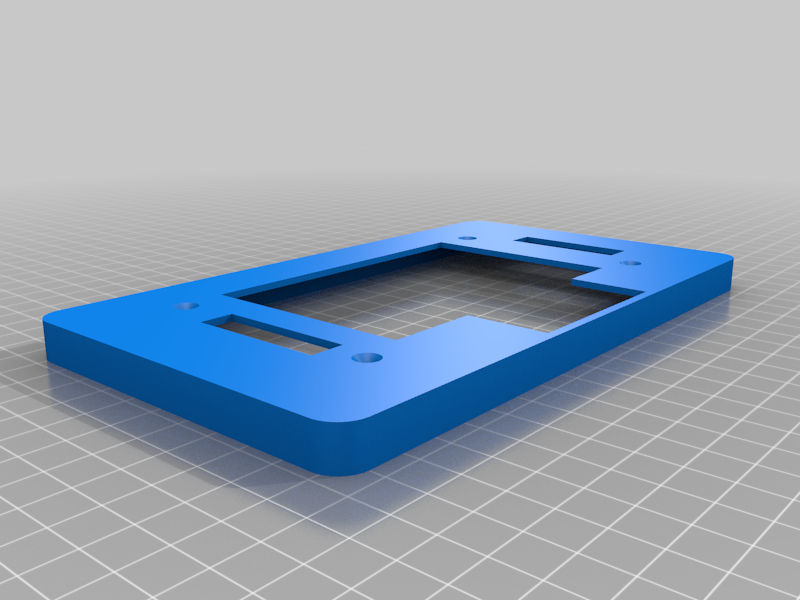
A sleek wall mount for the 7" Raspberry Pi touchscreen. To get this wall mount so sleek, you will need to cut a hole in the drywall for the back of the Raspberry Pi to stick out - place the wall mount on the wall and trace out the rectangle. Depending on what screws you use, you may also need to shave the drywall around the four holes that hold the screen. These screws should be 3x3mm (<fact check) screws. The best way to attach the hooks to the wall is to push them into the holes in the wall mount, hold it level and screw them down. You can use wood behind the drywall to make it sturdy, but this is unnecessary. The tolerances of the hooks are very tight - you may need to use force to hook the wall mount on. If it does not fit, you may need to shave the holes or hooks down. The hooks should be printed at the same time the wall mount is printed, so any variances in the expansion in the filament are equal. Only use PLA This has been tested on these 2 screens (they are slightly different but still work): https://littlebirdelectronics.com.au/products/raspberry-pi-7-touchscreen-display-official https://core-electronics.com.au/pitft-7-touchscreen-display-for-raspberry-pi.html
With this file you will be able to print Raspberry Pi 7" Touchscreen Sleek Wall Mount with your 3D printer. Click on the button and save the file on your computer to work, edit or customize your design. You can also find more 3D designs for printers on Raspberry Pi 7" Touchscreen Sleek Wall Mount.