Raspberry Pi and RasPiComm Case
thingiverse
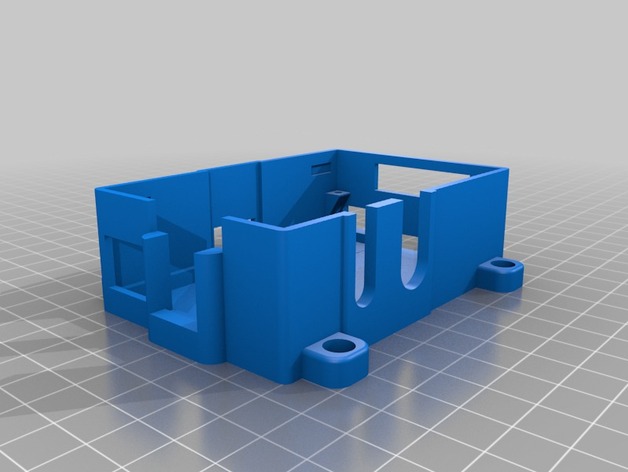
This case is specifically designed for Raspberry Pi with support for the RasPiComm extension board (http://amesberger.wordpress.com/2012/08/23/raspicomm-v3-almost-ready/). It features outlets and screw mounts for the extension board. The case was printed using a Makerbot Replicator with 0.2mm layer height, default speed settings, ReplicatorG 0037, and skeinforge 50, with acceleration activated. To print the entire part at once, use RasPiCommBoxPrint.stl. Alternatively, you can print the parts separately but remember to rotate the RasPiCommBoxTop.stl 180° around the x-axis for printing. You have the choice between a version with mounting holes (RasPiCommBoxBottom.stl) or one without mounting holes (RasPiCommBoxBottomNoMount.stl). The RasPiComm PCB hole has a 2.5mm diameter, which can be cut into a 3mm thread using a thread cutter for fixing the board with a 3mm screw. For enhanced build quality, generate g-code twice, one time with no extra shells and another time with 1 extra shell, then combine them so that you use 0 shells up to Z2.5 and 1 extra shell for the rest of the layers. For more information about RasPiComm Raspberry Pi extension board, visit http://amesberger.wordpress.com.
With this file you will be able to print Raspberry Pi and RasPiComm Case with your 3D printer. Click on the button and save the file on your computer to work, edit or customize your design. You can also find more 3D designs for printers on Raspberry Pi and RasPiComm Case.