Raspberry Pi Bay - 4 slots - RPi Cluster
prusaprinters
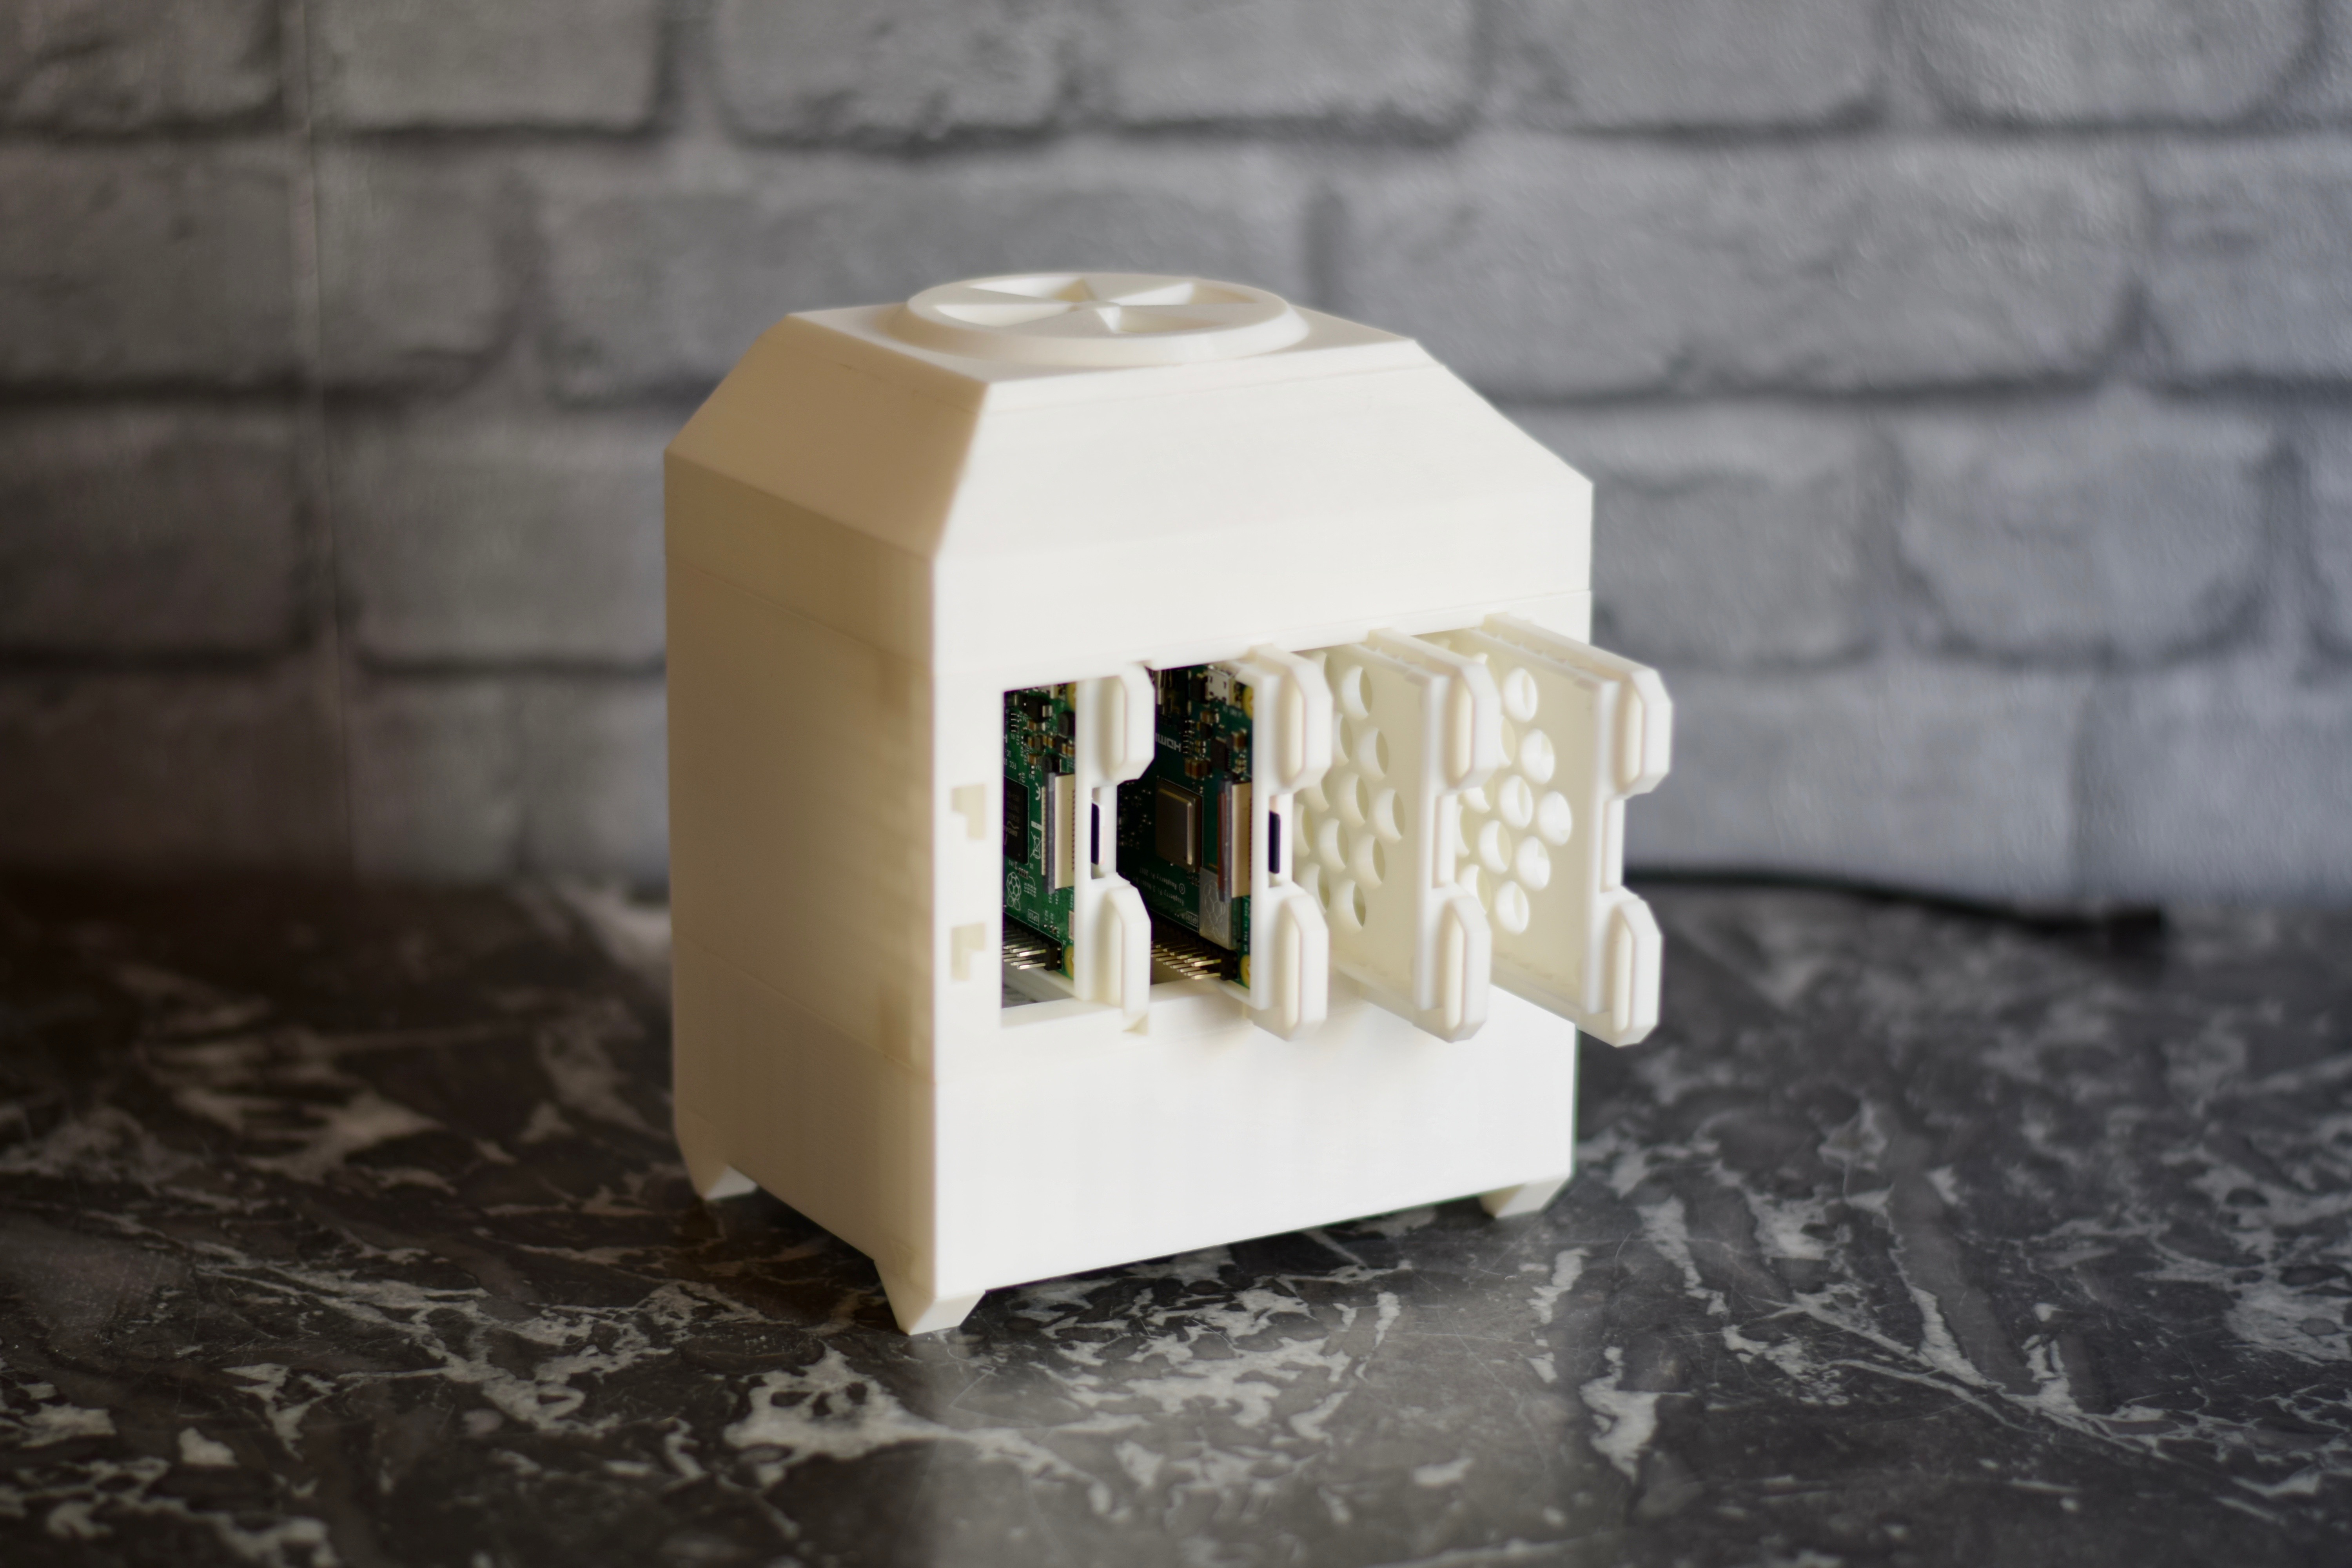
<p>Good morning, folks!</p><p><strong>An assembly video is available here: </strong><a href="https://www.youtube.com/watch?v=gMeAFoPIWX0"><strong>https://www.youtube.com/watch?v=gMeAFoPIWX0</strong></a></p><p>I'm super happy to present you my latest design. I took advantage of this quarantine period to learn a bit more about programming, and I set up several Raspberry Pi (RPi) as small home servers for several applications (chat, home cloud, VPN, etc.). However, after a while, I ended up having several raspberry pi hanging around my router. With the heat we've had recently, the Pi's were reaching over 55°C. Even though it's not a real problem, I thought that having a system to store them together and keep them cool would be a good thing for the upcoming summer. I have a hard drive bay attached to my NAS, and I though that such system would be inspiring and that is why I come with a raspberry pi bay where we can easily and quickly swap pi drives for different applications and tests.</p><p>This bay is composed of several interchangeable parts. Most of them are easily customizable to fit other needs/designs.</p><blockquote><p>Here, the supplied set is made for a 92mm fan. I wanted to have the quietest solution, so I opted for a BeQuiet! 92mm PureWings 2. I quickly soldered two dupont male connectors to a micro-usb cable in order to be able to connect the fan to a usb port. Of course, it's easy to rework the fan adapter a bit to fit smaller fans. I'll put some other versions online when I have some free time.</p><p>Also, I've added several types of covers that offer different ventilation options. The one I printed is a dual system. The top vent can be opened or closed as needed. Select the grid version if you need more airflow, and the plain version if you need less. In all cases, the top cover also includes a grid to ensure that air can escape.</p><p>The same modularity is available for the back plates. At the moment, two versions are available: a simple version if you don't have a Pi in this housing or if you don't need to connect a cable to it, and a version with a hole for the internet cable to connect it to a RPi 2 & 3 and recently the RPi 4.</p><p>Finally, for the dust filters, my printed version uses a honeycomb filter with a 10 to 20% infill depending on the filter. But don't hesitate to choose the one you prefer.</p></blockquote><p>The Raspberry Pi racks I designed are compatible with the Raspberry Pi 2B, 3B, 3B+ and now with the 4B models.<br>I also added a rack version that doesn't use the snap&lock system ("Rack_RPi3&4_S"), but that gives you the possibility to screw the RPi onto it. For this you need 2.5 or 3mm diameter screws. Still, I advice to use the snap&lock version ("Rack_RPi3&4_NS") as it works great an it's much simpler.</p><p>Furthermore, according to this <a href="https://www.pidramble.com/wiki/benchmarks/power-consumption">benchmark</a>, the RPi 3B is much more energy efficient than the RPi 3B+ and RPi 4B. Therefore, if you want to save energy for economic or environmental reasons, I strongly advise you to opt for the 3B version. It is quite capable of running light applications (such as chat servers (Rocket.Chat, mumble, etc.), VPN, etc.).</p><p>List of material used (except 3D printed parts):<br>1 Raspberry Pi 3B<br>1 Raspberry Pi 3B+<br>1 BeQuiet! 92mm PureWings 2 fan<br>2 micro-usb cables<br>1 USB cable + 2 male dupont cables (soldered, for fan USB power)</p><p>Additional info:</p><blockquote><p>In my case I added some furniture pads in the bottom part where the fan adapter is in contact with the piece, to reduce vibration and noise. For this you need to use the "Case_Bot_Pads" version of the part, with 15x4mm round or square pads. Otherwise, you just need to print the "Case_Bot_NoPads" version of the part.</p><p>For more info about the printing parameters I used, please have a look at the dedicated section bellow.</p><p>After testing, my Raspberry Pi are now around 47°C (against 55°C previously), with a room ambiant temperature of 27°C and 2 RPi loaded. So I can consider this bay as successfully working.</p></blockquote><h3>Print instructions</h3><p><strong>I designed this with beginners in mind.</strong> I remember how terrible it is to have to remove each support from several pieces, and then discover that they don't fit together because my machine is not calibrated, or not precise enough. To avoid this, this design has a tolerance of 0.4 mm and is fully printable right away without any support.</p><p>Just, if 0.4 mm tolerances are not sufficient, I advise you to sand very lightly the sprockets of the main parts. The others should fit together without any problems.</p><p>I printed all pieces (except bot, mid and top dust filters) with 2 perimeters, 10% rectilinear infill, 4 bottom and 4 top layers.</p><p>To print the dust filters, just select the infil patern you prefer, the infill ratio, and remove the top and bottom layers so it will keep the wholes generated opened. I my case the bottom dust filter has a slightly higher infill than the two others. This is to insure that no dust will enter and that the two other filters will not limit the airflow.</p><p>I advice to add a brim (10mm, 2 layers) for the large pieces to avoid warping. In my case I added the brim on all parts as I wanted to print wit a low bed temperature (it's pretty hot in my room these days ^^).</p><p><i><strong>Approximate total print time : 24h</strong></i></p>
With this file you will be able to print Raspberry Pi Bay - 4 slots - RPi Cluster with your 3D printer. Click on the button and save the file on your computer to work, edit or customize your design. You can also find more 3D designs for printers on Raspberry Pi Bay - 4 slots - RPi Cluster.