Raspberry Pi Camera V2 Snapmaker 2 Toolhead Mount
prusaprinters
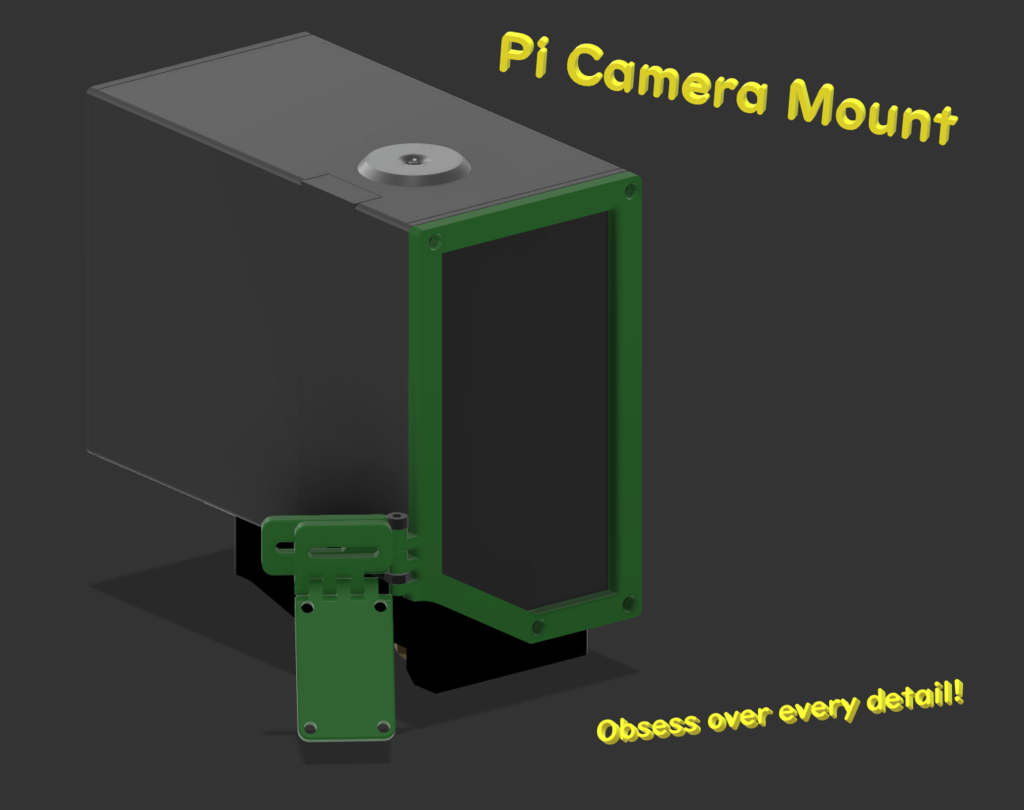
<p>A mount to attach your raspberry pi v2 camera to the toolhead of your <a href="https://snapmaker.com/product/snapmaker-2">Snapmaker</a>.</p> <p>This allows you to aim the camera directly at the extruder nozzle so you can closely inspect layers as they go down to ensure no problems.</p> <p>Mounting hardware (All came in this kit):</p> <ul> <li>To replace the toolhead screws<ul> <li>4 M2x6</li> </ul> </li> <li>For the toolhead mount <> horizontal arm<ul> <li>1 M2x10 screw</li> <li>1 M2 nut</li> </ul> </li> <li>For the horizontal arm <> sliding mount<ul> <li>2 M2x8 screws</li> <li>2 M2 nuts</li> <li>2 M2 washers</li> </ul> </li> <li>For the sliding arm <> vertical arm<ul> <li>1 M2x14 screws</li> </ul> </li> <li>For vertical arm <> pi camera v2<ul> <li>4 (or 2 if you're lazy) M2x4 screws</li> <li>You might wants nuts too (again, if you're not lazy)</li> </ul> </li> </ul> <p><strong>NOTE</strong>: I messed up a bit on the dimensions, so the vertical arm must attach to the toolhead mount one rung "up" from where it was originally designed. I moved the object up in the f3z file though so you can see what to do.<strong>If you mount it in the original designed location, the camera will probably run into your prints if it's able to see the extruder nozzle.</strong> (all the shots below have it in the right position though)</p> <h3>Print Settings</h3> <p><strong>Printer:</strong></p> <p>Snapmaker A350</p> <p class="detail-setting rafts"><strong>Rafts: </strong> <div><p>No</p></div> <p><strong>Supports:</strong></p> <p>Yes</p> <p class="detail-setting resolution"><strong>Resolution: </strong> <div><p>.16 mm</p></div> <p><strong>Infill:</strong></p> <p>.4 mm</p> <p><strong>Filament:</strong></p> Snapmaker PLA <p>Black</p> <p><br/> <p class="detail-setting notes"><strong>Notes: </strong></p> </p><div><p>Printed with tree supports in Cura to make sure the holes on all the arms print correctly.</p></div> Post-Printing ============= <p><strong>Elephant foot cleaning</strong></p> <div><p>Some of the parts needed to have elephant's foot cleaned up, I just used a razor blade to shave it off so the parts would all fit together.</p></div> How I Designed This =================== <p><strong>General process</strong></p> <div><p>Kinda eyeballed where I wanted the camera to go, had a copy of the toolhead dimensions from another project and the dimensions of the rpi camera from google, then just made arms that would allow me to adjust after printing to get exactly the right angle.</p></div> Custom Section ============== <p class="detail-caption"><strong>Note how the horizontal arm joins to the toolhead mount one rung up.</strong></p> <p class="detail-image"><img src="https://cdn.thingiverse.com/assets/14/09/ec/fc/94/above.jpg"/></p> <p class="detail-caption"><strong>from above</strong></p> <p class="detail-image"><img src="https://cdn.thingiverse.com/assets/d4/50/05/6e/5e/below.jpg"/></p> <p class="detail-caption"><strong>from below</strong></p> <p class="detail-image"><img src="https://cdn.thingiverse.com/assets/e3/30/98/e8/5d/side.jpg"/></p> <p class="detail-caption"><strong>side view</strong></p> <p class="detail-image"><img src="https://cdn.thingiverse.com/assets/4c/0f/de/ad/5a/camera_view.png"/></p> <p class="detail-caption"><strong>View you can see when printing (in octoprint), you'll want to make sure to print a focus tool (I like https://www.thingiverse.com/thing:2241293) to focus the camera since it'll definitely be set too far</strong></p> </p></p> Category: 3D Printer Parts
With this file you will be able to print Raspberry Pi Camera V2 Snapmaker 2 Toolhead Mount with your 3D printer. Click on the button and save the file on your computer to work, edit or customize your design. You can also find more 3D designs for printers on Raspberry Pi Camera V2 Snapmaker 2 Toolhead Mount.