Raspberry Pi Case for 5-inch HDMI Touchscreen
thingiverse
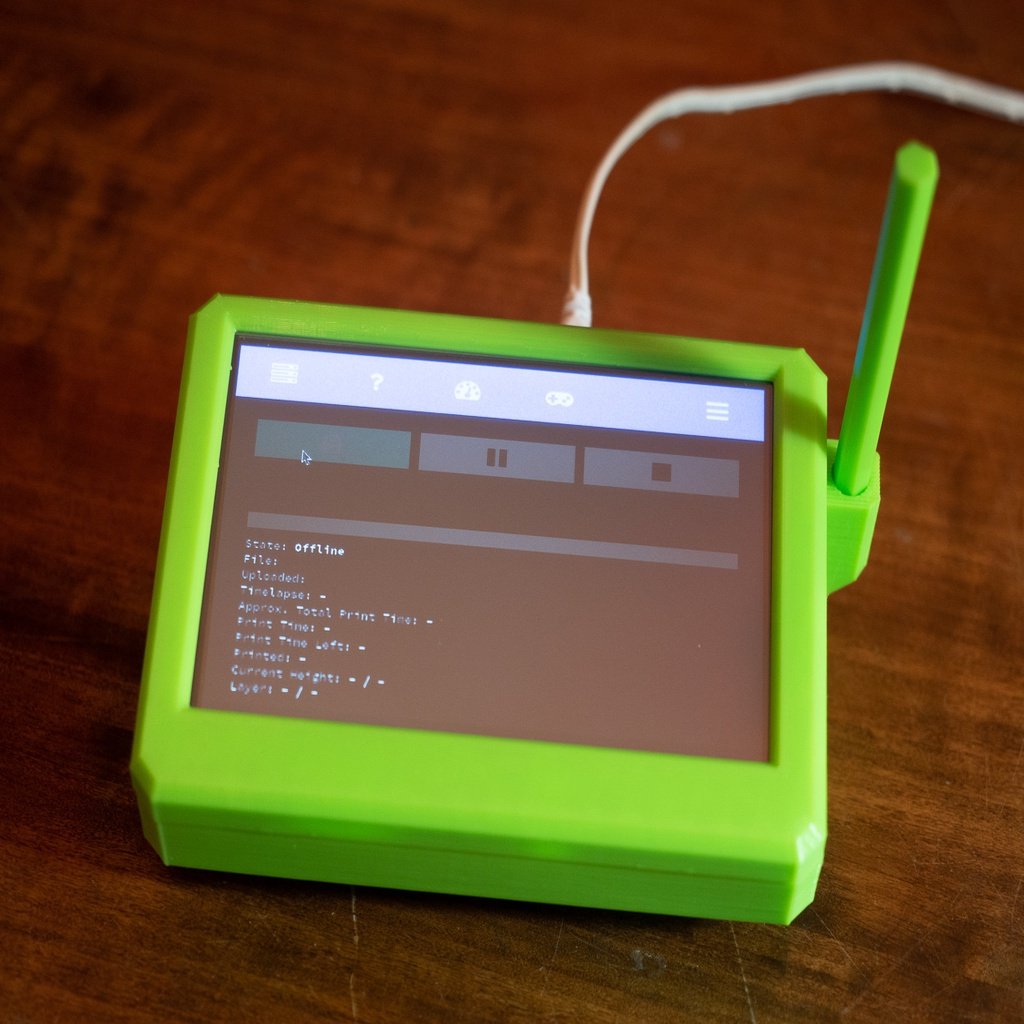
This is a case for the Raspberry Pi 3 (Model B or B+) with a 5-inch resistive touchscreen sold on Amazon under various names, including [Kuman](https://www.amazon.com/dp/B07QB2FGSL) and [Elecrow](https://www.amazon.com//dp/B013JECYF2). The touchscreen connects to the Pi through the GPIO header and a small HDMI jumper board (see photo 2 and 3). Touchscreens using the Pi's display connector will not fit. Try this one instead. Note: Some photos are from earlier versions of the case. ## Components * `Case5-Box-v3.stl` - The basic container. * `Case5-Box-SH-v3.stl` - Container with built-in stylus holder. * `Case5-Faceplate-v2.stl` - The faceplate for all four containers. * `Case5-Bumper-5mm-v2.stl` - A 5mm bumper (foot) to make room for airflow under the case when using a cooling fan. You will need four. * `Case5-Bumper-2mm-v2.stl` - A thin 2mm bumper. You will need four if you do not install a fan. * `Case5-Bumper-8mm-v2.stl` - An extra-high 8mm bumper for more airflow. * `Case5-Stylus-v2.stl` - An 8mm stylus. ## Printing Both boxes print bottom-down without support, as long as you can handle the bridges on the back, about 18mm maximum. The faceplate prints face-down, and the bumpers print right side up, without support. 0.20mm layers work well, and I've used 0.28mm layers with no trouble. The stylus prints lying on its side. The point will distort without support. Use Cura's automatic support with the minimum area set to 1mm. Print with 0.20mm layers, or less for better appearance. I haven't tried it standing on end, but it's worth a try. ## Assembly Install the bumpers first. They screw into holes on the bottom. They are a very loose fit, but snug down securely when tightened. Install the fan using M3-16 screws and nuts. A fan is not mandatory, but helps a lot. I bought this fan on Amazon, and it turned out to be very quiet. See also note under Revision History for V3. The GPIO connector is not available for 5V power, but there are pads on the touchscreen that may help (see photo 4). > NOTE: If you solder to the pads as shown in the photo, add some epoxy or hot glue to avoid peeling off the copper. Remove all of the standoffs from the touchscreen. Attach the touchscreen and Pi together, and put them in as one unit. Then snap the faceplate on and attach the HDMI jumper. There is a slot in the case over the audio plug for a camera ribbon cable. Photos 5 and 6 show a suggestion for routing the cable. Twist and bend the cable as shown before attaching the Pi and display together, then feed it through the slot before putting them in the case. ## Revision History * V1, 21 Dec 2019. First release. * V2, 16 Jan 2020. Rebuilt from scratch based on this design. The case versions without fans have been dropped, as you can just leave it out if you don't want one. The stylus is a bit smaller to make sure it will fit in the holder. * V3, 26 Feb 2020. Fan grill redesigned. It turns out the grill makes a huge difference in the amount of fan noise, and my original design was about as bad as it gets.
With this file you will be able to print Raspberry Pi Case for 5-inch HDMI Touchscreen with your 3D printer. Click on the button and save the file on your computer to work, edit or customize your design. You can also find more 3D designs for printers on Raspberry Pi Case for 5-inch HDMI Touchscreen.