Raspberry PI Case, MacMini style
thingiverse
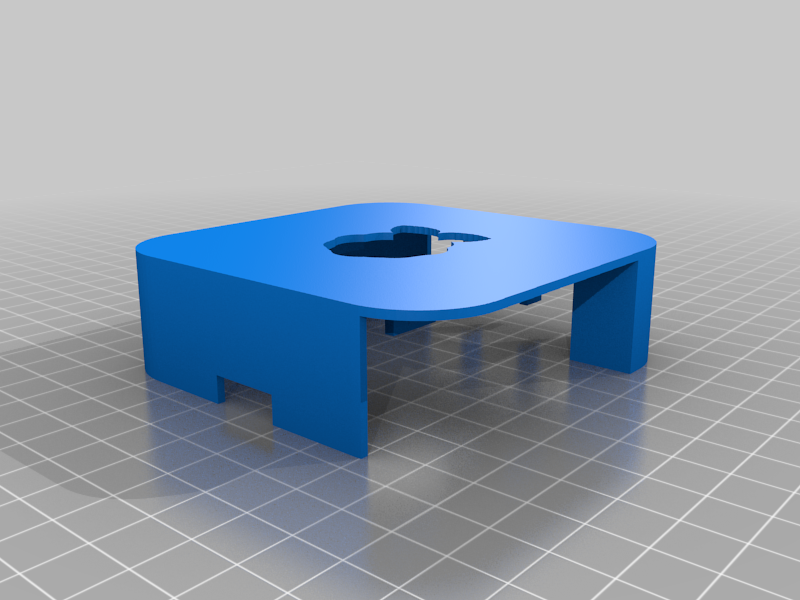
This is my case for the Raspberry PI 3. No mounting hardware required, it just snaps together. Assembly instructions: 1. put the PI into the bottom, so the HDMI, audio and USB ports match the cutouts in the side wall and the small pins poke through its 4 screw holes 2. put the inlay ontop, so the 4 poles sit on the pins poking through the screw holes 3. snap on the top cover. This one can need quite some persuasion, since the snap requires a snug fit. I'd suggest printing the top and bottom in the same color (white or silver, if you want it to look somewhat like an actual MacMini) and the inlay in another (darker) color. The Top and Bottom parts do not require supports, the inlay obvously does.
With this file you will be able to print Raspberry PI Case, MacMini style with your 3D printer. Click on the button and save the file on your computer to work, edit or customize your design. You can also find more 3D designs for printers on Raspberry PI Case, MacMini style.