Raspberry Pi Case w/Fan Spacer and Breadboard
thingiverse
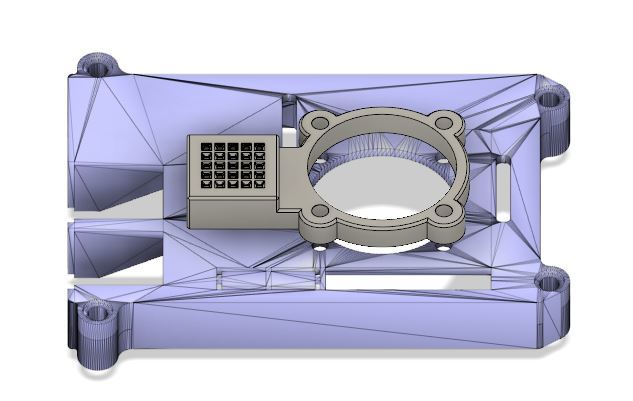
Adding a fan to a Raspberry Pi is optional unless you're overclocking and happened to have one lying around from a previous project. I had designed a spacer for the case lid that gave enough clearance when using a heat sink, see https://www.thingiverse.com/thing:2897483. Connecting the fan to GPIO pins means it runs continuously, which can be annoying even though my fan is relatively quiet, but I'm always looking to improve my projects. I stumbled upon an Instructable at https://www.instructables.com/id/Control-a-Cooling-Fan-on-a-Raspberry-Pi-3/ that allows for fan control based on CPU temperature without needing a transistor or resistor. Since I wanted a clean look, I searched for alternative breadboards and found the modular one made by sketchpunk at sources. I combined my previous spacer design with a modified version of the breadboard to mount the control components neatly inside the case. This setup allows for fan control based on CPU temperature without cluttering up the workspace. Please leave comments for any suggestions or improvements you may have.
With this file you will be able to print Raspberry Pi Case w/Fan Spacer and Breadboard with your 3D printer. Click on the button and save the file on your computer to work, edit or customize your design. You can also find more 3D designs for printers on Raspberry Pi Case w/Fan Spacer and Breadboard.