Raspberry Pi Cluster Rack
thingiverse
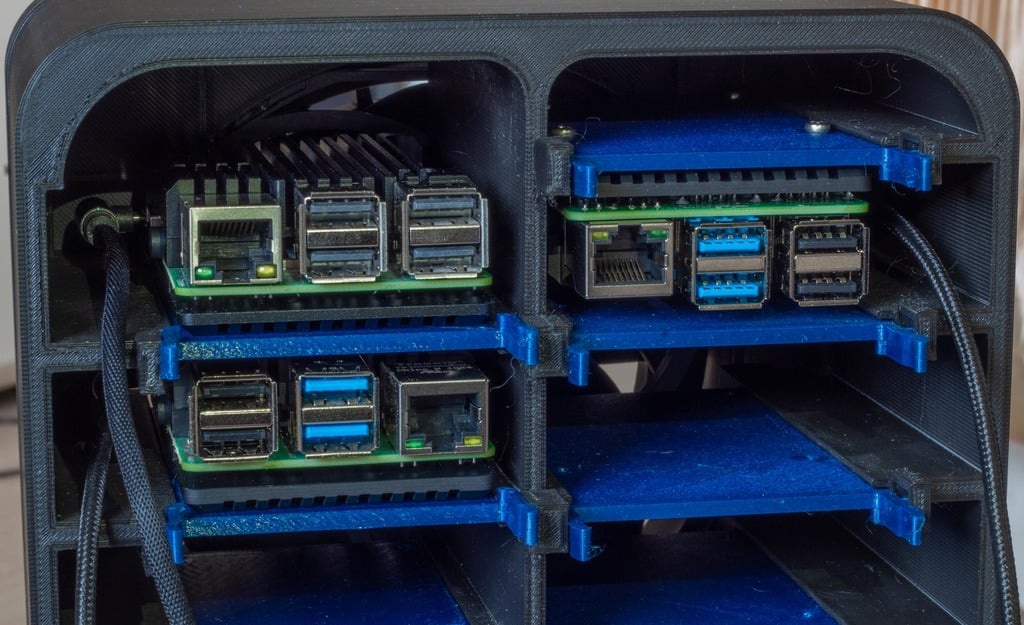
This is a case designed to house 8 Raspberry Pis along with a 140mm PC Fan. The body consists of two parts: the Frame and the Fan Cover. A caddy needs to be printed for each Raspberry Pi that will be housed in this case. Expect a total print time of around three to four days at 80mm/s, even on smaller printers like an Ender 3. This case is designed with every Pi individually removable without disassembling the entire case. This is achieved using caddies with the Pis facing down on one side and up on the other. The right side has extra rails at the top to accommodate the USB Power Connector. Caddies are inserted into the Frame, allowing for easy replacement of Pis during operation. To power the fan, use a USB 12V Boost Converter. This little circuit board converts USB power to 12V DC and can be powered by a Multi-Port USB Power Supply or any other method you like. You can also adjust the fan speed using a PWM Fan Controller for optimal cooling-to-noise ratio. In this setup, the fan runs at full speed to ensure maximum cooling. However, some fans may run slower on lower voltage, and it's recommended to use an adjustable PWM Fan Controller to get the best balance between cooling and noise. After setting up your Pis with USB Power Cables already plugged in, plug in any necessary USB/Ethernet cables. Once everything is set up, ensure the fan is running, and then plug all your Raspberry Pis into the Multi-Port USB Power Supply. If you need to replace a Pi, simply unplug its wires and remove the caddy without affecting the other Pis. The combination of the fan with armor cases keeps all your Pis very cool, allowing for maximum performance in a compact space.
With this file you will be able to print Raspberry Pi Cluster Rack with your 3D printer. Click on the button and save the file on your computer to work, edit or customize your design. You can also find more 3D designs for printers on Raspberry Pi Cluster Rack.