Raspberry Pi HQ Cam M43 Adapter
thingiverse
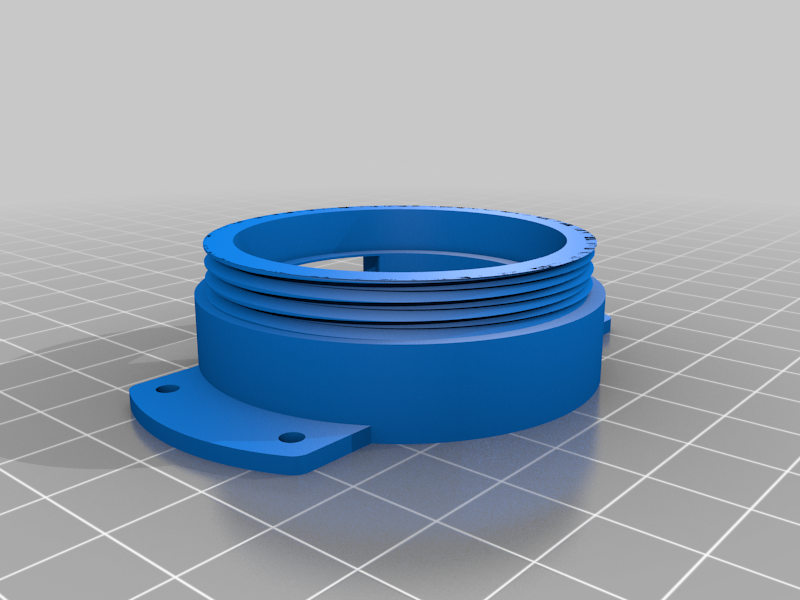
This is a raspberry pi HQ camera m43 adapter. The HQ camera circuit board screws on to the base (the 4 corner holes). You may need to take off the C/CS mount rings and other hardware for it to fit. Next, you screw on the lock ring all the way to the bottom (this has somewhat tight tolerances but it'll loosen up ones you get it on and screw it on and off a few times). Finally, put on the adapter piece and add a lens. The lens adapter and lock ring screw on in opposite directions so that you can lock them together when you've adjusted the adapter distance correctly. - I'll probably make a single threaded version where they move the same direction at some point which will be easier to print. I get somewhere around 10-20 cycles of adding/removing the lens before the plastic wears too much and the lens won't stay tight. I'm working on a version that canibalizes the metal lens mount ring from a broken camera so avoid the wear and make the adapter last longer. This also only really works with manual lenses since there is no way to control the electronics on the powered lenses. To adjust the flange distance to allow the lens to focus correctly: 3d printer tolerance and print settings make it hard to print a fixed adapter that properly focuses to infinity. Follow these steps to adjust the flange distance: 1) Screw the lock ring on to the base and go all the way to the bottom. Only screw it on until you feel a slight resistance. 2) Screw on the lens mount adapter 3) Attach a lens to the adapter. 4) Turn on the raspberry pi camera and open something that lets you see the camera output in real-time 5) Slowly adjust the lens mount by screwing it more or less until the lens is able to focus properly at both extremes of its focus range 6) Carefully back the lock ring up and tighten it until it won't move anymore. The tighter you make it the more locked the lens mount will be so if you think the focus is working great its probably good to tighten and leave as is. Printing: I printed all parts with PLA+ at .2 layer height. Depending on your printer tolerances you might try a lower layer height for a better fit.
With this file you will be able to print Raspberry Pi HQ Cam M43 Adapter with your 3D printer. Click on the button and save the file on your computer to work, edit or customize your design. You can also find more 3D designs for printers on Raspberry Pi HQ Cam M43 Adapter.