Raspberry Pi Media Case
thingiverse
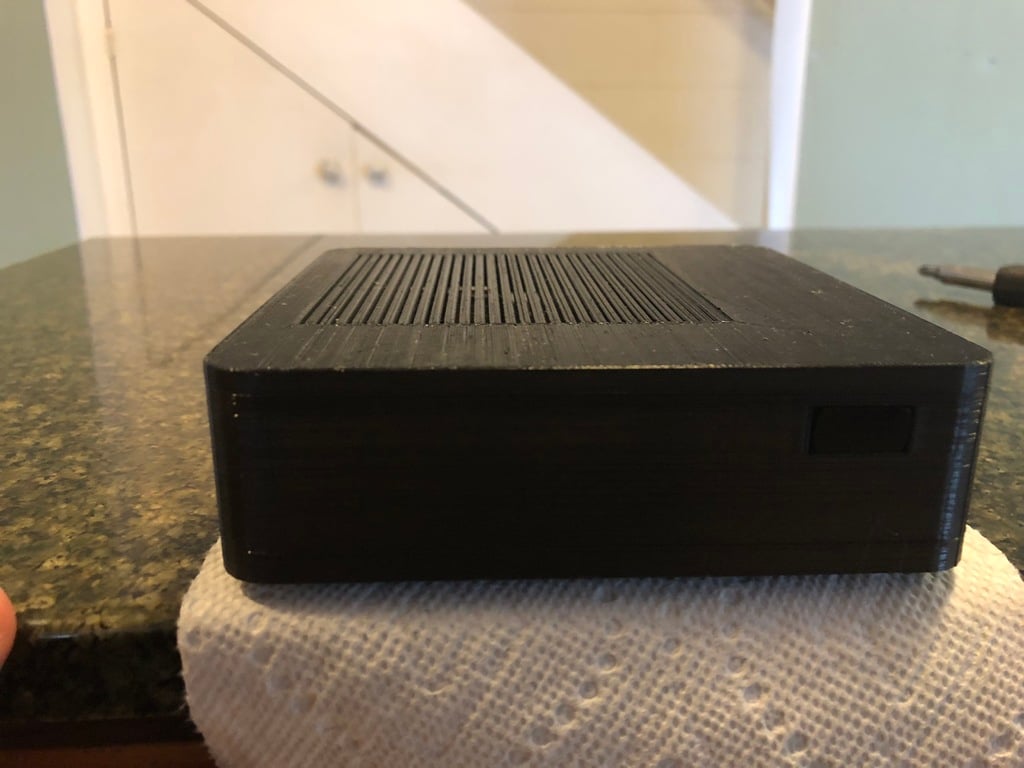
This is a versatile Raspberry Pi case that solves a problem that has always frustrated me. The RPi makes a great media center (I use OSMC on mine), but with cables sticking out the back and one side, it always looks awkward sitting in an open media stand. So this case along with some cables moves all the connections to the back and provides you a place up front to either put a FLIRCv2 or an IR receiver. The modular part comes in that you can choose a different back plate depending on your needs as well as what insert you'll use in the IR receiver slot. You DON'T need to print every piece included. In fact, if you do you'll have lots of leftover pieces. Choices to Make ============== ### Tapping Holes or Using Nuts The case top and the RPi sleds (more about the sleds later) can be printed either with spots to drop in M2.5 nuts or with a starter hole so you can tap your own screw threads. I'll cut straight to the case. Just use the nuts. I tapped my own holes and it never went well. But the parts are there if you really like tapping things. ### Sleds The sled design lets you pick a RPi board and config that works for you that you can swap later without having to reprint the whole case. You screw the RPi board to the sled and then the sled mounts to the bottom by screwing up through the bottom into the sled. There is a small notch on every sled. The board lines up so that the notch is on the side of the Rpi that has the MicroSD card. There are two sled options: 1. A bare RPi (anything from a 2 to 3+ should work) 2. A RPi2 in a FLIRC case. I made that one because the RPI2 runs really hot, and the FLIRC case really helps dissipate the heat. You just use the sled in place of the bottom of the FLIRC case. ### Back Plates There are currently three back plate options: 1. A back plate for a raw RPi board that has power and HDMI. 2. A back plate for a raw RPi 3+ board that has just HDMI (in case you're using the PoE adapter, if the foundation ever ships it). 3. A back plate for a RPi 2 in the FLIRC case. ### IR Inserts There are three options for the IR insert area in the front. 1. Use nothing and that opening fits a FLIRCv2. Note that there is a little slot at the back of the case so that you can run a USB cable inside the case to the front so you can plug in the FLIRC. I found hot gluing the FLIRC to the top of the case made for the most stable connection. 2. An insert for a TSOP38238 IR receiver (you have to hot glue the receiver to the insert) 3. A full plug if you aren't going to use an IR receiver at all. More on assembly in the post print area.
With this file you will be able to print Raspberry Pi Media Case with your 3D printer. Click on the button and save the file on your computer to work, edit or customize your design. You can also find more 3D designs for printers on Raspberry Pi Media Case.