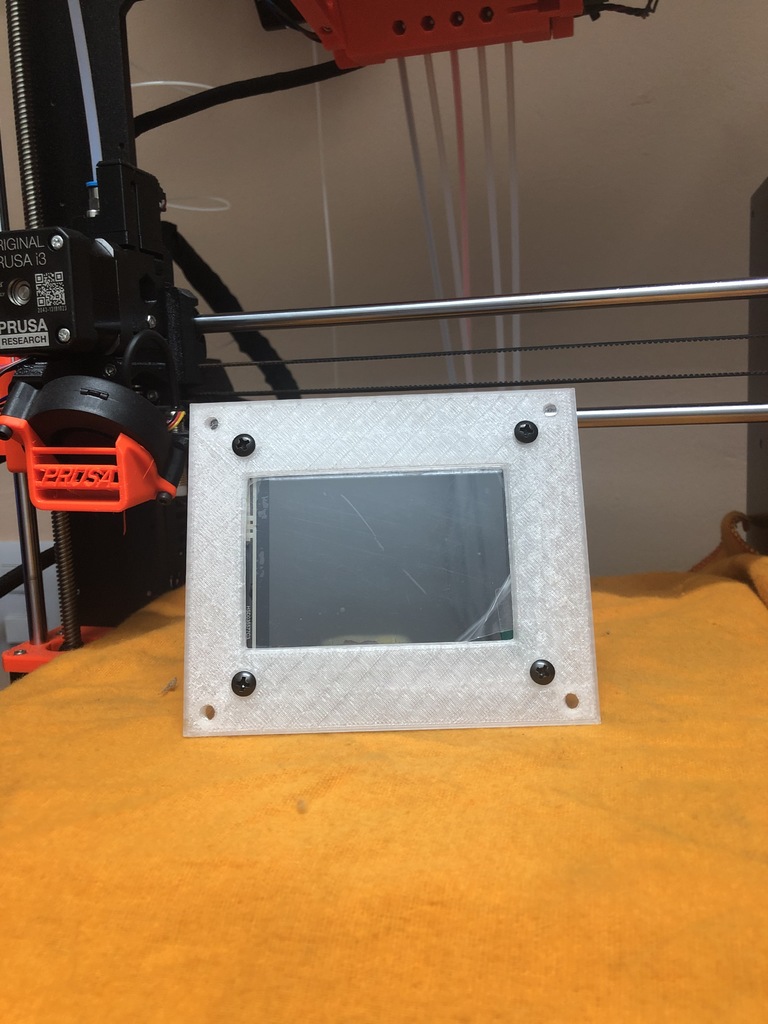
Raspberry Pi Photo Booth
thingiverse
It’s certainly not a new idea, but I thought it would be a fun little project to try out. The main components used in this project are: • Raspberry Pi 3 • Raspberry Pi Camera • Raspberry Pi 3.5″ HDMI LCD Touch Screen Display • Mini Thermal Receipt Printer • Raspberry Pi Camera Wide-Angle Lens Raspberry Pi ------------------ For this project, the latest version of Raspbian was used. It can be downloaded from the official Raspberry Pi website: https://www.raspberrypi.org/downloads/raspbian/ Getting the OS image on a microSD card can be done in several ways depending on your own operating system. Touch Screen ------------------- Connecting and getting the touch screen to work with the Raspberry Pi was super easy using the instructions found right here on element14: http://www.element14.com/community/docs/DOC-78156#installI Using the latest Raspbian image (2015-09-24 Jessie), the touch screen was plug & play. I did install the additional virtual keyboard by executing following command: sudo apt-get install matchbox-keyboard Enabling camera support ----------------------------------- By default, the camera support is disabled. To get the camera to work, support needs to be enabled using the “raspi-config” tool. Open a terminal and enter following command: sudo raspi-config A menu will appear. Select option 5: “Enable Camera”, and in the following step, select “Enable”. Reboot the Pi.
With this file you will be able to print Raspberry Pi Photo Booth with your 3D printer. Click on the button and save the file on your computer to work, edit or customize your design. You can also find more 3D designs for printers on Raspberry Pi Photo Booth.
