Raspberry Pi Pico 18-Key Macro Pad
myminifactory
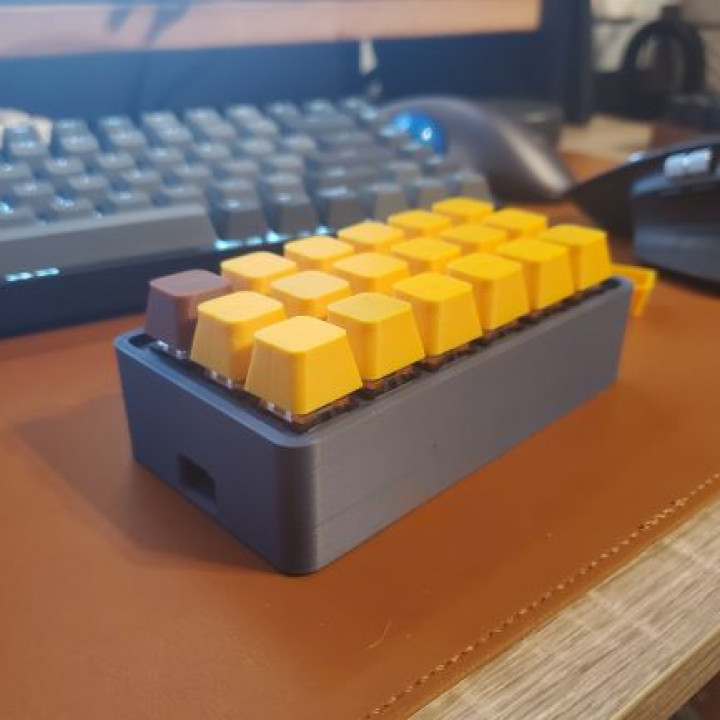
This macropad is a great introduction into programming and soldering. Follow the guide on https://www.tomshardware.com/how-to/raspberry-pi-pico-powered-stream-deck to for example wiring and software. Sample code has been provided - in the link above. Keycodes can be found here: https://circuitpython.readthedocs.io/projects/hid/en/latest/_modules/adafruit_hid/keycode.htmlI've also uploaded the Fusion 360 file so that you can make any changes you'd like to. Parts List: -18 cherry style mechanical key switches-raspberry pi pico-wires-no glue or screws required! all parts friction fit together Assembly: -Print keycaps, frame, and switch plate-snap all switches into the plate-solder a common wire between one pin on each switch-solder a wire between the 3v3 pin on the pico and the power bus on the key matrix-solder the remaining pins of the switches to an individual gp pin on the pico (I've used gp0-17, but you can use any - just change it in the code)-snap the pico onto the standoffs in the frame-slide the switch plate into the frame
With this file you will be able to print Raspberry Pi Pico 18-Key Macro Pad with your 3D printer. Click on the button and save the file on your computer to work, edit or customize your design. You can also find more 3D designs for printers on Raspberry Pi Pico 18-Key Macro Pad.