Raspberry Pi Pico BadUSB case
thingiverse
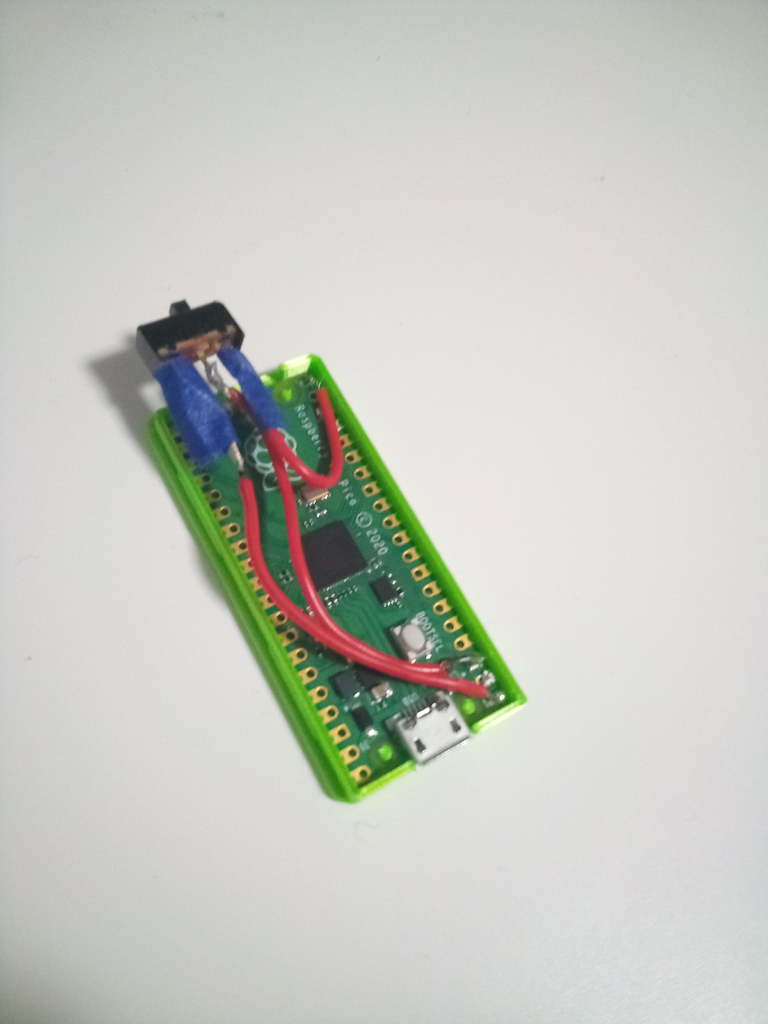
This is a case for a DIY badUSB. For those of you who don't know what a badUSB is, it is basically a device that tells the computer that it is attached to that it is an HID or Human Interface Device. You can program them to do automated keystrokes faster than any human could ever. (if you want to learn more check out this video https://www.youtube.com/watch?v=e_f9p-_JWZw). V1 After making my badUSB I decided I would need a case to make it look less suspicious . I found a great-looking case by glabifrons that was very sleek and neat. After printing it out though I realized some immediate problems. The first was that the USB female port didn't fit into the hole in the design. Second, the bootsel button on the pico is taller than anything else so it didn't fit either. After plopping these in a 3d modeling program I quickly fixed these problems and was good to go. Except, there is one thing you need for the badUSB that isn't just the pico itself. You need a switch to turn it on and off so you don't attack yourself while plugging it into your own computer to code it. So I put a hole in the design for that too. When you print the pico case, to get the switch working just solder pin gpo 0 to the right leg, pin grnd to the middle leg, and pin gpo 15 to the left leg. When you flip the switch to the right it won't show up as a storage device on the computer and will execute the payload, and when you flip the switch left, it will show up on the device that it is a storage device, and won't execute the payload. If you are interested in making a Pico Ducky, watch this overview video first, by NetworkChuck, https://www.youtube.com/watch?v=e_f9p-_JWZw. This video is slightly outdated considering there is a way to stop it from executing the payload when you plug it in other than factory resetting it. It's the switch that I added that saves me from resetting mine every time. For the most recent instructions go to the pico ducky GitHub page, https://github.com/dbisu/pico-ducky. And for all the payloads, check out these two GitHub pages, https://github.com/hak5darren/USB-Rubber-Ducky/wiki/Payloads and https://github.com/hak5/usbrubberducky-payloads. You can actually add four more switches to switch between scripts on the pico ducky, read about it in the code.py. Considering I'm going for sleek, five switches wouldn't be the best choice. I might make one like that in the future, or if one of you makes it that would be awesome. Enjoy! V2 Ok, so I made an edition. with the previous version, you would upload a script you would unplug the pico flip the switch, and plug it back in which can get tiresome. So I found out that you can reset the pico by putting a button between VBUS and ground when you press the button it would reset. So now I could plug it in, edit a script, flip the switch while it was still plugged in, push the button, and I would eject itself, plug in and run the script all without having to physically unplug it. there will be another case stl with the button cut out. Enjoy!
With this file you will be able to print Raspberry Pi Pico BadUSB case with your 3D printer. Click on the button and save the file on your computer to work, edit or customize your design. You can also find more 3D designs for printers on Raspberry Pi Pico BadUSB case.