Raspberry Pi Record Player
thingiverse
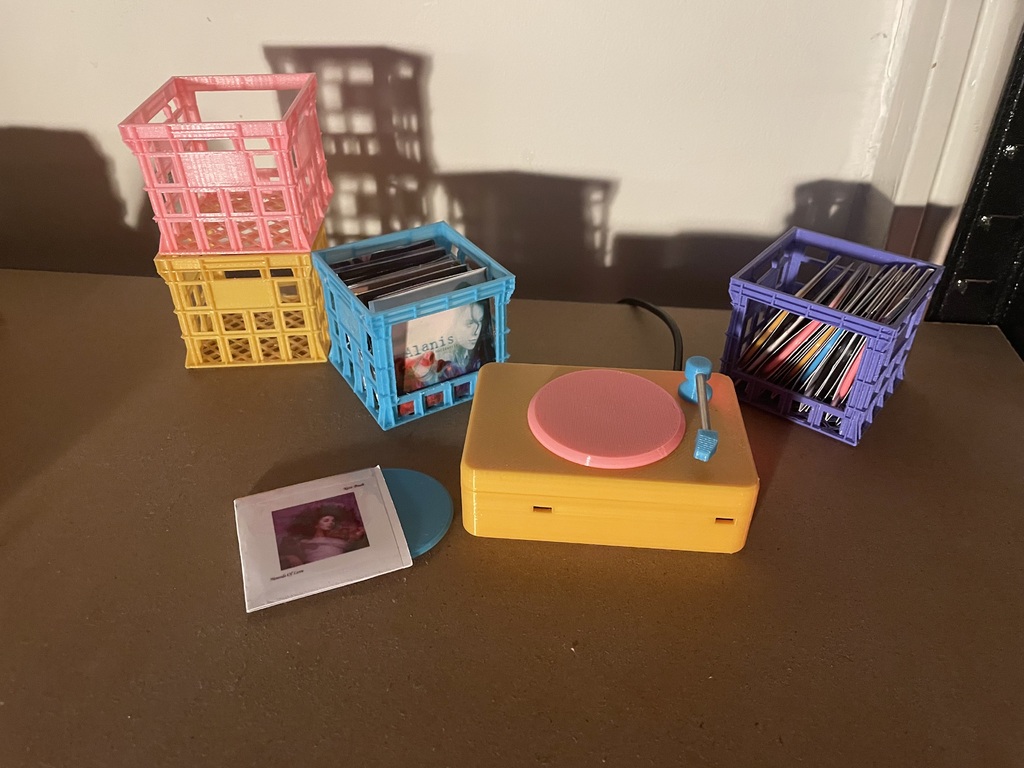
# Raspberry Pi mini record player Snap-fit case to make your rpi into a mini record player! You can just use this as a neat looking case for your raspberry pi, however it was intended for use with RFID records - design of RFID records is also included - you need to pause mid-print and attach NFC tags. The setup we used is applicable to Sonos speakers and a setup guide can be followed here. There are other tutorials for alternate approaches floating around. Please note some images are from an earlier version of the model using an Rpi 3B+ and without bosses to mount the rfid reader. Snaps have also been modified. Please note: due to small parts this model is not suitable for small children ## Electronics - Raspberry Pi: currently suits rpi zero W - SD card imaged with raspberry pi OS - [PiicoDev adapter](https://core-electronics.com.au/piicodev-adapter-for-raspberry-pi.html) - [PiicoDev RFID reader](https://core-electronics.com.au/piicodev-rfid-module.html) - this was simply hot glued to the lid - [PiicoDev cable](https://core-electronics.com.au/piicodev-cable-50mm.html) - NFC 25mm stickers to stick inside records. (Alternatively, you can buy NFC discs off the shelf) ## Case Hardware - M2 screws to secure rpi and rfid reader in the case - optional: M3 heat thread inserts and screws to securely close the lid ## Notes - the initial case design was based on [this youtube video](https://youtu.be/E0NVC8xhf3I) as I was learning how to use Fusion 360 - As the stylus arm, I cut a small length of a Diam. 3.25mm metal rod, however you could also print this part. - the milk crates are an Australian type sourced [here](https://3dmdb.com/en/3d-model/australian-milk-crate-with-open-face/541727/?q=Australian-Milk-Crate-with-open-face) (paid) - as album covers, we printed album art on card (a rectangle of ~104x52mm) and taped them up to hold the records - as the current record players weren't intended to have anything attached via USB, I don't have cutouts for the ports but can add them if needed ## Assembly - Screw rpi into the base of the case. - press the turntable into the lid of the case - Screw rfid reader into lid of case - assemble the stylus arm using the pivot, arm, and stylus - press the stylus arm into the lid of the case - install piicodev cable between adapter and rfid reader - insert power cable - check rpi is working - if all good, then install the lid on the case - use screws if desired
With this file you will be able to print Raspberry Pi Record Player with your 3D printer. Click on the button and save the file on your computer to work, edit or customize your design. You can also find more 3D designs for printers on Raspberry Pi Record Player.