Raspberry Pi tablet
thingiverse
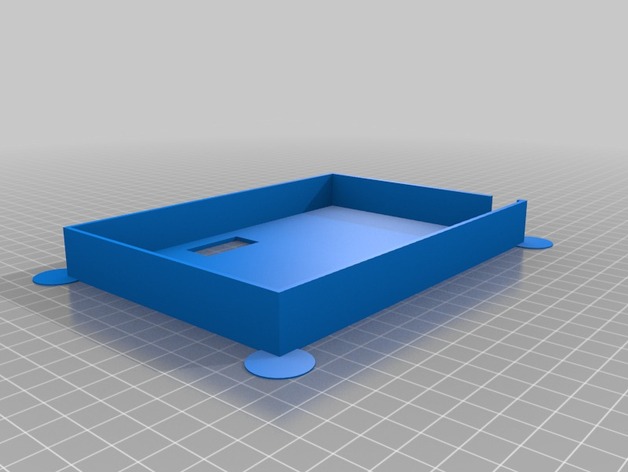
This project involves a touchscreen LCD display that connects to a Raspberry Pi. For now, the case is separate from the Raspberry Pi and can be placed in any available Raspberry Pi case on Thingiverse. The next goal is to fit the Pi into the same case. However, the thick HDMI cables pose a challenge. A flexible, short HDMI cable is needed for this purpose. The design has been printed and updated multiple times, with improvements such as adding a slot for the power jack and tabs to hold the corners down. The display runs on a wide range of voltages and has HDMI, VGA, and composite input. To install, remove unnecessary cables, connect the video controller to the display and tape it to the back, print top and back v6 STLs, place the display in the case with controls below the slot, slide the power jack into its designated slot, feed the USB cable through the HDMI hole, close the case, plug HDMI into the back of the display and Raspberry Pi, plug power into the display, and connect keyboard and SD card with Raspian to the Raspberry Pi. In Raspian configuration, turn off overscan for optimal usage of the screen. Have fun!
With this file you will be able to print Raspberry Pi tablet with your 3D printer. Click on the button and save the file on your computer to work, edit or customize your design. You can also find more 3D designs for printers on Raspberry Pi tablet.