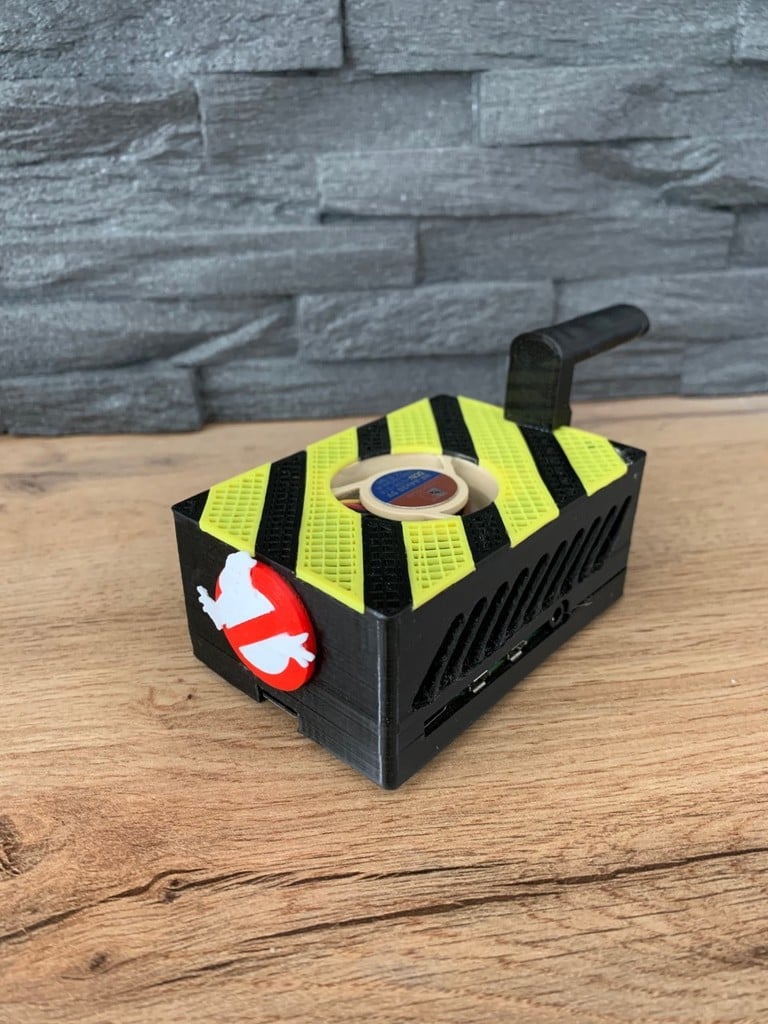
Raspberry pi4 Ghost-trapp Noctua
thingiverse
You will find the lower part of the case here : https://www.thingiverse.com/thing:3723481. The hardware list for the remote LED part consists of: * Amazon product B01GNW6CEQ * Amazon product B07FFB4H6D * The really top fan: Amazon product B071W6JZV8 The upper part prints on the back with support, using a 30% grid fill to achieve the same result. The noctua 20 fan is placed in "force" and there's enough space for heat sinks. Connect the socket to pins 4 and 6 of the GPIO (red wire +5v on pin 4, black GND wire on pin 6). The yellow blades are positioned by sliding them into place by the side of the opening. The handle simply sticks in place, as does the ghost and ring. To deport the LEDs, you'll need two resistors of 330 ohms and 3V LEDs. Follow this diagram: <a href="https://www.noelshack.com/2020-10-5-1583534511-branchement.jpeg"><img src="https://image.noelshack.com/minis/2020/10/5/1583534511-branchement.png" border="0" alt="1583534511-branchement.jpeg - envoi d'image avec NoelShack" title="1583534511-branchement.jpeg"/></a> Once the connections are made, edit the boot config file by running "sudo nano /boot/config.txt". Add this line: dtoverlay=pi3-act-led,gpio=14. Your red LED will light up whatever happens, but the green "Activity" LED will deport. I got the info from https://forum.raspberry-pi.fr/t/led-raspberry-pi-3-b/8555. Enjoy your RPi 4 gost trapp and operational experience!
With this file you will be able to print Raspberry pi4 Ghost-trapp Noctua with your 3D printer. Click on the button and save the file on your computer to work, edit or customize your design. You can also find more 3D designs for printers on Raspberry pi4 Ghost-trapp Noctua.