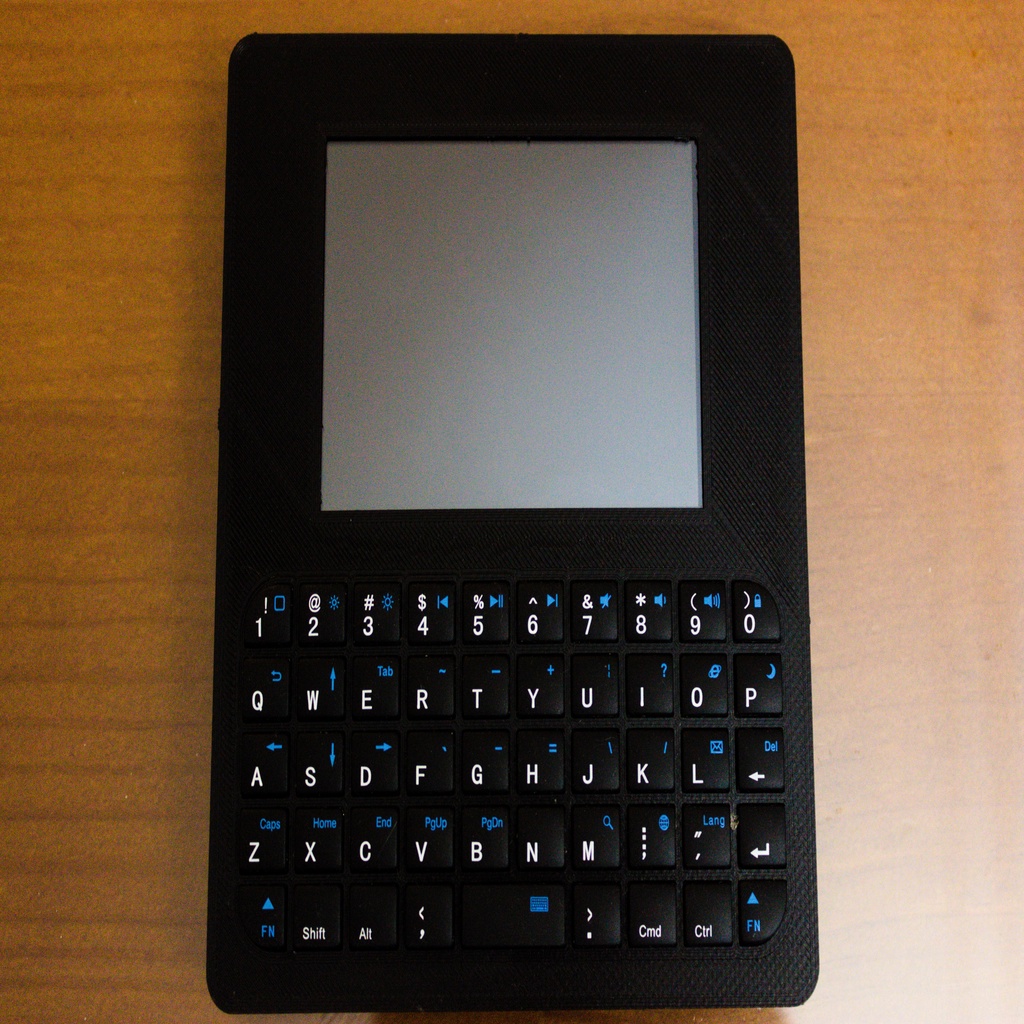
Raspberry Portable Computer
thingiverse
This computer was inspired by the model created by N.O.D.E, and built on a Raspberry Pi Zero. It's designed for programming, playing simple games, and running scripts away from home. First off, I want to thank N-O-D.E for the inspiration that sparked this project. You can see how it all began in this video: https://youtu.be/SO4amBc0Tbw Since there were no files available to guide me through building this device, I created my own version based on N-O.D.E's design, with some modifications of course. I also made the necessary STL files so you can print it out in 3D. My device measures 127.3 mm x 115.5 mm x 16.5mm. I'll create a detailed document explaining how to build this project, but for now, here are some notes to get you started: In the near future, I plan to upgrade this device with a Raspberry Pi 3 A+ or 4 A+, depending on when it comes out. Components: - For assembly, you'll need exactly these components: - Raspberry Pi Zero-W - TFT 3.5 LCD screen (https://es.aliexpress.com/item/32609751923.html) - POWERBOOST 1000C (https://learn.adafruit.com/adafruit-powerboost-1000c-load-share-usb-charge-boost/overview) - BATTERY 606090 (4000-4500mah) - BLUETOOTH KEYBOARD (https://es.aliexpress.com/item/4000083821318.html) - Fine cable 0.22m^2 (One meter should be enough) - USB female: https://es.aliexpress.com/item/32910073895.html - Screws m2 5-6mm long (x6) - Nuts m2(x6) - SS-12F44(1P2T) switch: https://es.aliexpress.com/item/32954387518.html Software: - Before assembly, I recommend configuring the Raspberry Pi. To do this, you'll need to install :https://github.com/goodtft/LCD-show from the terminal of the Raspberry Pi. - To see the screen, type: sudo ./LCD35-show - To retransmit by hdmi: cd LCD-show/; sudo ./LCD-hdmi - I also recommend pairing the Bluetooth keyboard before installation, as it can be difficult to press the sync button afterwards. Prepare for assembly: - You'll need to desolder the GPIO of the 3.5 inch screen. - Cut the JTS connector in half to fit (if you're using the port, be careful with polarity). - Dismantle the keyboard and remove the battery soldered to it. - The cable I used for circuit assembly was 0.22mm^2. If possible, a thinner one would be better. Assembly notes: - Glue nuts into corresponding holes (5 in the back and 1 in the front). This ensures a perfect fit. I used Super-Glue for this purpose, pouring it onto the surface of the printed piece while avoiding the holes. - For pieces like the keyboard, I used silicone glue. Once the GPIO connections between the Raspberry Pi and screen were made, I secured them with silicone to prevent disconnection due to movement. - The battery can be glued using double-sided tape but not with silicone as high temperatures may damage it. Electronics: - Solder pins 11 19 21 23 25 (GND); 2 (5V) 18 22 24 26 between the Raspberry Pi plate and LCD. Note that on the screen, square pin is pin 1 and top pin is 2. - I've included an image of the circuit diagram. If it's unclear, you can find a PDF version uploaded. - To add the additional USB, follow another scheme added as a photograph (with Raspberry Pi face down). Suggestions: - Be cautious when using POWERBOOST 1000C as it overheats when charged with a charger of more than 1A, causing the PLA to melt. Consider buying thermoresistant PLA or charging it at 0.2-0.4 Amps (with a suitable charger or in places with low amperage like USB on PC). Charging at lower intensity will take longer but is safer for future versions I'll consider using PowerBoost 500.
With this file you will be able to print Raspberry Portable Computer with your 3D printer. Click on the button and save the file on your computer to work, edit or customize your design. You can also find more 3D designs for printers on Raspberry Portable Computer.