Raspi Security Camera
pinshape
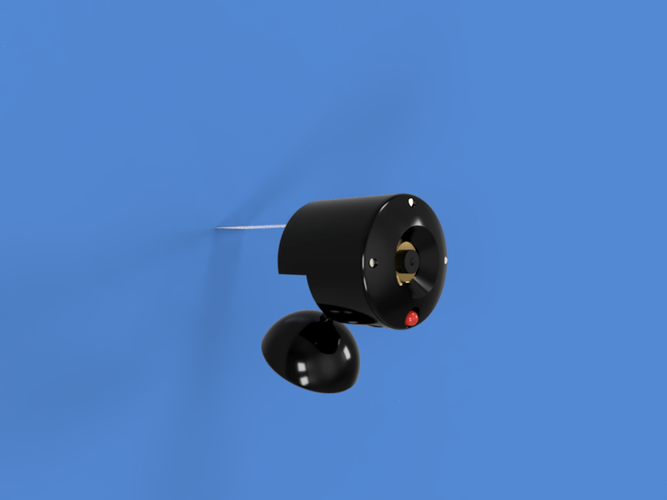
Here is a simple camera case for the Raspberry Pi version 2 camera, designed to fit snugly around the device. The extra gasket (gasket.stl) is provided to enable the installation of a metal shim with a pinhole drilled into it, perfect for precision applications that require high accuracy. Any pinhole larger than 0.60uM will work effectively, but be sure to remove the existing lens before attempting to use a pinhole, as this can cause damage. However, careful removal using sharp wire cutters on the corners of each camera module can result in the lens being removed intact without any issues. I have used these extensively for my PhD research and have found them to be extremely reliable and durable. I will not be held responsible for any damage to your PiCam if you install a pinhole lens, so proceed with caution. For assembly instructions, please refer to the video below. The entire assembly is held together with three M3 35mm socket head bolts, available at https://www.bolt.com.au/m3-35mm-socket-head-cap-screws-p-26429.html. If you find that the ball joint is too loose, try increasing your printer tolerances or inserting a grub screw into the flat portion of the ball. A slot in the base allows an 8mm button magnet to be placed firmly for securing to magnetic surfaces. These magnets can be obtained from Element 14: http://au.element14.com/duratool/d01766/magnets-rare-earth-8-x-3mm-pk10/dp/1888095. Finally, an optional 5mm LED can be installed in the lower hole of the camera to allow increased Infrared illumination for night vision applications or just for fun to show when the camera is active. I suggest using an LED from the Kingbright range such as http://au.element14.com/kingbright/l-53p3c/phototransistor-5mm-940nm/dp/2290444 (InfraRed) or http://au.element14.com/kingbright/l-1503ec/led-5mm-red-50mcd-617nm/dp/2335729 (Std Red). Print Settings: Printer: ZYYX+ Rafts: No Supports: No Resolution: 0.16 Infill: 0.25 Notes: The camera is printed out of Aurarum PLA Plus, available at http://www.aurarum.com.au/high-temp-filament/770-pla-filament-black-175mm-net-weight-1kg-made-in-australia.html. Temperature Treatment: Aurarum PLA plus can withstand temperatures of up to 100°C once it has been heat-treated. After printing, the parts of the camera are baked for 30 minutes in an oven that has been preheated to 80°C (176°F), enabling the camera case to withstand general environmental constraints of most dSLR cameras (0-50°C). Assembly Instruction: Pinhole Version 6 assembly animation. The green marker indicates the pinhole shim which is an optional extra when using this design. Pinhole Version 6 assembly animation. The green marker indicates the pinhole shim which is an optional extra when using this design.
With this file you will be able to print Raspi Security Camera with your 3D printer. Click on the button and save the file on your computer to work, edit or customize your design. You can also find more 3D designs for printers on Raspi Security Camera.