Razor Crest Mark 2 Mods
thingiverse
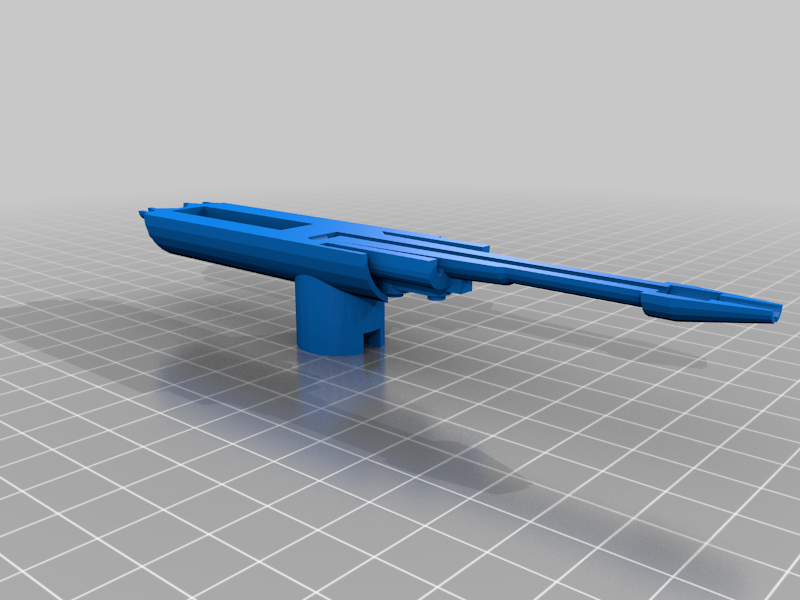
These are mods for the Razor Crest Mark 2 The Mandalorian (https://www.thingiverse.com/thing:4607202) Building instructions ================ LED-enabled lasers --------------------------- For this you need a hand drill (or make holes into the default parts in a program like tinkercad), modeling clay and a [tall-neck push button](https://www.aliexpress.com/item/1058764733.html?spm=a2g0o.productlist.0.0.5faa693dBctfXv&algo_pvid=dd35ace2-00b3-4fec-888f-1fec5d65a1de&algo_expid=dd35ace2-00b3-4fec-888f-1fec5d65a1de-3&btsid=0b0a556616160317965142761eaa7c&ws_ab_test=searchweb0_0,searchweb201602_,searchweb201603_). * Print out all 4 laser parts (sorry, you'll need to flip them over), ideally not with a brim but add "mouse ears" (0.2mm high, 1cm diamerter) to all pointy angles. * Hold the A-Part of the lasers against the main ship model and paint a mark through the hole on the model so you know where to make a hole.It's pretty much on the center of the lower half of the connector, so this should be easy. * Print out the laser connectors and glue them to the A-side of the lasers * Insert the LEDs into the lasers with a wire that is at least 10cm long so it comes out at the end of the hole that points towards to model. * Glue the B-side to the laser * Cut a hole into the main model. The hole should be just below the corner of the cockpit panel and not visible. * Find a location to position the push-button. you can use my photo above for reference. Drill a small hole (3mm or so) to fit the push-button in from the inside of the cockpit. * Drill a hole into the cockpit floor (see the other photo above near where you will place the push button. * wire everything up so that (if you follow my photos) the wires from below the cockpit floor go through the hole you drilled, then to the push putton, then the right laser and then under the cockpit panel to the left laser. * Fix everything in place with modeling clay and paint over it. 9v Battery / 5v LEDs Mod ---------------------------------- I did not have 3v LEDs at hand so I used pre-wired (with resistor) [5v LEDs](https://www.aliexpress.com/item/32889333164.html?spm=a2g0o.productlist.0.0.30525f03nEDKEp&algo_pvid=c65d77e8-0d72-498f-bd3a-4fa2890b22d7&algo_expid=c65d77e8-0d72-498f-bd3a-4fa2890b22d7-3&btsid=0b0a556516160326908922776e5447&ws_ab_test=searchweb0_0,searchweb201602_,searchweb201603_) The issue now is that we need to place the battery somewhere. I chose to put the battery with some bluetack into the tail of the body (See photos). In order to enable the tail end to be easily closed and opened again. This is how to do it * Print the "Tail connector" put super glue on the lower 50% and insert it into the "body back" so that the upper 50% sticks out. * Print the Battery cover in transparent PLA and fix 2 LEDs with bluetack into the original battery compartment. Drill some holes to feed wires from the original battery compartment into the tail. I used the 2 small slots that were supposed to hold the copper foil to do that. Flaps Fix ------------ I had the issues that the flaps did not move since the back edge would hit agains the engine. So I carved off the back corner. Check if you have this problem before you use my version. This is easy to install, just print my flaps instead of the normal ones. Make sure that you print them with the larger edge on the print bed.
With this file you will be able to print Razor Crest Mark 2 Mods with your 3D printer. Click on the button and save the file on your computer to work, edit or customize your design. You can also find more 3D designs for printers on Razor Crest Mark 2 Mods.