RC Body Magnet Mount
thingiverse
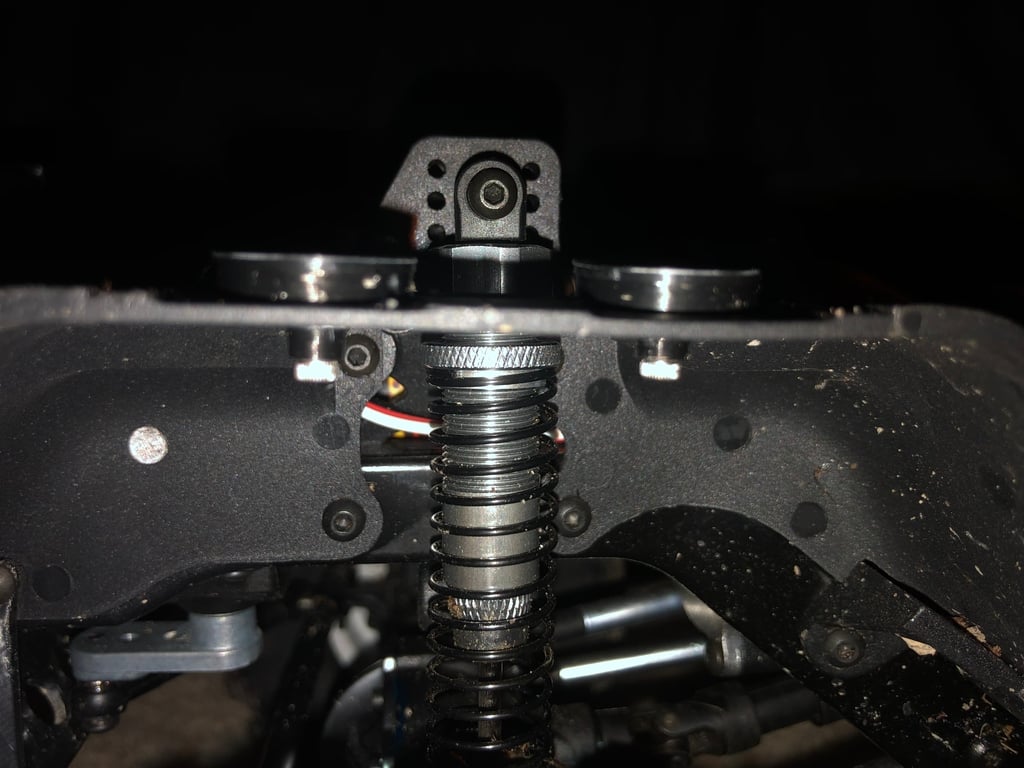
I wasn't too fond of the idea of gluing or epoxying magnets to the body of my RC so I decided to develop a cleaner, simpler, quicker, less permanent & less destructive way to mount them. Tips: 1.) PRINT @ 100% INFILL 2.) You will need (1) 15mm x 2.5mm round rare earth magnets with a 5mm hole (I bought mine on Amazon and they were advertised as 15x3 but were actually 15 x 2.5 go figure) (1) cup (1) spacer (1) M2 x 8 cap or button head screw for each mount. 3.) Drill a 5/64 or 2mm hole where you want to place a mount 4.) Place a magnet in the cup (MAKE SURE TO PAY ATTENTION TO POLARITY OF THE SIDE YOU'RE ADDING TOO) otherwise you'll be printing replacement cups!! 5.) Put the M2 x 8 screw through the spacer 6.) Push the screw through your drilled hole 7.) Screw on your magnet And you're done! I used two on each side in the front of my Redcat Gen 8 and left the rear body mounts as hook and loop and I love it. The body stays on even in a roll over yet is way easier to line up, detach and reattach now. The best part is you can use 2,4,6 or 8 or just remove and reapply hook and loop over the tiny holes. NO MESS to scrape off later.
With this file you will be able to print RC Body Magnet Mount with your 3D printer. Click on the button and save the file on your computer to work, edit or customize your design. You can also find more 3D designs for printers on RC Body Magnet Mount.