RC Tank - Transmitter (gun sytle) conversion kit
thingiverse
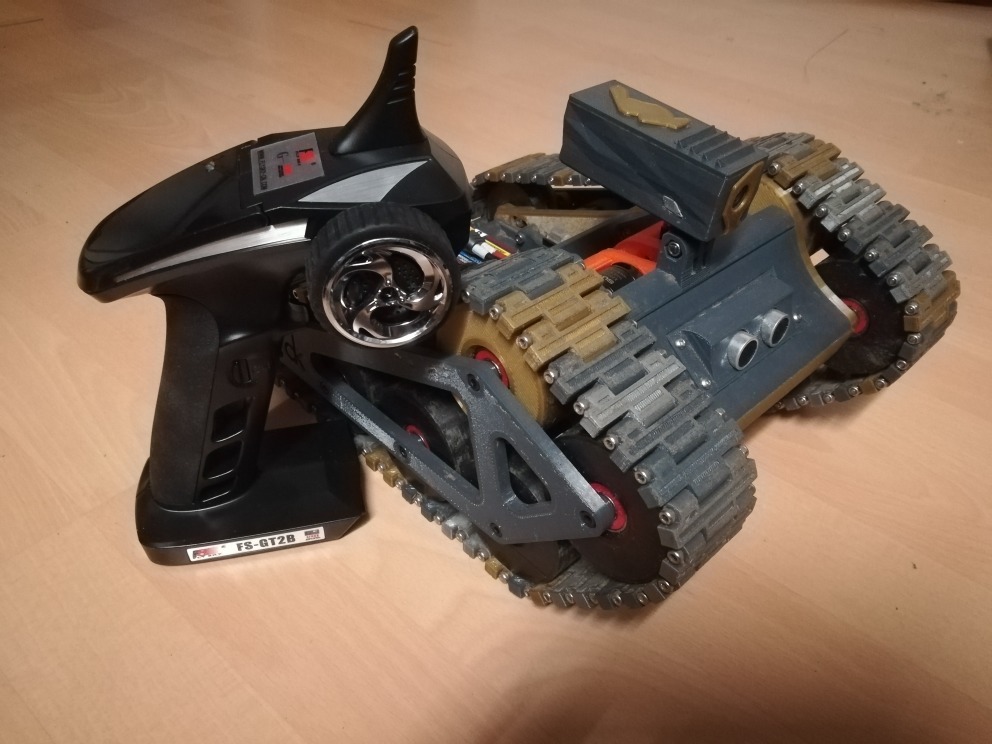
Well, this is my mod on the RC Tank by Staind. I wanted to control the tank with a so-called gun or stick RC transmitter - easy for all ages to use. To do this, I run the signals through an Arduino and translate them to tank drive. If you use a car ESC, I added a bracket to hold it very neatly. It's mounted by the two mounting points already there; you only need longer screws (I used some leftovers). As you can see in the parts list, I added a PING sensor to mine but left this out of the code for the Thingiverse version. Mainly for ease of use - if you know what to do, print the corresponding parts and "hack" it into place. # CAUTION 1. The Arduino bracket has wrong hole spacing, but one hole will always line up. 2. In the drawings, I used a 2-way switch, but you need a 3-way switch (can't find the Fritzing part). 3. The Lipo is your RC Lipo battery; the one I added is just for illustration. 4. The + and - from the Lipo only go to the ESC's! 5. A V-Tail mixer is also a solution if you only want tank drive. Although I prefer the options Arduino gives me, you might not. There's a switch (3-way switch) that enables speed limiting; you can leave it out completely and it will go on full power, so it's optional. I did my best to add as much commentary to the Arduino code... You're able to tune the script to the receiver by the config section. Just a heads up: As OGER found the solution for, the pinout for interrupts is somewhat complicated. Check your board's pinout documentation and connect accordingly, but use the interrupt values within the code. On the pinout doc, the pins are labeled INT1 and INT0 in "pink" and called "Interrupt Pin." So if you use INT0 and INT1 there's no need to change anything in the code. Arduino UNO: Interrupt Pin 0 = Pin D2 Interrupt Pin 1 = Pin D3 Arduino Nano: Interrupt Pin 0 = Pin D2 Interrupt Pin 1 = Pin D3 Update: As requested, I added the code I use with the ping sensor. Please understand that this is experimental; it works but needs tuning, so use at your own discretion. Update: It happened a fellow 3D printed tank was made close to my location and after one evening the electronics were done. So, I added some pictures of how it can be done (actually, I'm a bit jealous now as mine isn't as neat!). Update: On request, I added an Arduino code file for drone ESC's - no break, no reverse. And disclaimer: not tested (I have no way to) use at your own risk!
With this file you will be able to print RC Tank - Transmitter (gun sytle) conversion kit with your 3D printer. Click on the button and save the file on your computer to work, edit or customize your design. You can also find more 3D designs for printers on RC Tank - Transmitter (gun sytle) conversion kit.