RC10 Bell Crank Steering Gold Pan
thingiverse
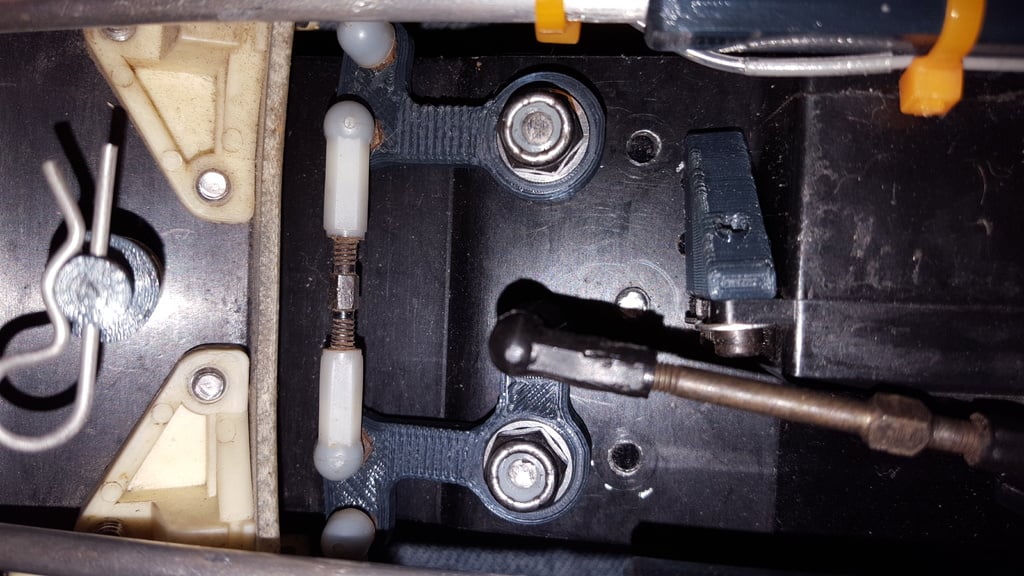
Bell Crank Steering parts for the old school RC10. This assembly requires all ball ends and turnbuckles from the original assembly plus 4 flanged bearings size .250in x .375in x .125in, two 8-32 x .75in flat head screws and two 8-32 nylon insert nuts. The bearings must have the flange. Instructions: 1. Print both Bell Crank parts plus 2 of the Bell Crank Post parts. 2. Tap all five holes in the bell cranks with a 4-40 tap (3 left and 2 right) 3. Tap the Bell Crank Posts with an 8-32 tap 4. Install two 8-32 x .75in flat head screws in the chassis and tighten 5. Thread the Bell Crank Posts on to each screw in the chassis with the flange side of the post towards the chassis and tighten by hand. 6. Install 5 ball ends into the 4-40 tapped holes in the bell crank parts. 7. Install two .250x.375 flanged bearings in each bell crank, one from the top, the other from the bottom. Then install the bell crank and bearing assemblies onto each 8-32 screw. 8. Thread an 8-32 nylon insert lock nut onto each 8-32 screw, Tighten until the bearings start to drag then loosen until they move freely. 9. Reinstall the turnbuckles.
With this file you will be able to print RC10 Bell Crank Steering Gold Pan with your 3D printer. Click on the button and save the file on your computer to work, edit or customize your design. You can also find more 3D designs for printers on RC10 Bell Crank Steering Gold Pan.