Reach 3D LCD Enclosure Plexiglass Mounted
thingiverse
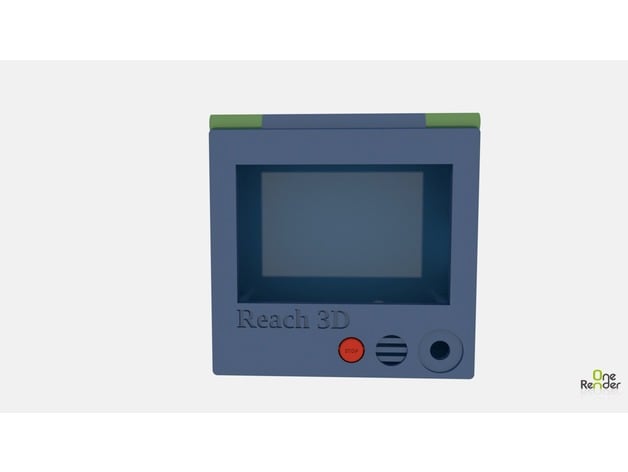
I was feeling listless one day and decided I needed a housing for my LCD to attach to my printer. Since I had just completed building my housing for my printer, I thought a great place to mount it would be on the front. Swivels up out of the way when you need to access the doors. You can find this enclosure here: http://www.thingiverse.com/thing:2124813 Print Settings Printer: Reach 3D Printer Rafts: Doesn't Matter Supports: Yes Resolution: 0.2 Infill: 20% Notes: If you want the text to come out better, I'd recommend slowing down the print speed and using 0.1mm for the details on the faceplate and button. Post-Printing Hardware Needed: 1.5mm metal rod. (Found at any Crafts or Hardware Store) Got mine from Lowes in their Hobby Drawer. 4x M3x16 Screws Assembly: You will need 4 spacers along with hardware listed earlier. And you will need one of everything else. Before installing screen, test fit all parts first. Depending on the quality of your printer, you may need to do a bit of sanding/filing to get the parts to fit. I tend to design everything with tight tolerances. Once everything is fitting snug like it should, you will need to tap the 4 screw holes on the back of the face plate. You may be able to thread with the screws but you may damage or crack the housing. Besides doing work like this, it's always a good idea to have a good Metric Tap set, right? What I did for the 2mm rod on the bracket, I cut the rod down to size to match the length of the bracket, cut it in half, and ground the ends down until inserting each half into the sides of the brackets set flush in the center with each other. Length of the 2mm rod is 97.2mm as I designed. This rod will sandwich between the face plate and back plate where they will hinge. The hooks will face the back and down when folded. Feed the two LCD ribbons into the large hole on the right one at a time. Plug them back into the LCD. If you don't want to confuse the connections, I recommend using a marker to mark a 1 and 2 on each ribbon and their respective connector. The four spacers are fragile so be easy with them. Start by lining them up between the two screen boards, tabs facing top and bottom facing front. The LCD board is slightly narrower than the control board which allows for the tab clearance. Recess the screen into the back half and run the four M3 screws through until they reach the front screen board. Be easy with this step as not to break the tabs on the spacers. The tabs help hold the spacer in place for the screw to feed through. Make sure the button is in the face plate, Stop facing right side up if you managed to get it to print right. Now turn back plate over on top of the face plate and snap the two together, ensuring the bracket is between the two halves of the swivel point, and finish tightening all four screws. Your screen is now ready to be mounted to the plexiglass enclosure that you have built or whatever you have decided to mount it to. How I Designed This Designed in OnShape Care to create your own bracket for this enclosure? Each side of the bracket is a cylinder with an outer diameter of 8mm and an inner diameter of 2mm. The cylinders are 20mm in length. Two millimeter Cap on the outsides to hold the rod in, the insides are 61.2mm apart. Use these parameters for the hinge and design your bracket around it, and it should fit the enclosure.
With this file you will be able to print Reach 3D LCD Enclosure Plexiglass Mounted with your 3D printer. Click on the button and save the file on your computer to work, edit or customize your design. You can also find more 3D designs for printers on Reach 3D LCD Enclosure Plexiglass Mounted.