(Reactive Weather) Lamp Flower Pot
prusaprinters
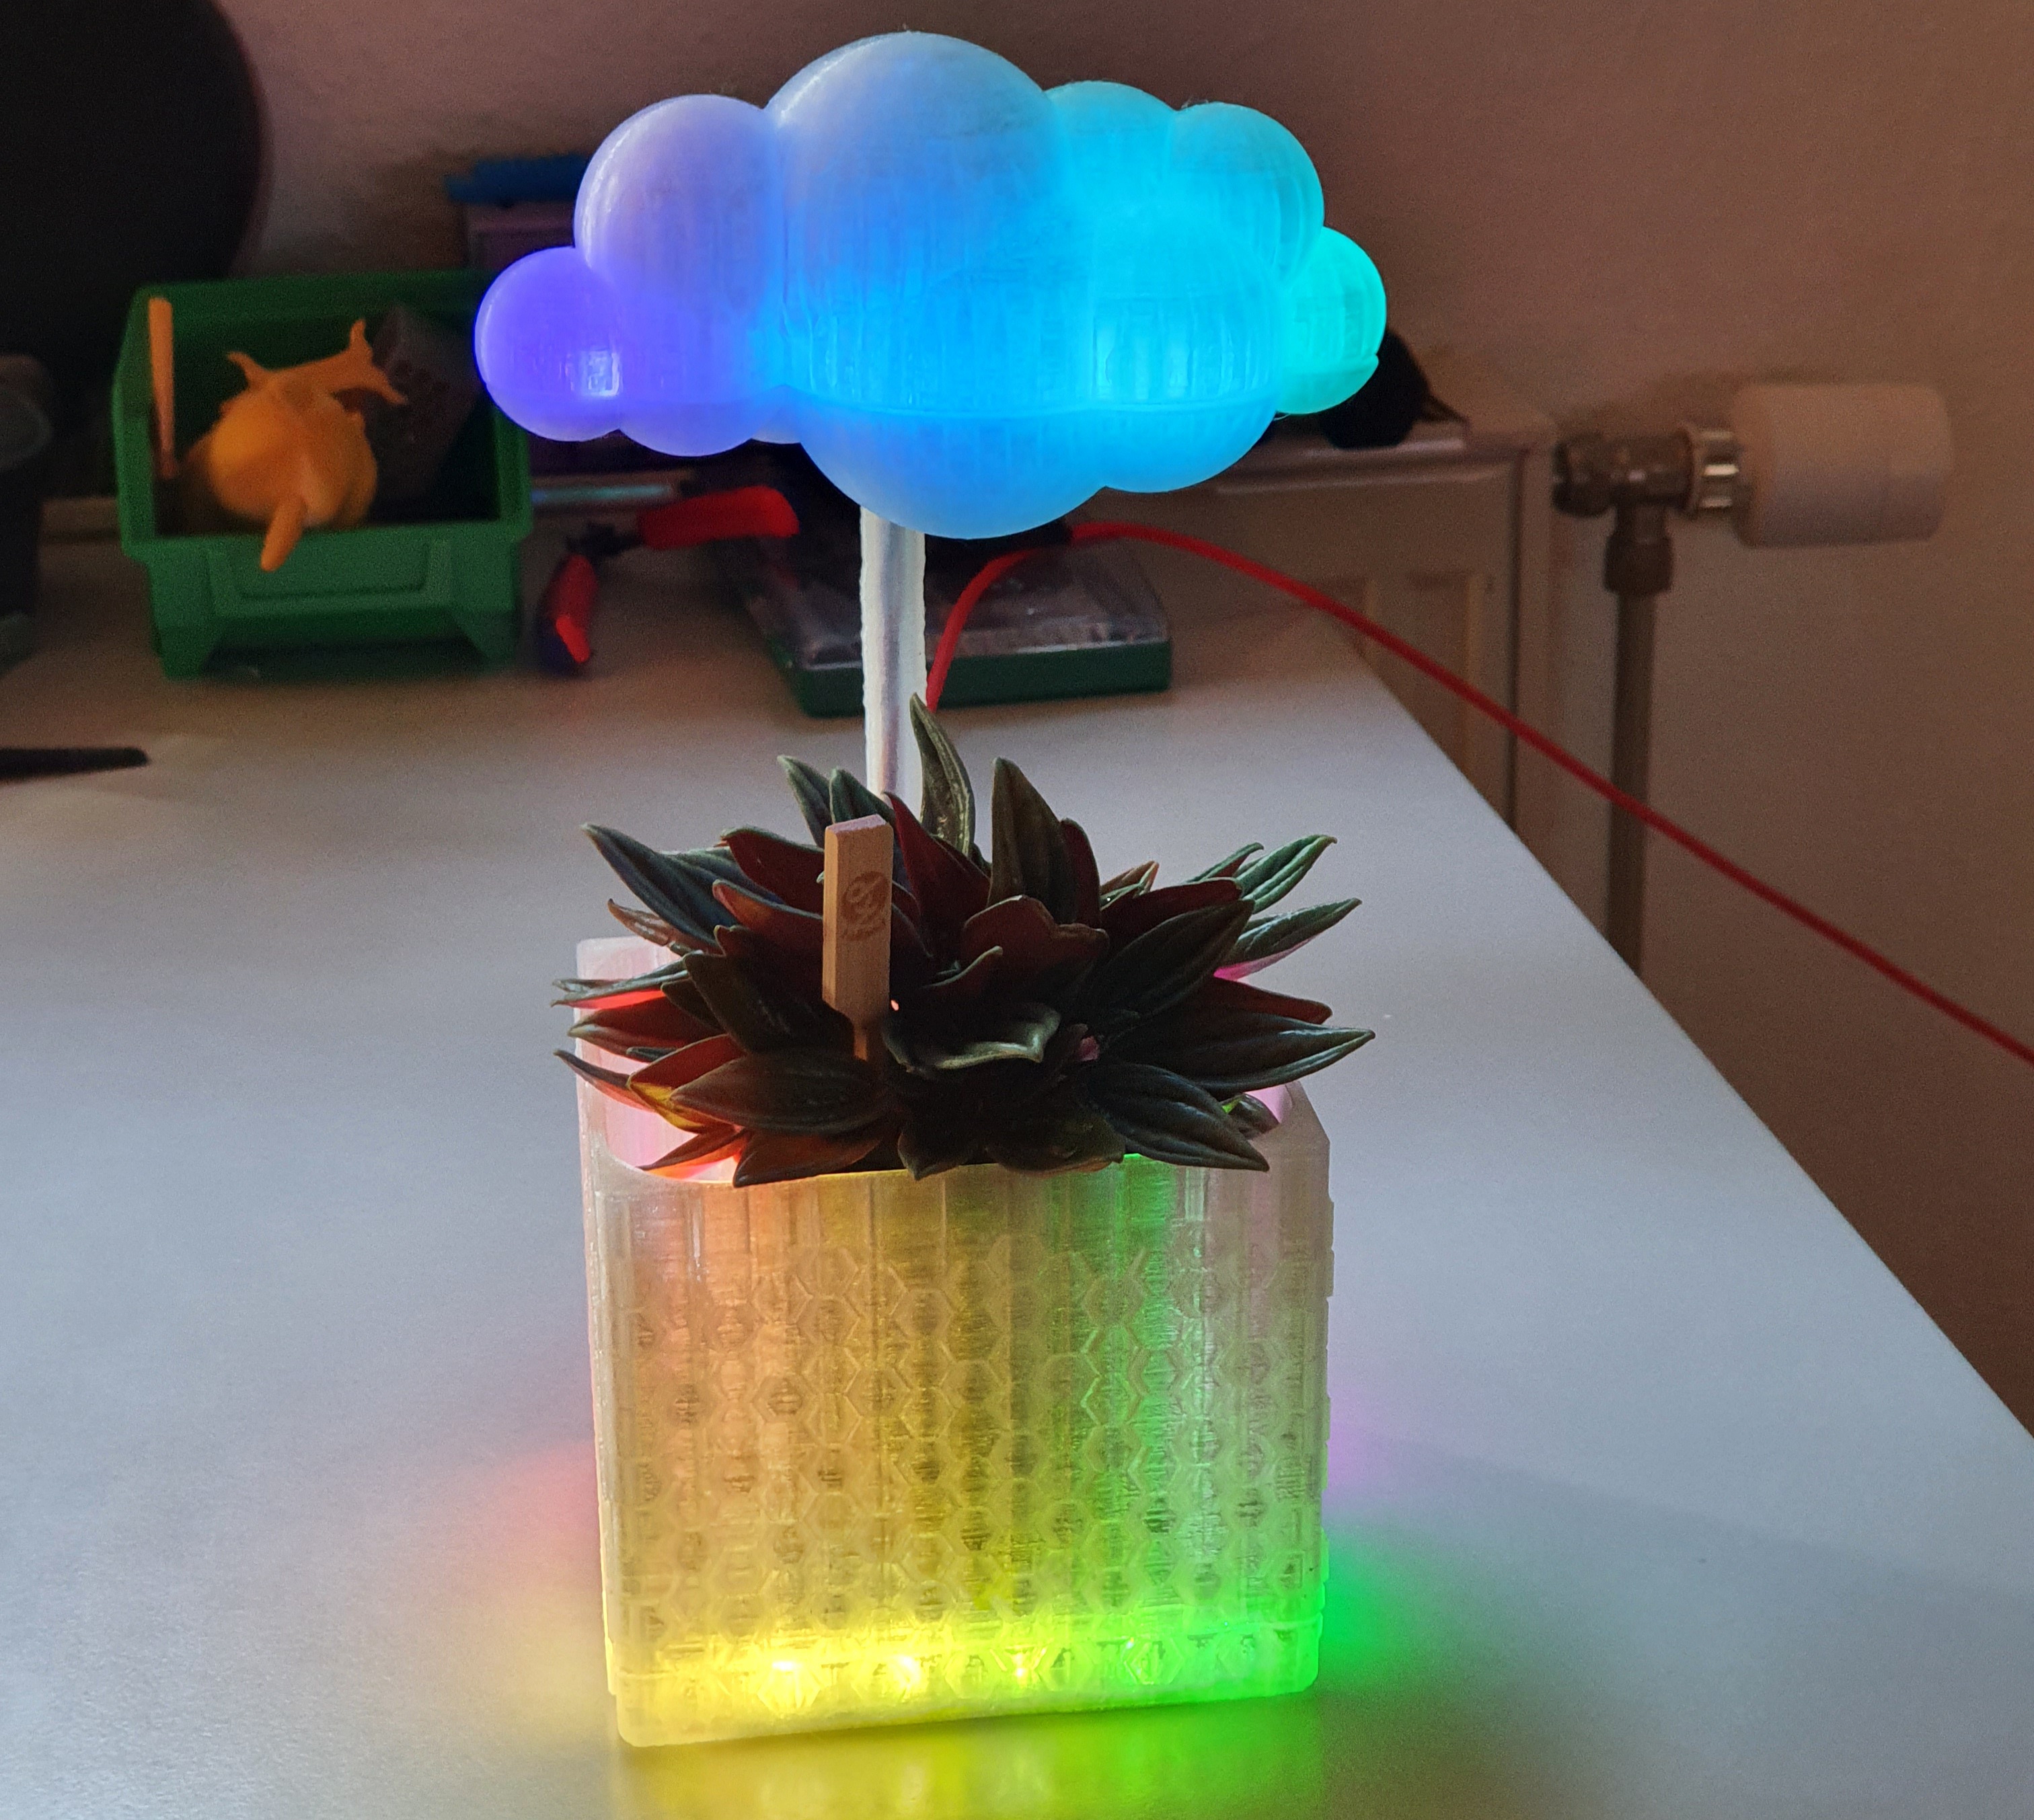
<p>A flowerpot that can have RGB LEDs inside the base and cloud!</p> <h3>Print instructions</h3><p>Hey guys,<br/> this is the model and guide on how to build my weather reactive flower pot.<br/> Well at least if u want to go this way since you're free to flash any software onto the microcontroller powering this little LED flower pot.</p> <p>Some Demos:<br/> <a href="https://www.instagram.com/p/CEugQ_cIeeh/">https://www.instagram.com/p/CEugQ_cIeeh/</a><br/> <a href="https://www.instagram.com/p/CE0DnVFInUt/">https://www.instagram.com/p/CE0DnVFInUt/</a></p> <p><h6>Things you will need</h6><br/> <b>3D-Printed</b></p> <ol> <li>Bottom part housing the D1 (Electronis.stl)</li> <li>Flowerpot (flower_pot.stl)</li> <li>Cloud bottom(cloud_bottom.stl)</li> <li>Clout top(cloud_top.stl)</li> <li>Cable connector(cable_stick.stl)</li> </ol><p><b>Other-Parts</b></p> <ol> <li>4x M2 threaded insert (<a href="https://www.amazon.de/ruthex-Gewindeeinsatz-Gewindebuchsen-Einpressmutter-Kunststoffteile/dp/B088QJG676/ref=sr_1_5?__mk_de_DE=%C3%85M%C3%85%C5%BD%C3%95%C3%91&dchild=1&keywords=m2%2Bgewindeeinsatz&qid=1599838625&sr=8-5&th=1">I used</a>)</li> <li>1x USB-C Female connector (<a href="https://de.aliexpress.com/item/4001035119423.html?spm=a2g0s.9042311.0.0.64204c4dd5tsca">I used type G</a>)</li> <li>6x M2x12 Screws</li> <li>1x Wemos D1 Mini</li> <li>1x Cap</li> <li>ws2812b(Neopixels) LedStrip 1m / 22 Leds</li> <li>Cables</li> </ol><p><b>Tools</b></p> <ol> <li>Soldering iron</li> <li>Wire stripper</li> <li>Screwdriver for the M2s</li> <li>If needed hot glue for the TypeC con.</li> <li>VS-Code with PIO</li> </ol><p><h4>Preparing the 3D Parts</h4><br/> Use the soldering iron the insert the m2 threaded inserts into the Flowerpot and the Cloud top.</p> <p><h4>Building the Lamp</h4><br/> <a href="https://i.imgur.com/wy8gHvg.jpg">WIRING IMAGE</a></p> <ol> <li>Prepare the Led Strip by cutting 3x 4LEDs, 2x 2LEDs and 6x 1 LEDs</li> <li>Place the 3x4 LEDs and the 2x 2 LEDs in the bottom part as shown in the images. Make sure that all DI of the LEDs starts at one of the 2 LEDs and goes around in the circle till the other 2LEDs strip at the end (See arrows on the led strip in the image)</li> <li>Connect all of the strips with wires (reference the image again)</li> <li>Test the leds to see if all of the soldering points are working (Use a FastLED example or the code provided below with wiring V->V, Gnd->Gnd, D5 -> DI (Always: WEMOS-PINS -> StartLED)</li> <li>Glue them in by removing the tape</li> <li>Place the USB-C connector in the 3D printed model and if necessary glue it in with some hot glue?</li> <li>Prepare all of the VIN and GND wires to slot into the rails in the 3d printed model between the TYPE-C and the WEMOS</li> <li>Solder them together.</li> <li>Prepare Vin, GND, and data cable from the Wemos/TypeC to the start LED (I used some connectorsbut its possible to solder the wires directly to the LED strip)</li> <li>Optionally place a capacitor in between the GND and VIN of the TYPE-C, I used a 220µF one (CHECK THE POLARITY)</li> </ol> <p><a height="500" href="https://i.imgur.com/cShA5q1.jpg" width="500">CLOUD TOP LEDS REFERENCE</a></p> <ol> <li>Time to assable the Cloud! Start by placing the 6 single LEDS into the bottom cloud part (See Image)</li> <li>Wire/Solder all of them together.</li> <li>Connect the first led with a long wire that will be used to connect the base and the cloud (Check the length)</li> <li>Run the wire through the Cable connector+Flowerpot and check if the cloud leds are working by connecting it to the end of the Bottom LEDS (The end should be a 2Leds strip with an exposed DO lane)</li> <li>Solder it together !</li> <li>Now finish the assembly by placing the Cable connector into the Floerwerpot and by using the M2 screws for the Cloud bottom+top and the Bottom+Flowerpot</li> </ol> <p>Now depending on what you want to run, you can follow these guides.</p> <p><h4>Weather Reactive</h4></p> <ol> <li>Clone the <a href="https://github.com/Clon1998/reactive-weather-flower-pot">repository</a></li> <li>Open the project with VSCode + PlatformIO</li> <li>Edit the parameters inside the config.hpp</li> <li>Connect the D1 and upload</li> </ol> <p><h4>WLED</h4><br/> <b>General</b><br/> I am not responsible/involved in the development of WLED but in my opinion its the easiest and fastest way to use my flower pot as a lamp.</p> <p>See the <a href="https://github.com/Aircoookie/WLED/wiki/Install-WLED-binary">WLED-wiki</a> on how to upload the <a href="https://drive.google.com/file/d/1W-P1C_Eqv3wyF37hGE1pl8jLJBalx1an/view?usp=sharing">WLED_FLOWER_WEMOS_MINI.bin</a><br/> If you don't trust a random guy from the internet you're free to compile WLED yourself, but you will need to change <code>#define LEDPIN 2</code> to <code>#define LEDPIN 14</code> inside the <a href="https://github.com/Aircoookie/WLED/blob/master/wled00/NpbWrapper.h">NpbWrapper.h</a> of WLED to get this working with the Setup I used!</p>
With this file you will be able to print (Reactive Weather) Lamp Flower Pot with your 3D printer. Click on the button and save the file on your computer to work, edit or customize your design. You can also find more 3D designs for printers on (Reactive Weather) Lamp Flower Pot.