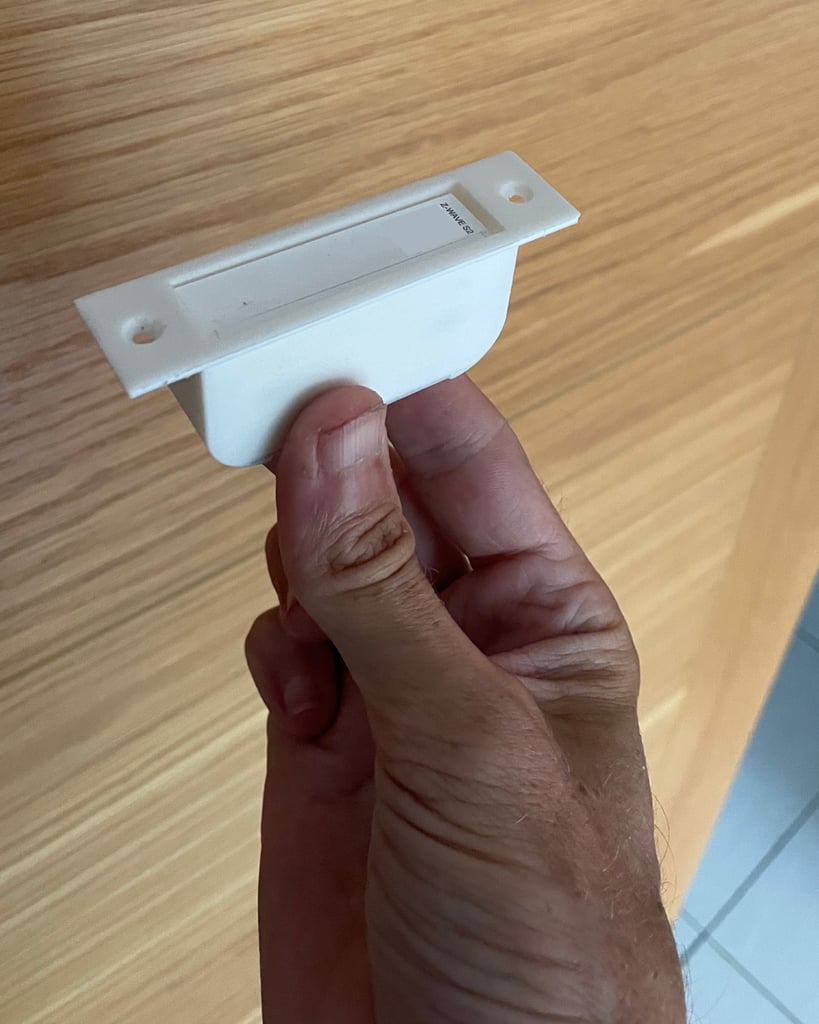
Recessed Ring Alarm Contact Sensor
thingiverse
Ring Alarm Contact Sensor 2nd Gen Flush Mount (sensor). **Printing advice:** Rotate the mesh on your print bed so that its laid like a hat and you won't need any supports. **Scaling** The mesh is sized to fit the Ring Alarm Contact Sensor 2nd Gen, with room for a ribbon behind the sensor to facilitate removal. At 100% scale, it's designed to be gravity assisted and hold the sensor in the top of a door. You can scale it down up to 1mm less on the longest side for a very flush fit, in which case it will mount in any orientation. If your printer isn't calibrated well, I recommend leaving it at this size, or stopping the print after the first 10 layers and seeing if you can push your sensor through the hole. **Install** Per above, I recommend threading a ribbon under the sensor, so that you can easily remove the contact sensor to change batteries. If you have a flush fit and no ribbon, I've included a finger hole in the base that lets you poke the contact sensor out, but you'll have remove the print to get to it. I have mine mounted inside the top surface of my door, so its held in place by gravity. If you want to mount the magnet, you can just print the plate at 1mm less on the longest side and stop your printer after the Z-axis reaches 2mm.
With this file you will be able to print Recessed Ring Alarm Contact Sensor with your 3D printer. Click on the button and save the file on your computer to work, edit or customize your design. You can also find more 3D designs for printers on Recessed Ring Alarm Contact Sensor.
