Recorder flute
myminifactory
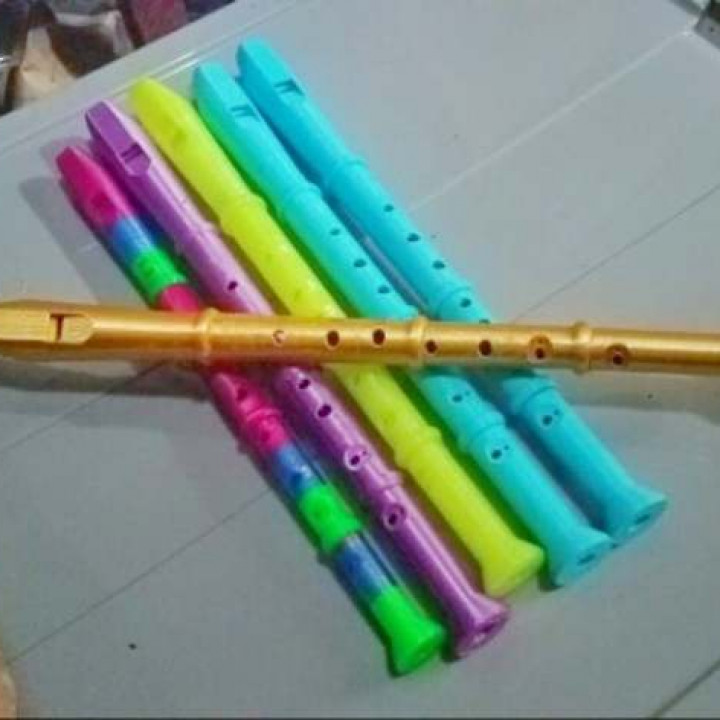
Remixed from Recorder v 2.3 by cymon: https://www.thingiverse.com/thing:12862 Based on cymon's recorder that plays well except for the very lowest notes. I made the bore larger to accommodate more airflow to get better volume at the bottom of the range. I also adjusted the placement of the holes. Recorders are notorious for having some notes off key and I wanted to remedy this. (True you can adjust airflow to tune each note but this way it's more consistent and less to remember.) Video demonstration here:https://youtu.be/QQ1ixOZWio0 For the current version I've included separate soprano and alto STLs. If you scale the soprano up to alto size (150%) the size of the fipple will require a lot of air and it will literally take your breath away, however the remaining parts will work fine. I will likely at some point design a tenor (200%) version however that is a >2 day print. In theory the alto STL scaled up to 133% should produce a tenor recorder, however the fipple might have to be further narrowed and the finger holes may have to be made easier to reach. Notes: Bed adhesion is super critical for this design. Use a raft with a 15mm margin. I had several prints fail when the nozzle bumped one of the pieces loose because the edges are so thin on all but the foot. ----- Use a decent filament that will give you airtight prints, and use thick walls with a high infill. Be careful of composite filaments such as glitter, the one I tried was extremely porous. If possible, test your filament beforehand on a vase or something to see that it prints airtight. So far I've had good results with translucent and silk filaments, the best one so far was MatterHackers silky purple, so that's why I'm recommending that brand even though I printed this in multiple brands and colors of PLA. ----- If you print this in ABS, PETG, etc, please let me know how it sounds. Here too you'll want to check to make sure that it's airtight. ----- Make sure your filament extrudes well and there aren't a lot of surface artifacts or flaws, as either surface irregularities or underextrusion can degrade or ruin the sound of the instrument. Simply put, you want the highest possible print quality, not in terms of layer height, but in terms of consistency. Post-Printing: Tolerances are 0.1mm so you will almost certainly have to sand down the joints. (I use a file for this.) For best results, once the joints fit tightly, apply a little petroleum jelly all around the places where the pieces touch, and wipe away the excess once assembled. Leaks make squeaks.
With this file you will be able to print Recorder flute with your 3D printer. Click on the button and save the file on your computer to work, edit or customize your design. You can also find more 3D designs for printers on Recorder flute.