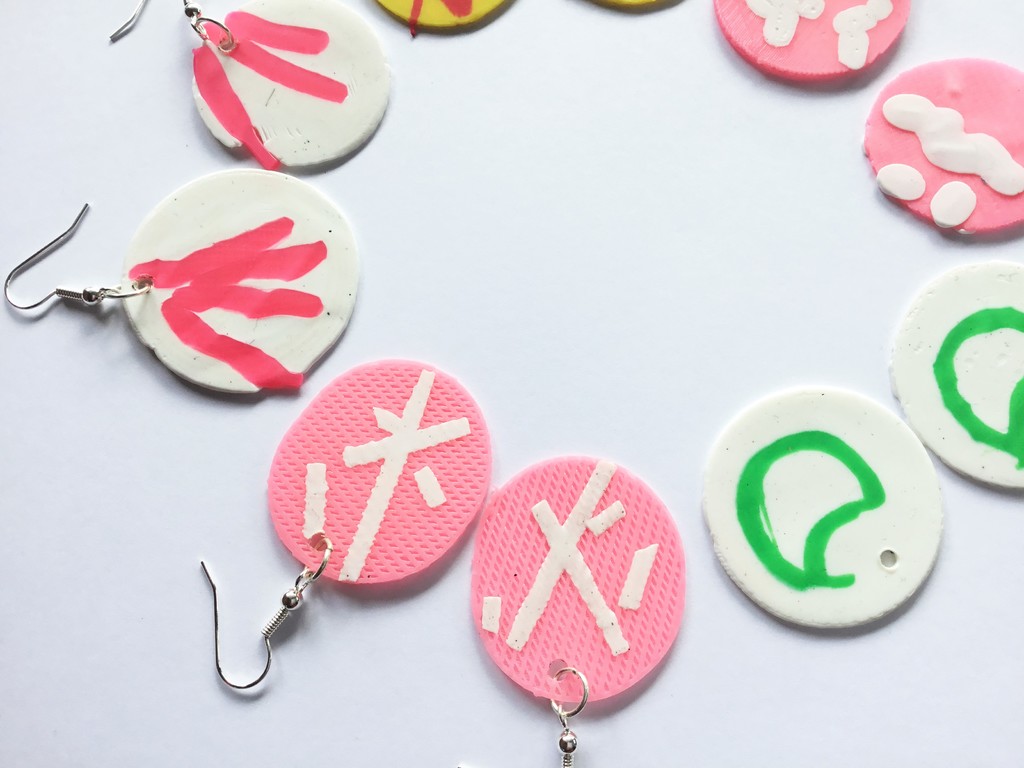
Recycled 3D Printer Waste Accessories
thingiverse
What you need: - 3D printer waste – PLA plastic, either failed prints or filament scraps. These need to be quite thin (rafts work well) as thicker pieces won’t melt through with an iron. - Iron – use this only with plastic or for other crafting. Don’t use on clothing after crafting as you will risk getting plastic on your clothes - Iron surface – i.e. old ironing board - Baking paper - Soldering iron for making holes if wanted - Any jewellery attachments you may want to use (jump rings, earring hooks) - Appropriate Health and Safety equipment and precautions (see our post on this here). We recommend a mask, gloves and a ventilated space. 1) In a ventilated space, place a sheet of baking paper over your ironing surface, turn on your iron to medium heat, put on your PPE. 2) Choose the pieces you are going to melt and arrange them on your sheet of baking paper. 3) Place a second sheet of baking paper over top and run the iron over. Be careful not to tear the baking paper (this can be done easily if there are sharp pieces of plastic). 4) Monitoring the plastic, keep ironing until you can see the top layers blend with the bottom. You can lift the top sheet of baking paper to do this. 5) Be careful not to heat for too long as this will create bubbles in the plastic. Generally, a thin raft and small pieces on top will take between 1 to 2 minutes at medium heat (cotton setting on iron). 6) Once you are happy with the way it is looking, either leave in place to cool before moving or (with gloves on) move the piece into a secure place for cooling to work on another. PLA plastic will not shrink when it cools but it will warp slightly. If you want your piece to stay flat, place it between two pieces of wood or similar (with baking paper either side). Allowing it to cool with pressure will stop it from warping. 7) You may be happy with the piece you have made, or you may want to add a small hole to treat a jump ring or string. If you want to add a hole, heat up the soldering iron and pierce a hole where you want it. Orignally published on our website https://remixplastic.com/blogs/news/recycling-tutorial-3d-printer-waste-accessories Health and Safety: https://remixplastic.com/blogs/news/health-and-safety
With this file you will be able to print Recycled 3D Printer Waste Accessories with your 3D printer. Click on the button and save the file on your computer to work, edit or customize your design. You can also find more 3D designs for printers on Recycled 3D Printer Waste Accessories.
