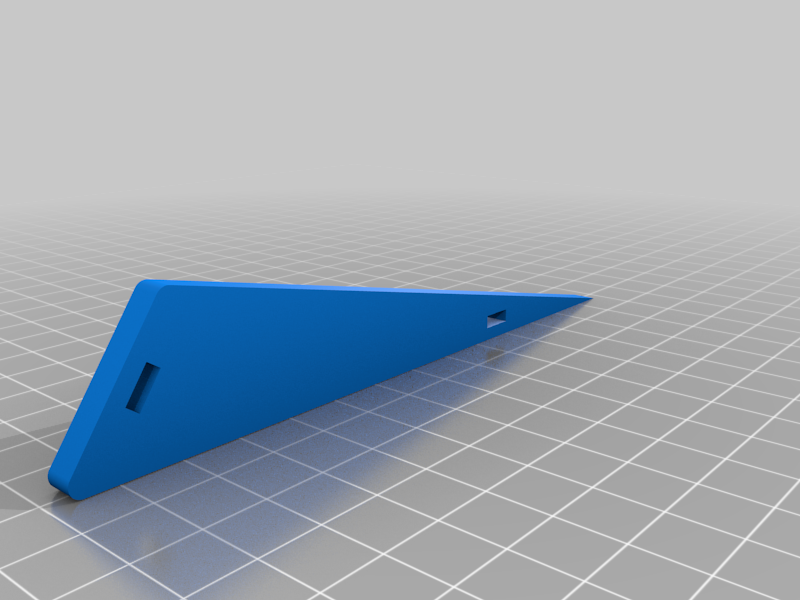
Redcat Everest 10 Integy chassis
thingiverse
I have the Redcat Everest 10 and then purchased the Integy Chassis. Great little chassis but I wanted to play around and it needed panels, so here we are. If there are any issues please let me know. I started these around Christmas but just now posting. They are works in progress and let me say this... we have 2 Integy chassis'. My son has one and I have one. these panels DO NOT fit both perfectly but they do fit good enough that if you print and are willing to sand a little they should be fine. I know they make these chassis' in a jig but no 2 are exactly the same. So far I only had to sand the side pieces for my chassis, everything else fit both chassis' good. I use small zipties to hold them all on. I still have more to make, different ideas to play around with but when I have time... future plans are for an engine sticking out of the front top, exhaust down the sides, a mount for the battery to go in the nose instead of the rear, different panels, oh and one to have the cooling fins of the speed controller exposed to look like a high-tech engine and others......just gotta find the time. I purchased the Tamiya driver and started an interior for him to attach too. This interior also has a battery mount to the rear for holding the smaller 2200mAh batteries and you will have to turn your transmission around or the spur gear will keep it from fitting. I am not done with the interior as I want to add a steering wheel and a small dash. there is plenty of room to mount the receiver and speed controller inside the front nose and they would be protected and unseen. Or you could mount the speed controller to the back of the interior above the battery. I have included the beadlocks for the factory Everest 10 wheels. I made a bulky front diff protector/servo mount/tierod protector. Yes it is a bit bulky. So far I have only had a couple issues with it getting caught on a few rocks but I nose dived and it kept my front end from having any damage...so it is a trade off. I started a slimmer version, just not done yet. you will find that this servo mount pulls the servo back so you can mount tierods to the outside of the steering arm. This will give you better access to it if you need. If you dont want to mount your shocks to the lower shock mounts I also made a shock mount for the links. As far as required screws for mounting or attaching, I used extras of the same size the Everest uses, just make sure they are long enough. the only things that needs screws are the top with the intake and the diff protector/servo mount. Everything else mounts with zipties. Side note, when printing you will have to mirror these for both sides. I did not upload a left and right. All these prints I made were at 150% speed, 50% infill and .3 so I could them done and tested as quick as possible and of course I have not been able to revisit any of them. Print at the speed, infill and quality you want....so again feedback is welcomed.......thanks.
With this file you will be able to print Redcat Everest 10 Integy chassis with your 3D printer. Click on the button and save the file on your computer to work, edit or customize your design. You can also find more 3D designs for printers on Redcat Everest 10 Integy chassis.
