Remnant Consolidator with Prusament spools
prusaprinters
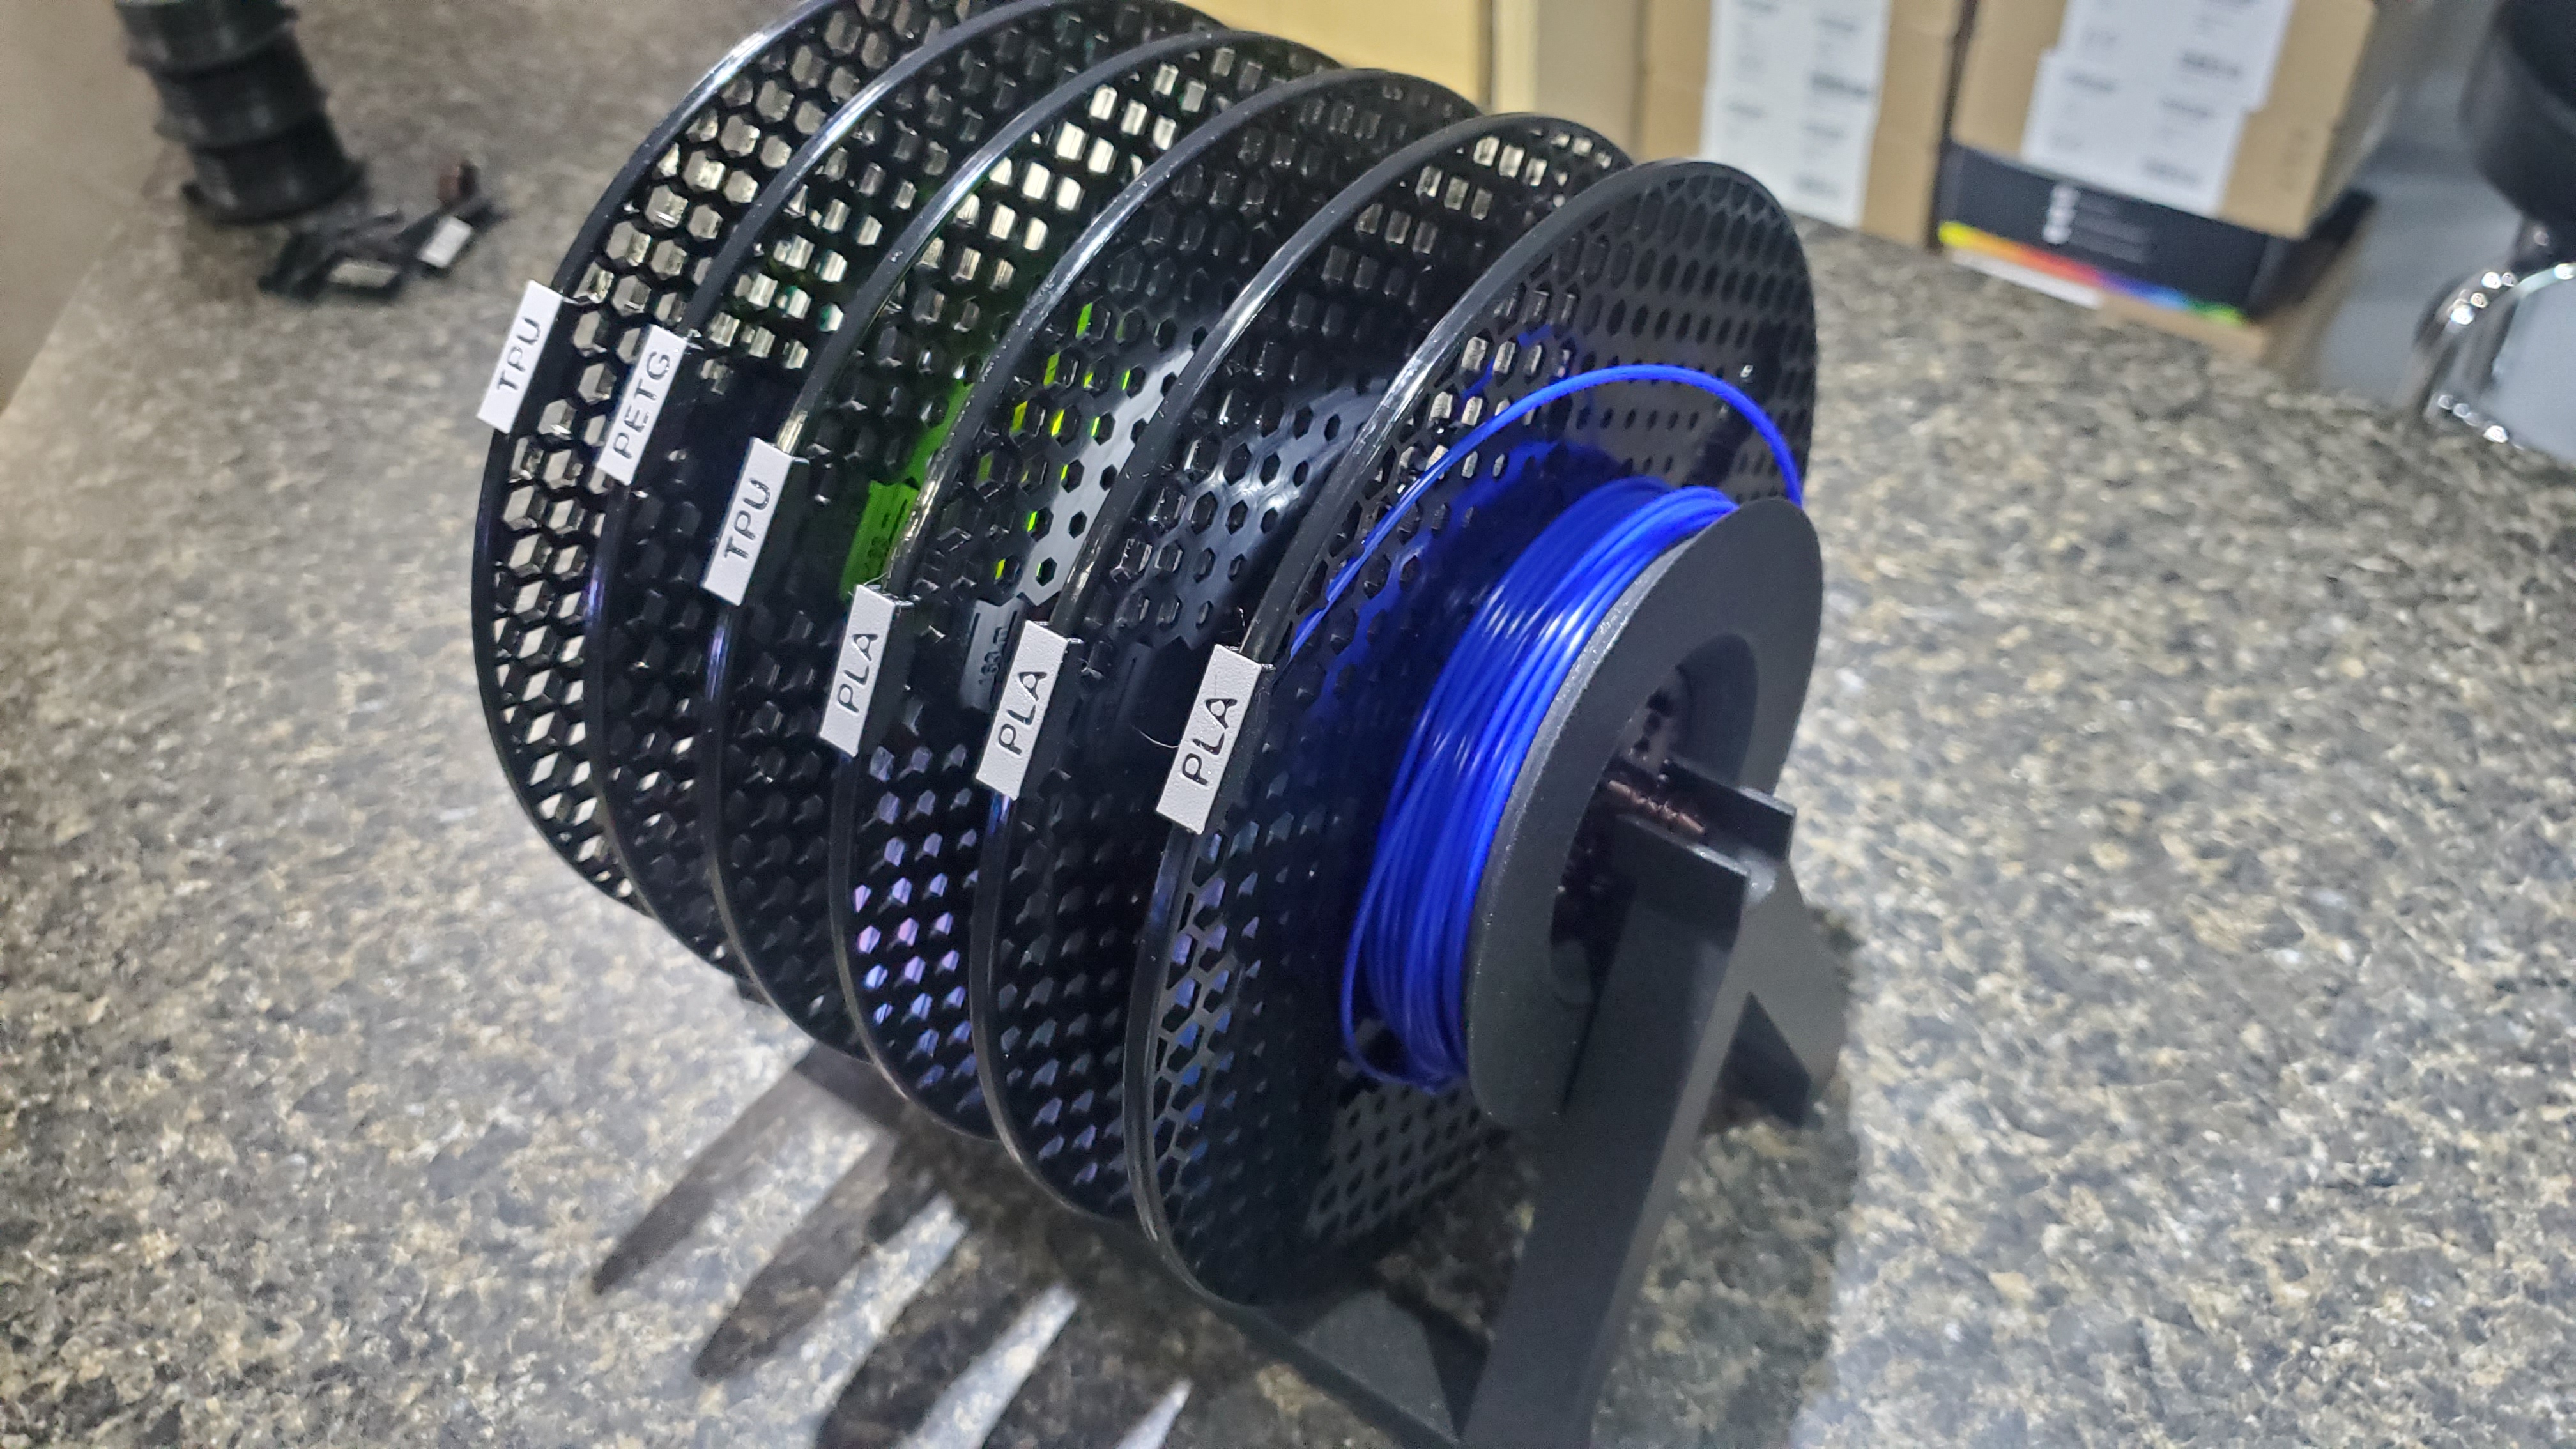
<p>Got a stack of filament spool remnants?<br/> Use this to consolidate them into 1/3 the space!<br/> Each roll spins independently.<br/> Identification clips are included to mark what kind of material is on each roll.<br/> Adjustable stand will support 3 to 6 remnant rolls.<br/> Requires Prusament spools.</p> <h3>Print instructions</h3><p>Everything is print oriented just load into the slicer and go.</p> <p><strong>Material-</strong></p> <p>PLA works well for the gear bearings, nuts and screw but PETG should work too.<br/> PETG for the ID clips because they req some flex to get on and remove.<br/> PLA or PETG for the stand.</p> <p><strong>Part 1 Gear Bearing-</strong></p> <p>0.2 Layer Height<br/> Default infill</p> <p>Print a minimum of 3. Up to 6 will fit on a stand.<br/> I started the print then cranked up the speed to 150% and they came out great.</p> <p><strong>Part 2 Retaining Nut-</strong></p> <p>0.3 Layer Height<br/> Default infill</p> <p>Print the same amount as the Gear Bearings.<br/> Same with the bearing I ran the machine at 150% speed.</p> <p><strong>Part 3 End Screw-</strong></p> <p>0.2 or 0.3 Layer Height<br/> Default infill</p> <p>Only 1 required.<br/> Will most likely need a brim.</p> <p><strong>Part 4 Stand-</strong></p> <p>0.3 Layer Height<br/> Default infill</p> <p>Print 2 of these.<br/> They will slide into each other and the spools sit on it.<br/> The 0.3 layer height gives the sliders a semi-locking feature making it a little hard to adjust but they won't work themselves apart.</p> <p><strong>Part 5 ID clips-</strong></p> <p>0.2 Layer Height<br/> Default infill<br/> Put a color change in your slicer at the 3rd layer or 0.6 layer height to get a nice contrast for the words</p> <p>Print what you need or a stack of each.<br/> There is one for PLA, PETG and TPU.</p> <p><strong>Construction Instructions-</strong></p> <ol> <li>Pull apart Prusament spools</li> <li>Place a Gear Bearing into the center hole. There is a tab that will fit into the center holes' slot.</li> <li>Screw a Retaining Nut onto the inside. They can be tightened down pretty tight. I have yet to break one.</li> <li>Do step 1-4 with the other spool sides.</li> <li>Put the End Screw into one of the center gears.</li> <li>While holding End Screw, connect the other spool sides.</li> <li>Place on Stand.</li> <li>Fill with remnants.</li> <li>Put ID clips on each spool side because memory is a fickle thing ;)<br/> ID clips will snap into the hex holes in 1 of 6 places along the edge, where the filled holes are, where the filament retainers are and in between the 2. See the picture for reference.</li> </ol> <p>Alternatively you can place the remnants on the spool before you screw on the Retaining Nut.</p> <p>Hope this is useful for you!</p>
With this file you will be able to print Remnant Consolidator with Prusament spools with your 3D printer. Click on the button and save the file on your computer to work, edit or customize your design. You can also find more 3D designs for printers on Remnant Consolidator with Prusament spools.