Reolink RLC-511 Junction Box
thingiverse
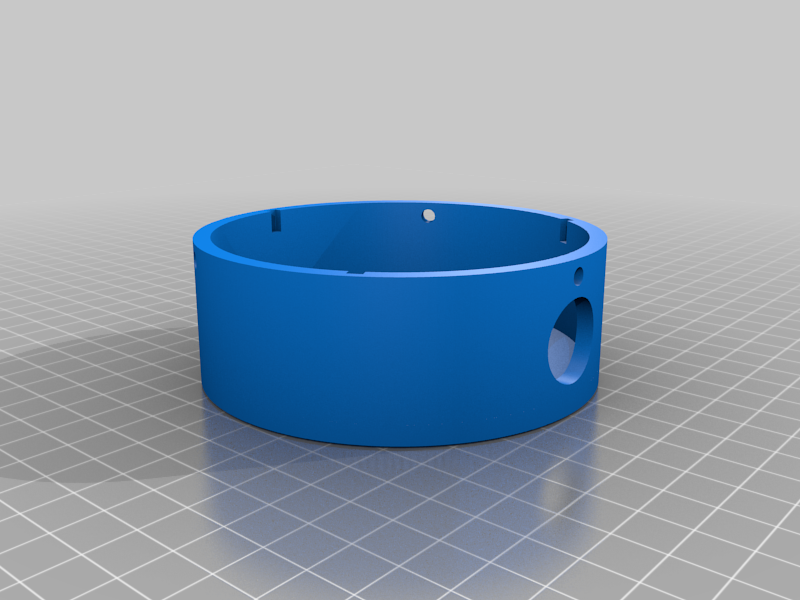
After printing a bunch of junction boxes, I discovered that the RLC-511 has different hole spacing than the RLC-410. The differences between this and the original version is the wider holes to fit the RLC-511 and a chamfer on the bottom edge of junction box for cleaner printing. I initially assembled these as shown in the pictures of the original, with a nut/bolt holding the camera to the lid and then screws around the outside to hold the box to the lid. Not sure about you, but I don't love doing assembly on a ladder, especially when it's something like cable management. I bought 2.5" stainless screws, which are long enough to go through camera, lid, and box. I threaded the cables through the lid, assembled them inside the box, used the screws around the outside to hold them together, and then put the long screws through the camera, lid, and box. Now while on the ladder, I just drive the screws through and it secures the whole thing. Granted, I can't disassemble the lid while it's in place, but I'd be doing my work on the ground anyways. I'll post pics when I can. Original Author: <a href="https://www.thingiverse.com/meanmrgreen">meanmrgreen</a> Original Thing: [Reolink RLC-410 Junction Box](https://www.thingiverse.com/thing:4120386)
With this file you will be able to print Reolink RLC-511 Junction Box with your 3D printer. Click on the button and save the file on your computer to work, edit or customize your design. You can also find more 3D designs for printers on Reolink RLC-511 Junction Box.