Replacement Lid Latch Clip for Zebra ZD410 Label Printer
thingiverse
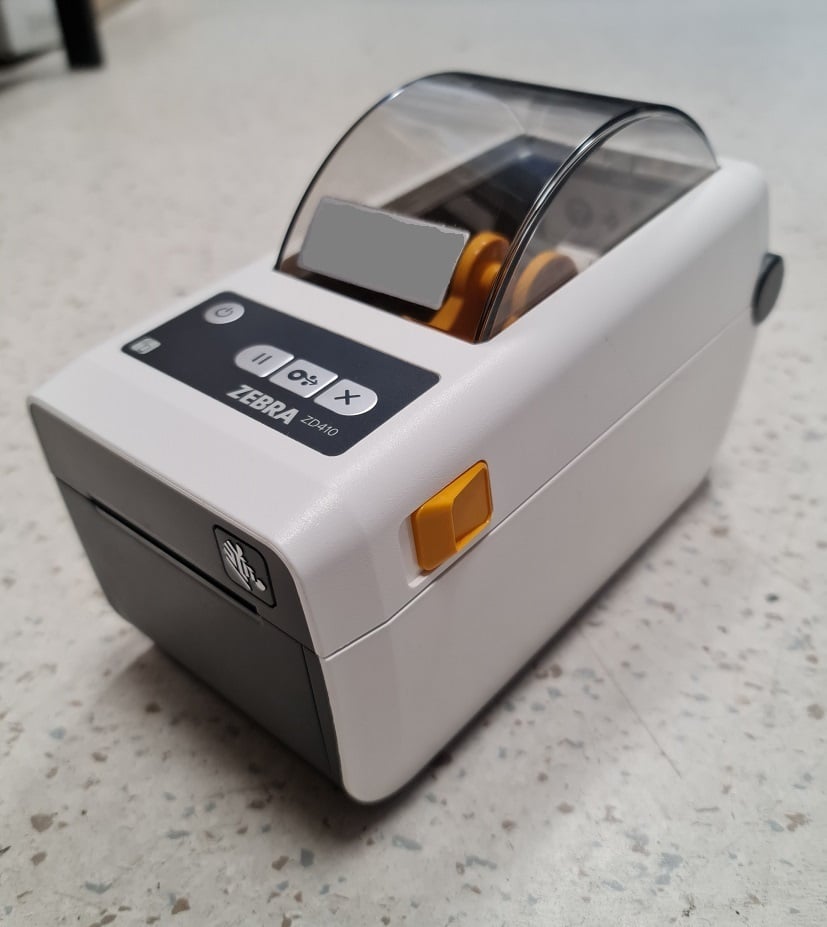
Replacement Lid Latch (Clip?) for the Zebra ZD410 Label Printer To install: - Remove 4 torx screws on the underside of the lid and lift the top cover off. - Remove the 2 smaller torx screws either side of the small circuit board and move it out of the way of the latch. - Use a screwdriver to gently leaver the original lid latch up and out. Take care not to lose the 2 springs either side. - Place the replacement latch into the clips and press down. It should make a reassuring click once it's sat in place. - Install the springs on both sides. They go over the small pins on the latch and then into the small hole on the printer directly opposite. Use tweezers to make this process a bit easier. Sit the spring in place at one end and then squash the spring down with the tweezers to move it into place. - Attach the circuit board back into place and re-install the lid. Printer settings: - Recommend 30% infill - Requires supports
With this file you will be able to print Replacement Lid Latch Clip for Zebra ZD410 Label Printer with your 3D printer. Click on the button and save the file on your computer to work, edit or customize your design. You can also find more 3D designs for printers on Replacement Lid Latch Clip for Zebra ZD410 Label Printer.