Replacement Power Supply for Printrbot Simple
thingiverse
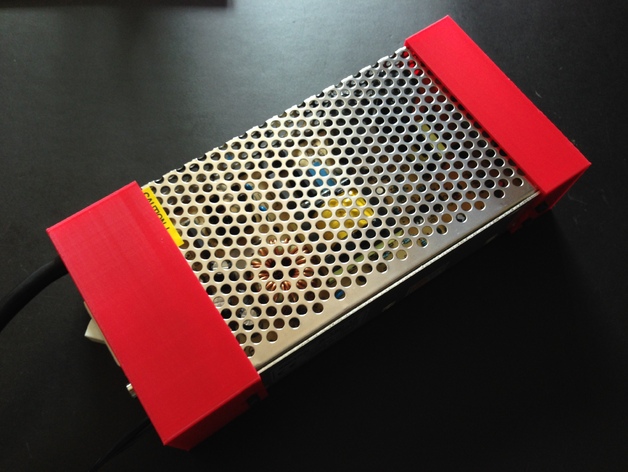
This thing contains covers for making a replacement power supply for a Printrbot Simple (and possibly other) printers. Instructions The hardware for this thing requires: ============= 12V 20A LED PSU switch of appropriate voltage one dead or dying Printrbot Simple PSU (3) M3x5 bolts Instructions: ======== Print the covers. Check your new PSU first. The dimensions used for the .stl files included are 99mm wide and 43mm high. You can modify the .scad file as needed. Cut off the cords from the old PSU. Note: if you don't want to destroy the mains power cord, you can buy a replacement cord from a home improvement or hardware store. Strip the wires from all cords. About 1/4" or 8mm is all you need. (optional) Apply a bit of solder to each wire tip. Insert the wires through the power-side cover. Attach the mains wires to the left-side terminals. Make sure you wire the mains correctly. In the US, black is 'N', white is 'L', and green is ground. Check with an electronics expert if you are not sure. Here's the tricky part. Determine which wire on the printer-side cable is positive. Use a multimeter or continuity tester to find which wire is connected to the center pole of the plug. This is positive. Attach that to the V+ on the right side of the power supply and the other to the V-. If you decide to use a switch, wire the 'L' (load) wire through the switch. Test fit the power-side cover and adjust the cords so that the cover can be secured without force. Hint: Hold the wires and slide the cover toward the PSU. When it just about touches, you're good. Optional: Secure the wires on the inside of the cover with zip ties (you can wait to do this once you have everything hooked up). Attach the covers, apply nifty rubber feet to the bottom of the covers and you're done! WAIT! ===== Always test your work! Use a multimeter to make sure you are getting 12V out of the printer-side connector and that the center pole is positive. That is, the red lead on your multimeter is inserted into the center hole and the black lead is touching the outer metal band of the plug. If you see positive 12V, you're good. If you see negative voltage, you've got the wires reversed - go back and fix that then retest it.
With this file you will be able to print Replacement Power Supply for Printrbot Simple with your 3D printer. Click on the button and save the file on your computer to work, edit or customize your design. You can also find more 3D designs for printers on Replacement Power Supply for Printrbot Simple.