Replica Meteor Hammer
thingiverse
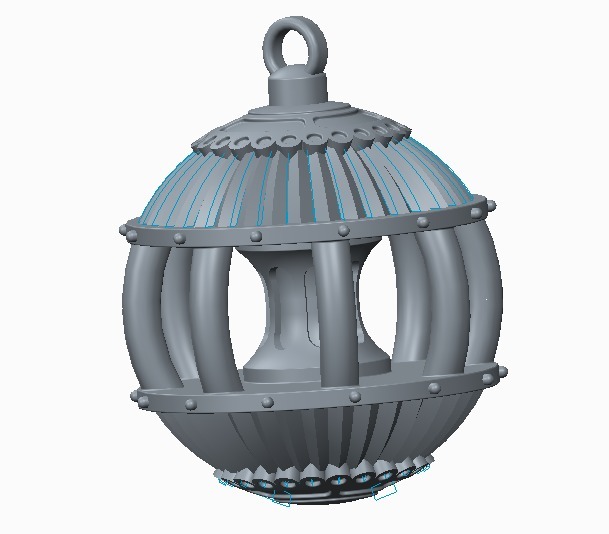
The entire project was accomplished within minutes. Upon printing both sides, I discovered that I could fit the assembly into the print bay by setting it to a 45 or 225 degree angle. At that precise angle, the assembly fitted snugly within a 5.6 x 5.6 x 5.6 inch print bay. The side with the flat surface facing upwards will need to be inverted so that the flat surface is downwards when printing. I encountered an issue with one of the middle pins breaking off in its slot, prompting me to bore it out and replace it with a slightly thinner pin. In reality, the thicker pin should function correctly if you exercise patience and sand the flat end round, ensuring both ends are rounded. I snapped mine off due to impatience, attempting to hammer it into place. Assembling the hammer is an effortless task: simply insert a pin into each slot of Meteor_hammer_side_a or side_b, then apply glue to the flat surface before joining the two sides together so that the pins also insert into the holes on the second side. The cord required for the assembly was not included; it needs to be tied around the ring at the top of the hammer. I have yet to attempt swinging it but feel free to try if you're inclined. I printed the hammer with high-quality settings, utilizing thinner print layers and a fill percentage of 10%. This was done out of necessity due to running low on print material, but it also contributes to the overall weight reduction of this assembly.
With this file you will be able to print Replica Meteor Hammer with your 3D printer. Click on the button and save the file on your computer to work, edit or customize your design. You can also find more 3D designs for printers on Replica Meteor Hammer.