Replicator 1 marlin 2.0
thingiverse
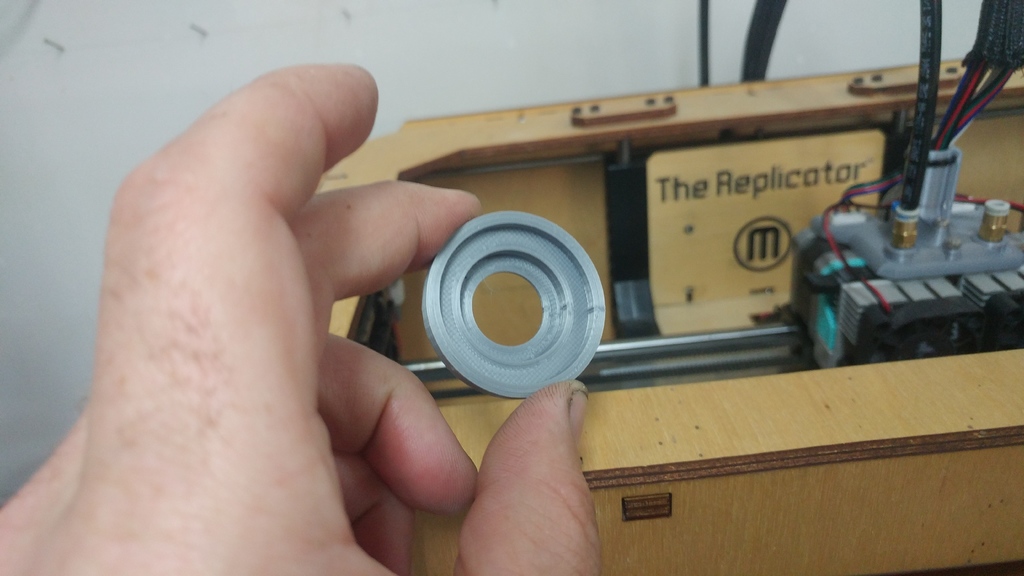
MAKE NOTE THE FEET I DID NOT MAKE THESE WERE DESIGNED BY SOMEONE ELSE MORE TALENTED THAN I NOR did i make the filament guide or Screen holder. they were made by this GUYs https://www.thingiverse.com/thing:2125913 https://www.thingiverse.com/thing:203698 https://www.thingiverse.com/thing:340031 WHAT I DID: Custom made marlin 2.0 for replicator 1 FROM SCRATCH(this was insanity don't ever do it.), with a working end result NEW board and rewired Everything! Cura 4.6.1 has a makerbot replicator profile that works great Because of hours of pains taking measurements and internet searching i was able to get the marlin geometry settings spot on simply save as gcode after slicing My replicator 1 marlin 2.0 journey Call this a pandemic thing, or you could call it sentimentality. I went searching for a second printer and i was on a budget, and i happened upon a dead replicator 1 on facebook marketplace its price was 80 usd. This little maker bot suffered greatly at the hands of its previous owners and needed a lot of work and it had a blown mightyboard. Firstly i decided to investigate the repair angle of the mightyboard. several things stopped me. The overall cost of repair and outdated makerware software So instead i decided to start from scratch and Frankenstein this piece of history because good history should be preserved. in short i did the following. New mainboard https://www.amazon.com/gp/product/B07QRPKPHB/ref=ppx_yo_dt_b_asin_title_o09_s00?ie=UTF8&psc=1 New these things because i wanted too: https://www.amazon.com/gp/product/B01LOXBR76/ref=ppx_yo_dt_b_asin_title_o05_s00?ie=UTF8&psc=1 new stepper motor cables: https://www.amazon.com/gp/product/B073VKPD1Q/ref=ppx_yo_dt_b_asin_title_o05_s00?ie=UTF8&psc=1 new thermistors for hot ends https://www.amazon.com/gp/product/B0714MR5BC/ref=ppx_yo_dt_b_asin_title_o06_s00?ie=UTF8&psc=1 NEW END STOPS https://www.amazon.com/gp/product/B075585VY4/ref=ppx_yo_dt_b_asin_title_o01_s00?ie=UTF8&psc=1 new end stops NEW SCREEN https://www.amazon.com/BIQU-Display-Controller-2004LCD-Adapter/dp/B01FLU9X5Q/ref=sr_1_2?crid=2DI7YIO4398XV&dchild=1&keywords=reprap+discount+smart+controller&qid=1593787708&s=industrial&sprefix=reprap+discount+sma%2Cindustrial%2C184&sr=1-2 NEW POWER SUPPLY https://www.amazon.com/MEAN-WELL-LRS-350-24-Switching-Printer/dp/B07SQLJG5L/ref=sr_1_3?dchild=1&keywords=24+v+360+watt+power+supply&qid=1593787995&s=industrial&sr=1-3 NOTE! screen wires will need a cable flipped to make the screen work CORRECTLY with the mks GEN L NOTE! for bed thermistor, take the two wires on the right side if the printer is faceing you and take one of the 5 thermistors you just bought and solder a new end on those leads and plug that into the bed thermistor slot on the mks GEN L 1.0 NOTE! my board came with a bootloader yours might not How to configure a4988 botsteps https://beta.ivc.no/wiki/index.php/MakerBot_Replicator_1_Adapting_A4988_Replacement_Driver NOTE! No matter now close i got the z stepper configured it get hot, so to that end I added a work around slapped 3 40 mm heatsinks on it and wired in a fan directly off the psu and then went a had a beer to celebrate I Included some STL files from other THINGS from this site i D/led To fill in things i wanted or replace parts my makerbot was missing INSTALL EVERYTHING FLASH MARLIN I included, have a beer and pat yourself on the BACK! Because this was fun but it wasn't easy. But in the spirit of this project i scored the printer for 80 dollars bought new board and screen for 30 and bot steps for 10 for 5 of them total cost was right around 170ish so i consider it money well spent considering i got a dual extrusion machine out of the deal
With this file you will be able to print Replicator 1 marlin 2.0 with your 3D printer. Click on the button and save the file on your computer to work, edit or customize your design. You can also find more 3D designs for printers on Replicator 1 marlin 2.0 .