Replicator 2/2X X-Axis Cable Repair
thingiverse
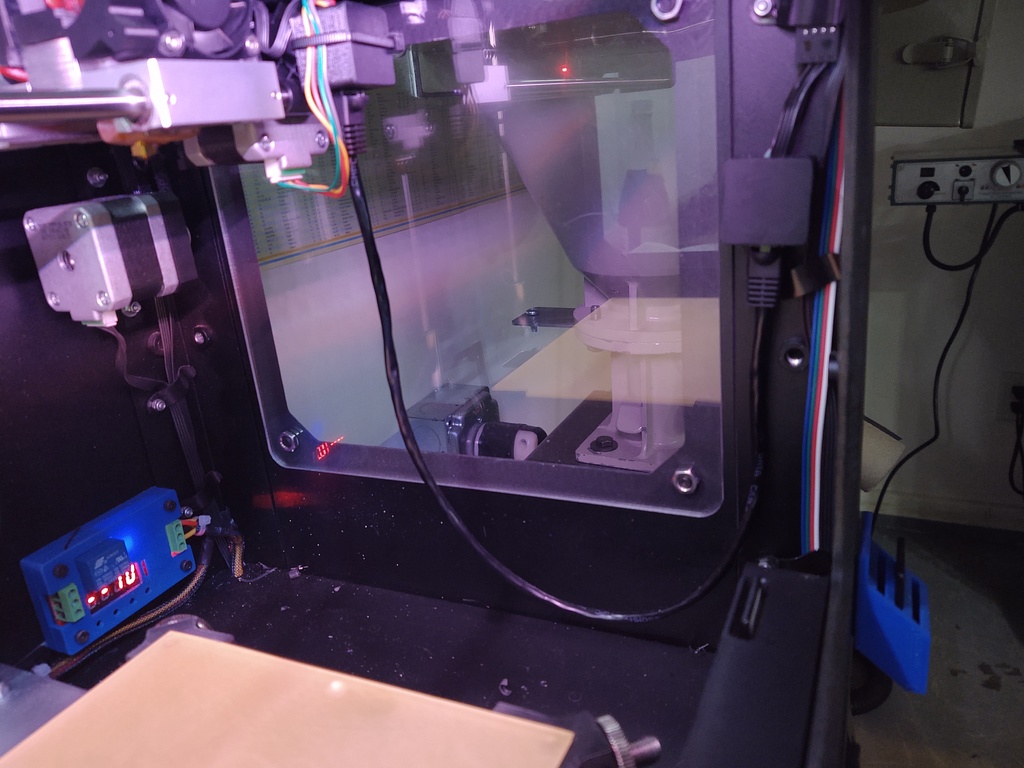
I liked the idea whpthomas came up with for replacing the X-Axis cables with a patch cable, however i didn't like using the punch down blocks, they are just to finicky for something that will be moving a lot and taking vibration so i found these breakout PCB's for RJ45 jacks on eBay. https://www.ebay.com/itm/10x-PCB-RJ45-8P8C-to-Screwless-Terminal-Connector-and-Breakout-Board-Kit/253166301331?ssPageName=STRK%3AMEBIDX%3AIT&_trksid=p2057872.m2749.l2649 And i bought some PCB mounted jacks.. https://www.ebay.com/itm/10PCS-Black-RJ45-8P8C-Jack-Modules-PCB-Mount-Network-Internet-Connectors/201543929074?ssPageName=STRK%3AMEBIDX%3AIT&_trksid=p2057872.m2749.l2649 With these you have solder points that you can solder the wires to instead, and they are numbered. So follow his info on cutting the original cable and installing the Keystones but use the breakout board instead and solder them into the board. No guess work here, its numbered and as long as your using a standard patch cable and not a crossover cable then the pinout stays the same on each end. For the enclosure i designed i just solder it all together put it into the top half put a dot of super glue on each corner and put the bottom half on, there is a cutout in the back for the cables to stick out. For attachment to the X-End i just put a cable tie around it and through the cable hole on the X-End. For the printer frame end i just used some 3M VHB tape and stuck it to the inside of the frame. Quick and easy install. I will now keep a dozen cheap patch cables on hand and i can swap em in seconds, great idea, i just had to take it one extra step.
With this file you will be able to print Replicator 2/2X X-Axis Cable Repair with your 3D printer. Click on the button and save the file on your computer to work, edit or customize your design. You can also find more 3D designs for printers on Replicator 2/2X X-Axis Cable Repair.